How to Decorate at Christmas with Pine Cones

The holiday season is full of chances to get creative. Natural elements from your own backyard are perfect for this. They add a rustic charm that makes any space feel cozy and festive.
Pine cones are a favorite for holiday decorating. They're easy to find, affordable, and very versatile.
Whether you picked them up on a walk or found them in your yard, they offer endless creative possibilities for your holiday projects.

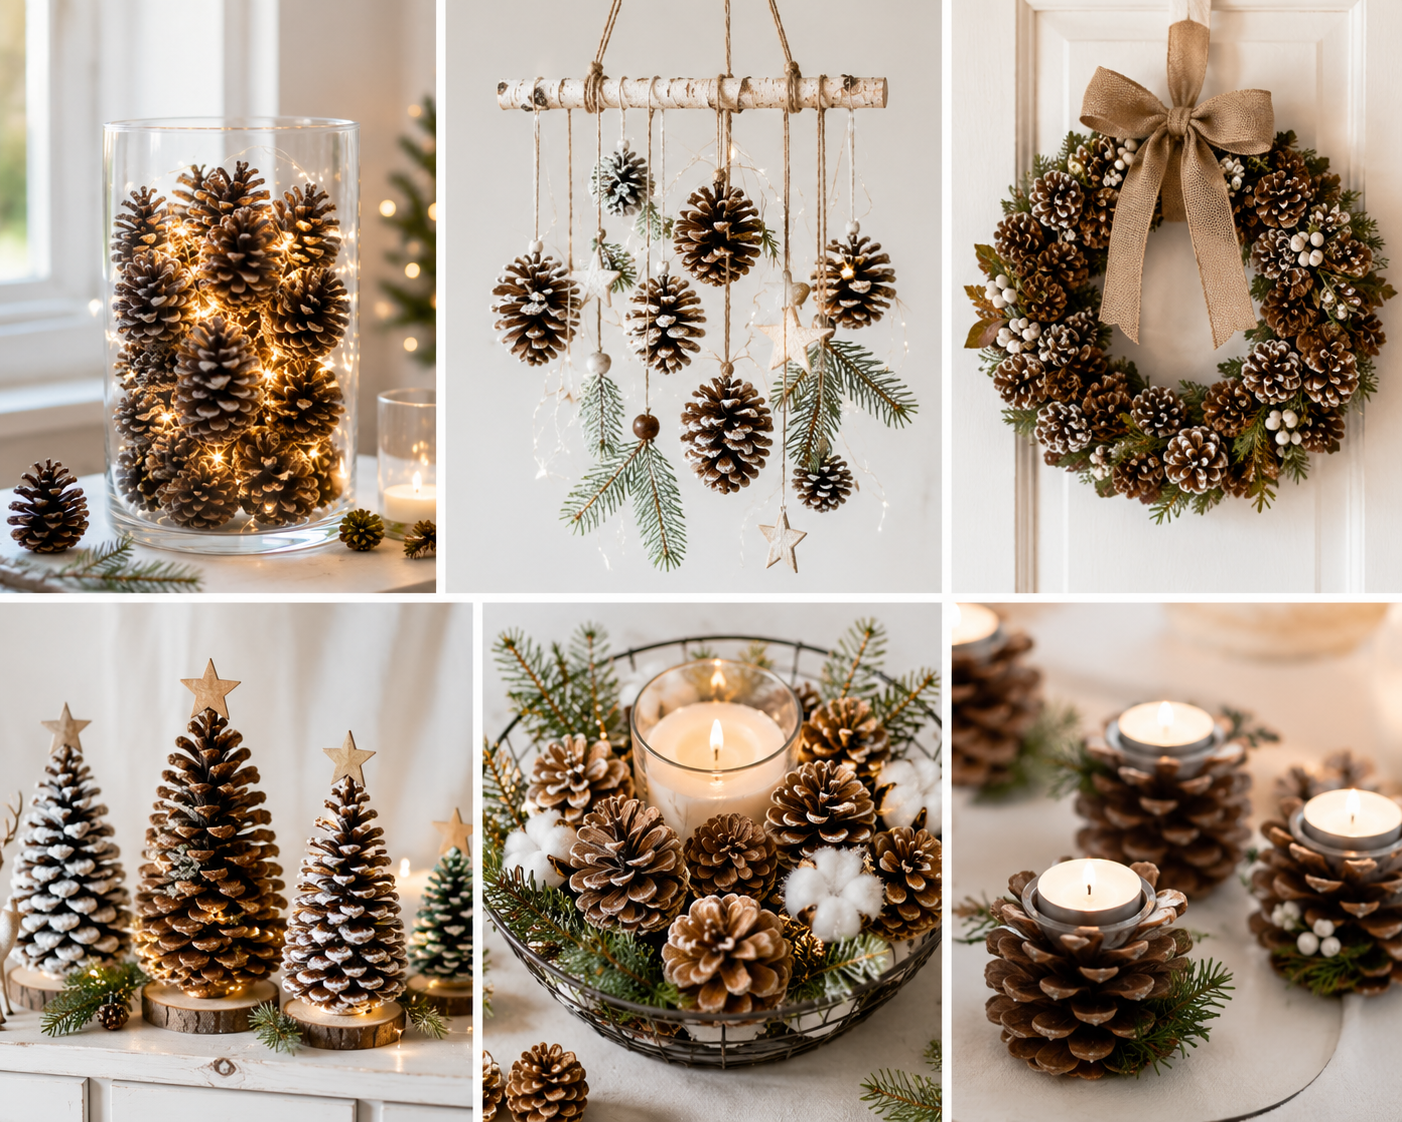
Pine cones can be used for everything from elegant centerpieces to rustic garlands. They look great in both modern and traditional homes. They add warmth and texture without breaking the bank. Families can have fun making pine cones Christmas ideas together, creating special ornaments and decorations.
The best part about using these materials is their eco-friendly nature and timeless appeal. They bring a real touch that fake decorations can't match. Your home will feel like the true spirit of the season.
Gathering and Preparing Your Pine Cones
Finding and preparing pine cones is the first step in making magical Christmas decorations. It's more than just picking cones from your yard. Proper preparation keeps your decorations looking great all holiday season and avoids sap stains or tiny insects.
Getting quality pine cones and treating them right makes a big difference. Clean, prepared cones are key for many festive projects. With simple techniques, you can turn natural materials into beautiful holiday decorations.
Where to Source Natural Materials
Pine cones are common in most of the United States, making them easy to find for DIY crafts. Your backyard might be a great place to start if you have pine, spruce, or fir trees. Late summer to early fall is the best time to collect cones when they're fully grown but not yet weathered.
Local parks, nature trails, and wooded areas are great places to find cones. Always check local rules before collecting, as some areas may be off-limits. State forests and public lands usually allow personal collection for crafts.
Different pine types have unique cone shapes and sizes for various projects. Ponderosa pines have large, dramatic cones for centerpieces and wreaths. White pine cones are smaller and delicate, great for ornaments and garlands. Eastern white pines have medium-sized cones, perfect for most crafts.
The Cleaning and Baking Process
Raw pine cones have sap, dirt, and sometimes bugs or spider webs. Cleaning and baking them fixes these issues and stops them from opening and closing with humidity. This step makes your craft supplies safe and ready for decorating.
Begin by removing loose debris, needles, and dirt from your cones outside. Soak them in warm water with one cup of white vinegar for 20 to 30 minutes. The vinegar solution dissolves sap and kills bugs.
After soaking, rinse the cones well and shake off excess water. Place them on a foil-lined baking sheet, leaving space between each cone. Bake at 200°F for 30 to 60 minutes, checking them often. The heat sanitizes and dries the cones, opening them fully.
Let the cooled cones dry completely before handling. They'll be lighter and drier than fresh ones. This method makes them stable and clean, preventing sap leaks on your furniture or decorations.
Creating Colorful Festive Finishes
Plain brown pine cones are lovely, but adding color makes them stand out. Acrylic paints, spray paints, and glitter offer endless creative options for customizing your cones. Work with fully dried, prepared cones for the best results.
White acrylic paint gives a classic snow-frosted look, perfect for mantels and centerpieces. Use a dry brush technique to mimic snow. Metallic gold and silver spray paints add elegance to your holiday displays.
Traditional Christmas colors like deep red, forest green, and burgundy are great for festive projects. Use foam brushes for full coverage or sponges for a textured look. Make sure each coat dries completely before adding more layers or embellishments.
Glitter adds sparkle and depth to painted or natural cones. Apply a thin layer of craft glue, then sprinkle glitter over it. Work over a paper plate to catch excess glitter. Fine glitter adds subtle shimmer, while chunky glitter makes bold statements.
How to Decorate at Christmas with Pine Cones
Once your pine cones are ready, the real magic begins. You can turn them into charming holiday decorations. These natural treasures can transform every room in your home with their woodland beauty.
Working with pine cones is incredibly versatile. They blend well with other natural materials like berries, evergreen branches, and cinnamon sticks. You can create decorations that match any style, from cozy farmhouse to elegant traditional.
Making Pine Cone Ornaments for Your Tree
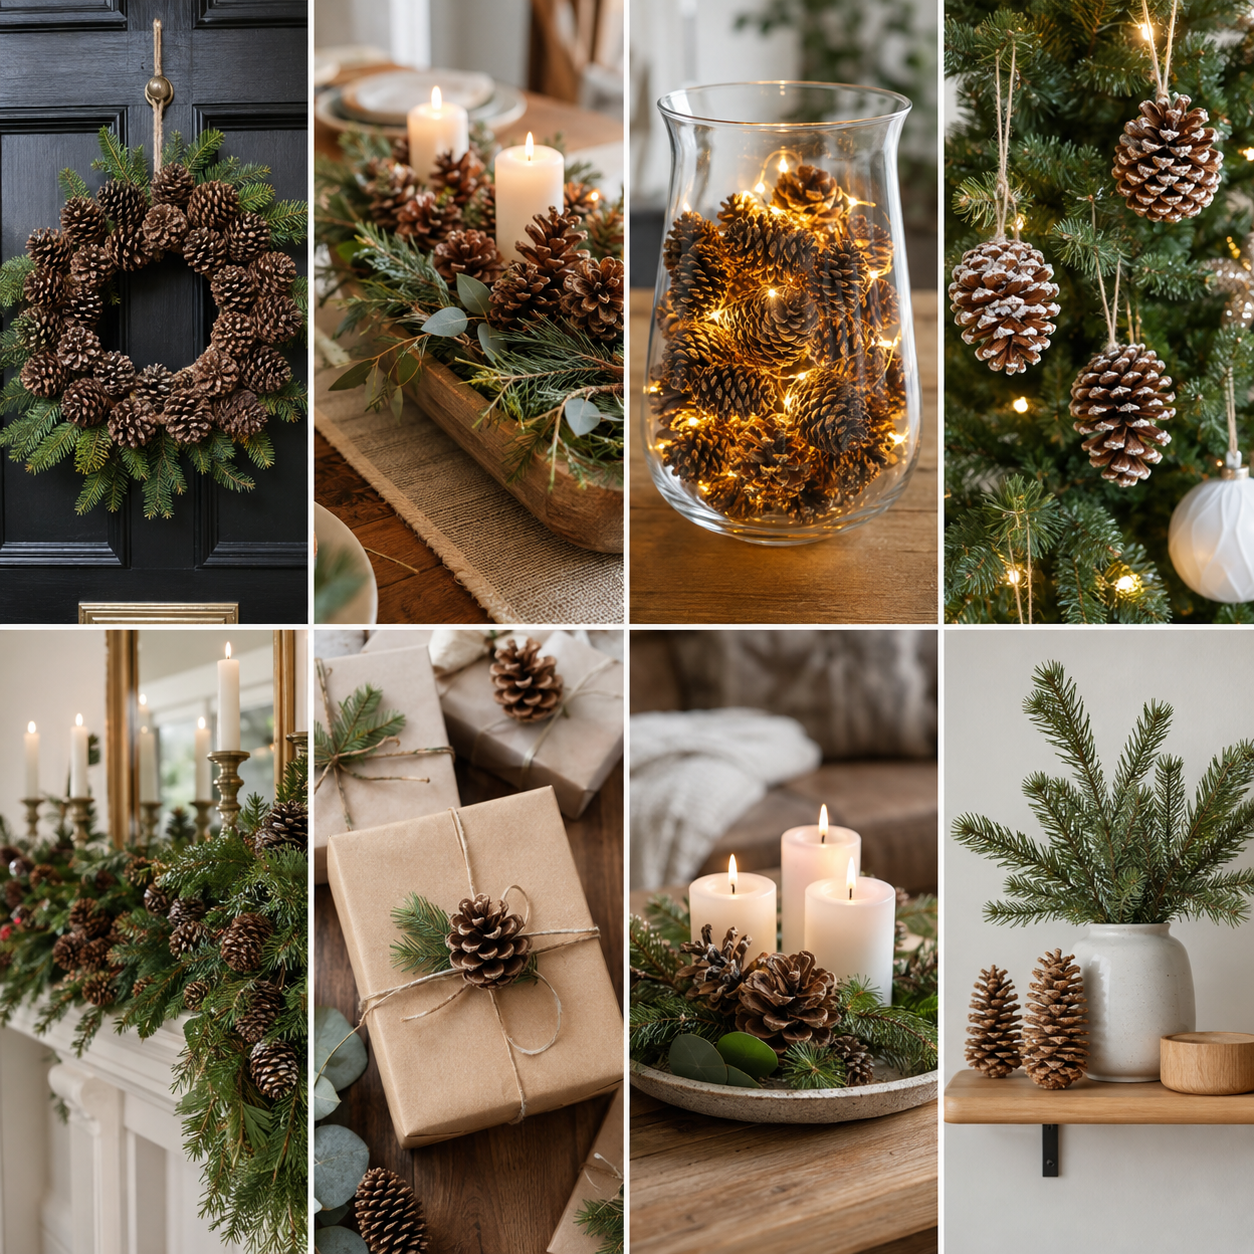
Pine cone ornaments bring natural charm to your Christmas tree without breaking the budget. Start with small to medium-sized pine cones that won't weigh down your branches. Attach a loop of ribbon, twine, or thin wire to the top scales for easy hanging.
For a classic look, leave your pine cones in their natural state and simply add a rustic jute hanger. This simple approach works beautifully for farmhouse or woodland-themed trees. The organic texture creates visual interest among glass balls and electric lights.
Paint transforms ordinary pine cones into eye-catching ornaments. Dip the tips in white acrylic paint to create a snow-kissed effect. Gold or silver spray paint adds glamour for more formal displays.
Create miniature characters with felt, beads, and small craft supplies. Glue a wooden bead to the narrow end for a head, then add felt wings for angels or a tiny hat for elves. These handmade ornaments become treasured keepsakes that children love to help make.
Layer multiple elements for dimensional pine cone ornaments that stand out. Tie a cinnamon stick to the side with twine, tuck in small sprigs of artificial berries, or attach a sprig of preserved eucalyptus. These additions create depth and bring together different textures.
Creating a Rustic Pine Cone Centerpiece
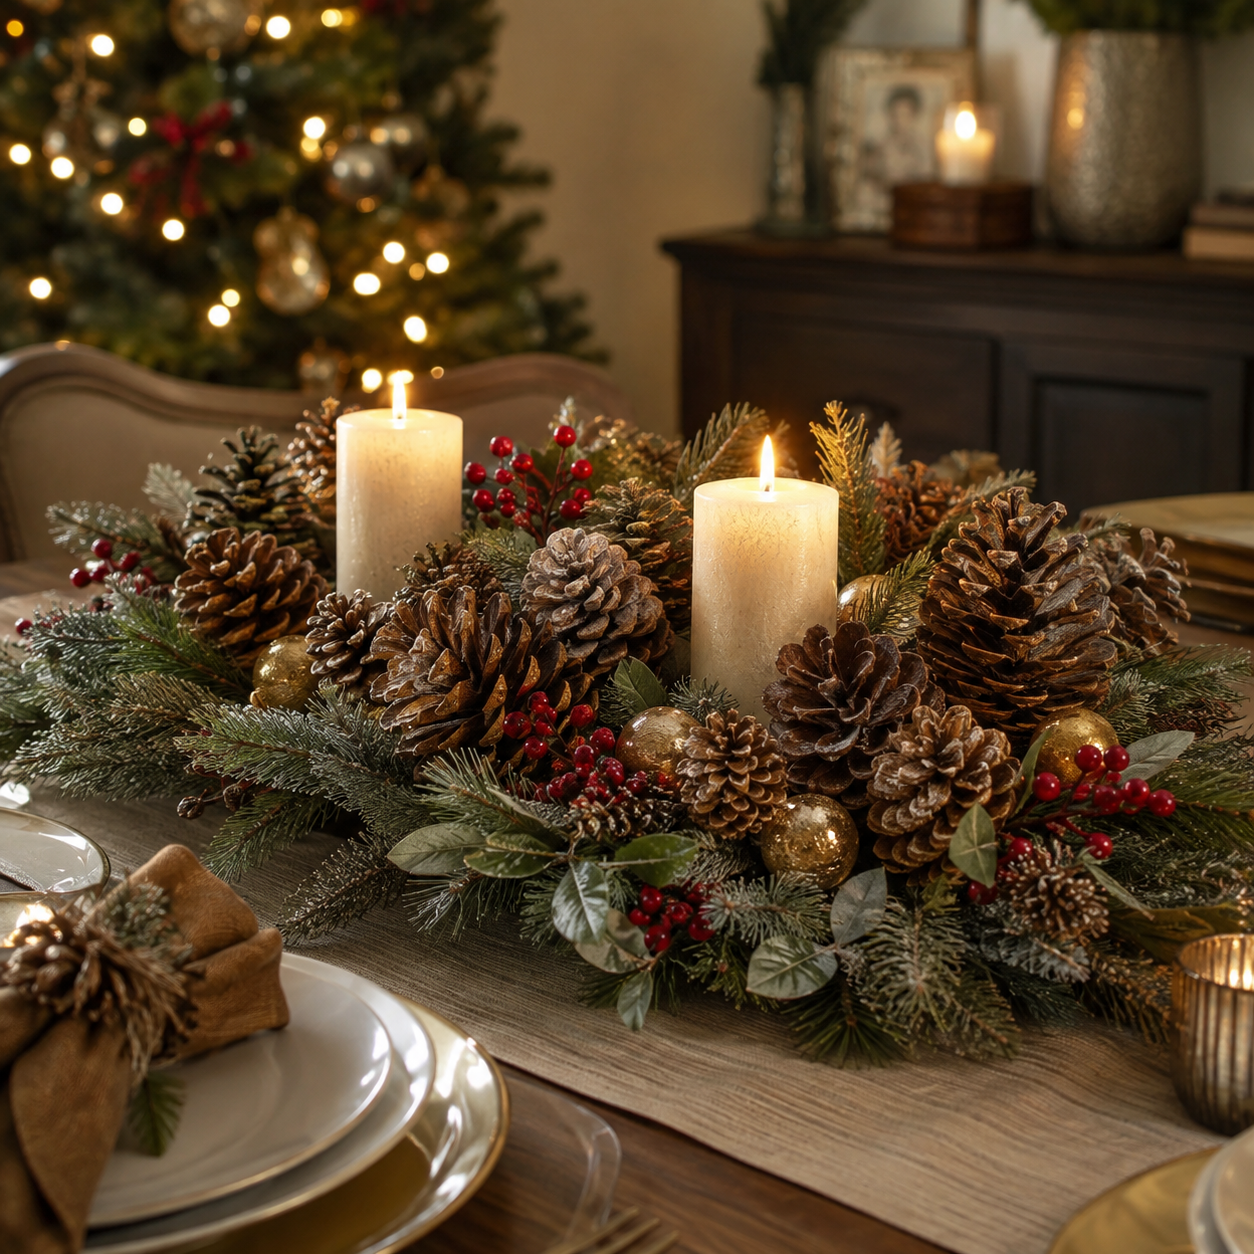
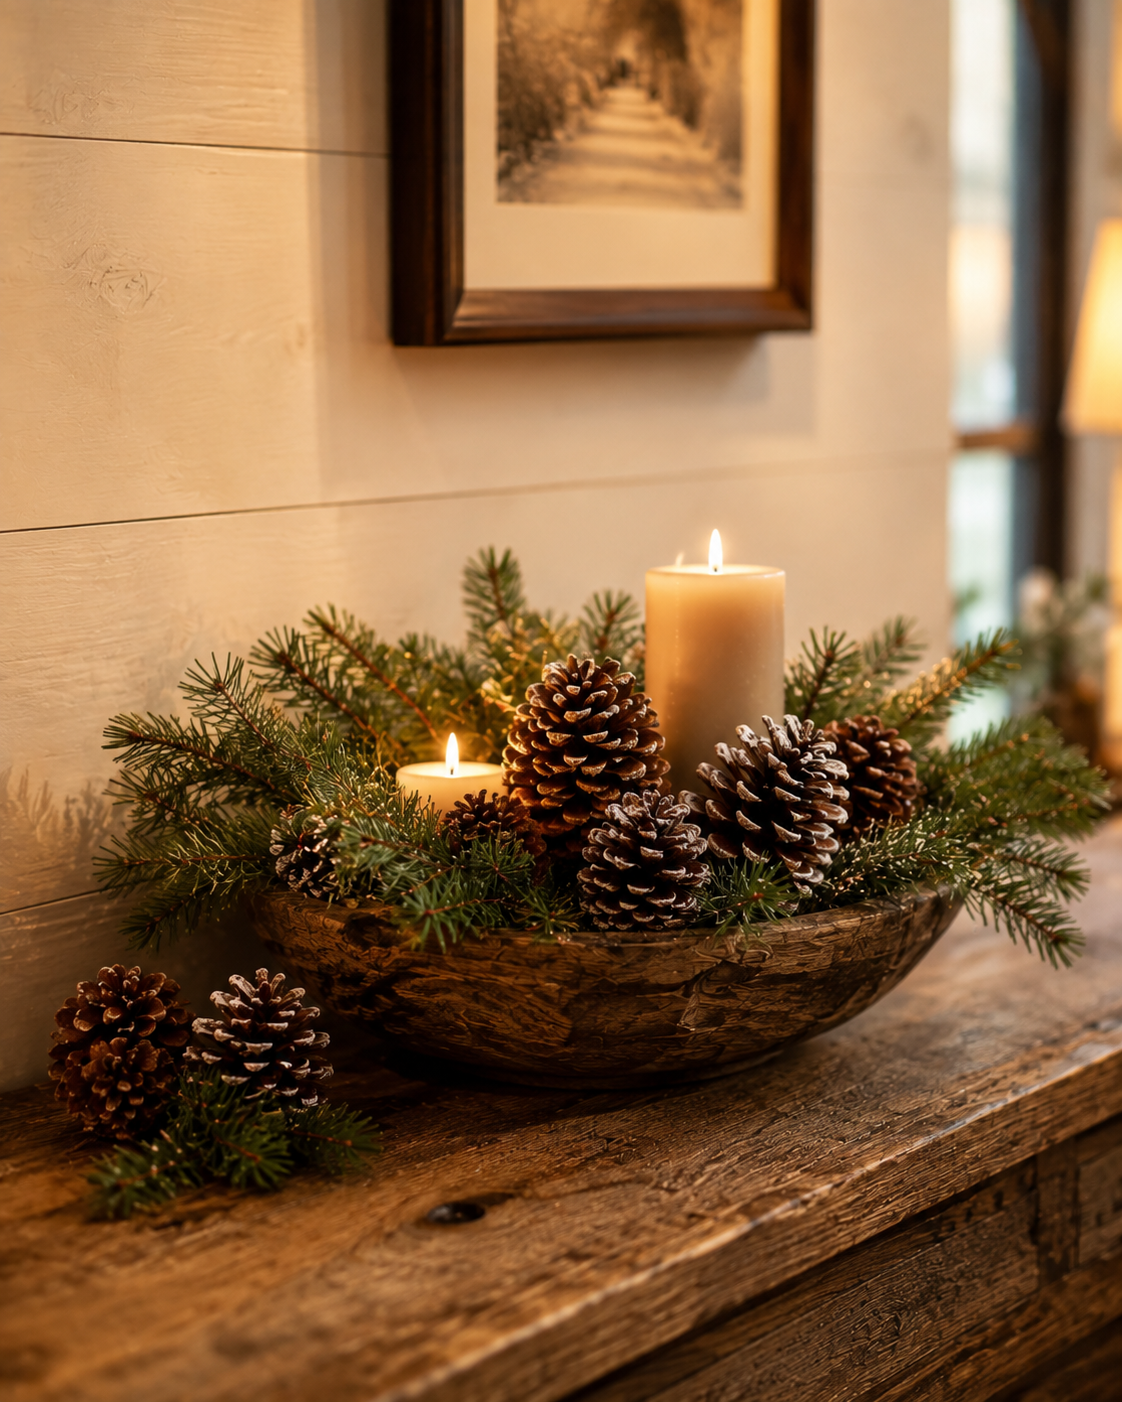
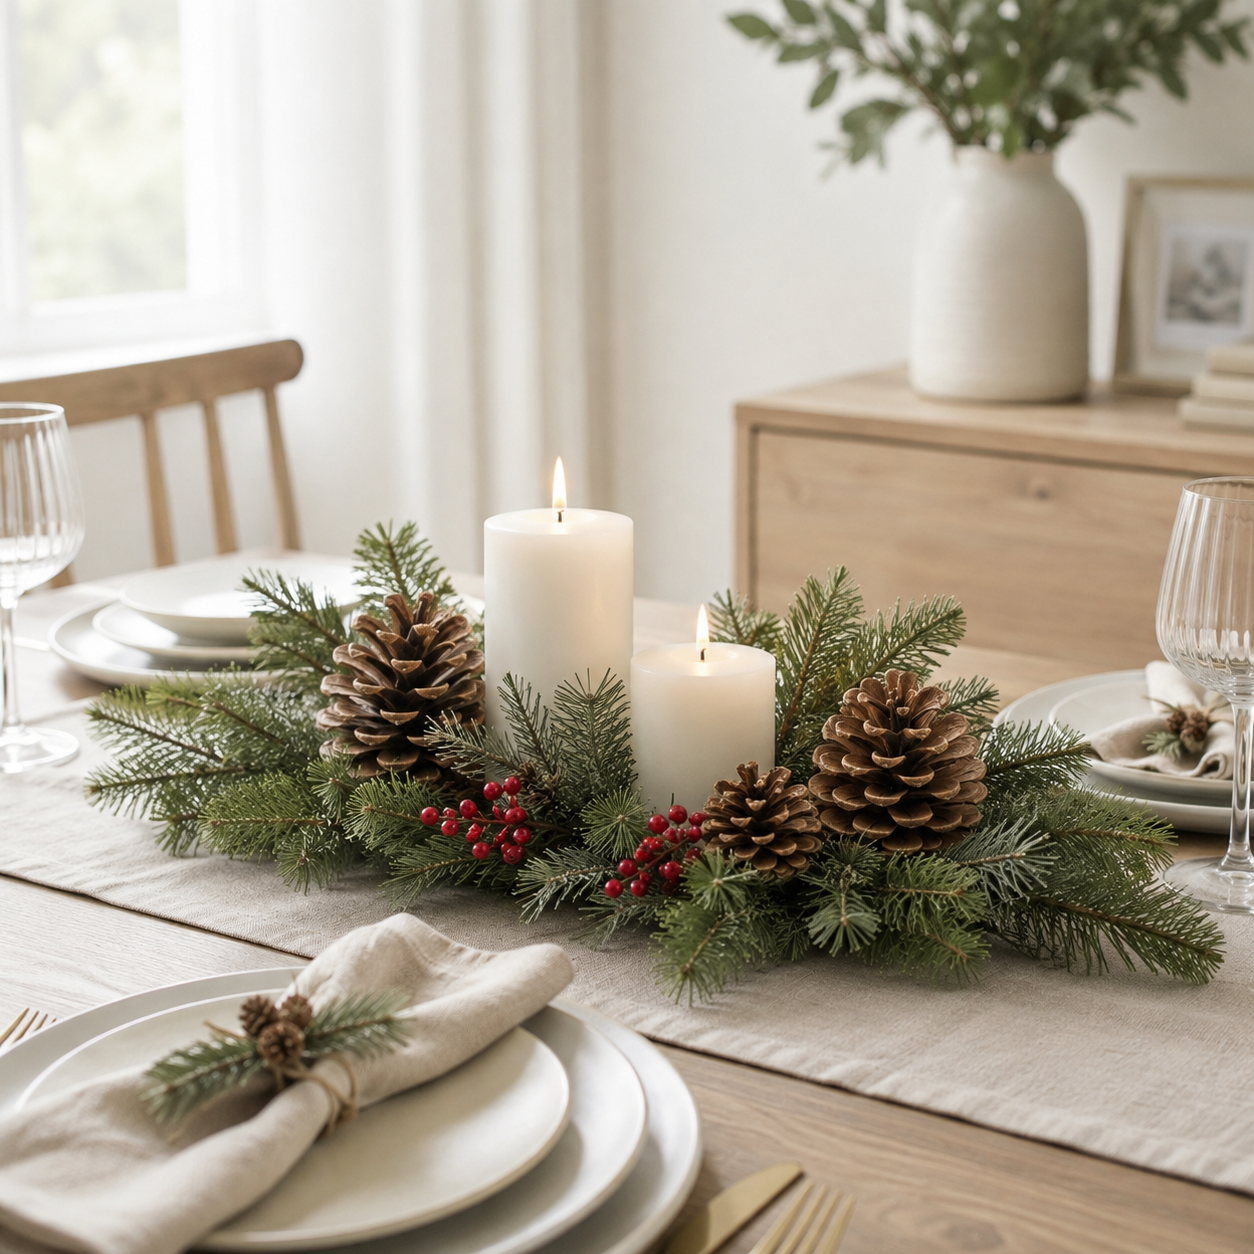
A natural centerpiece anchors your holiday table with effortless elegance. Start with a wooden tray, woven basket, or shallow bowl as your foundation. The container you choose sets the tone for your entire arrangement.
Arrange pine cones of varying sizes in your chosen vessel, placing larger ones toward the back if displaying against a wall. Fill gaps with smaller cones to create fullness. This layered approach adds visual depth to your rustic Christmas decorations.
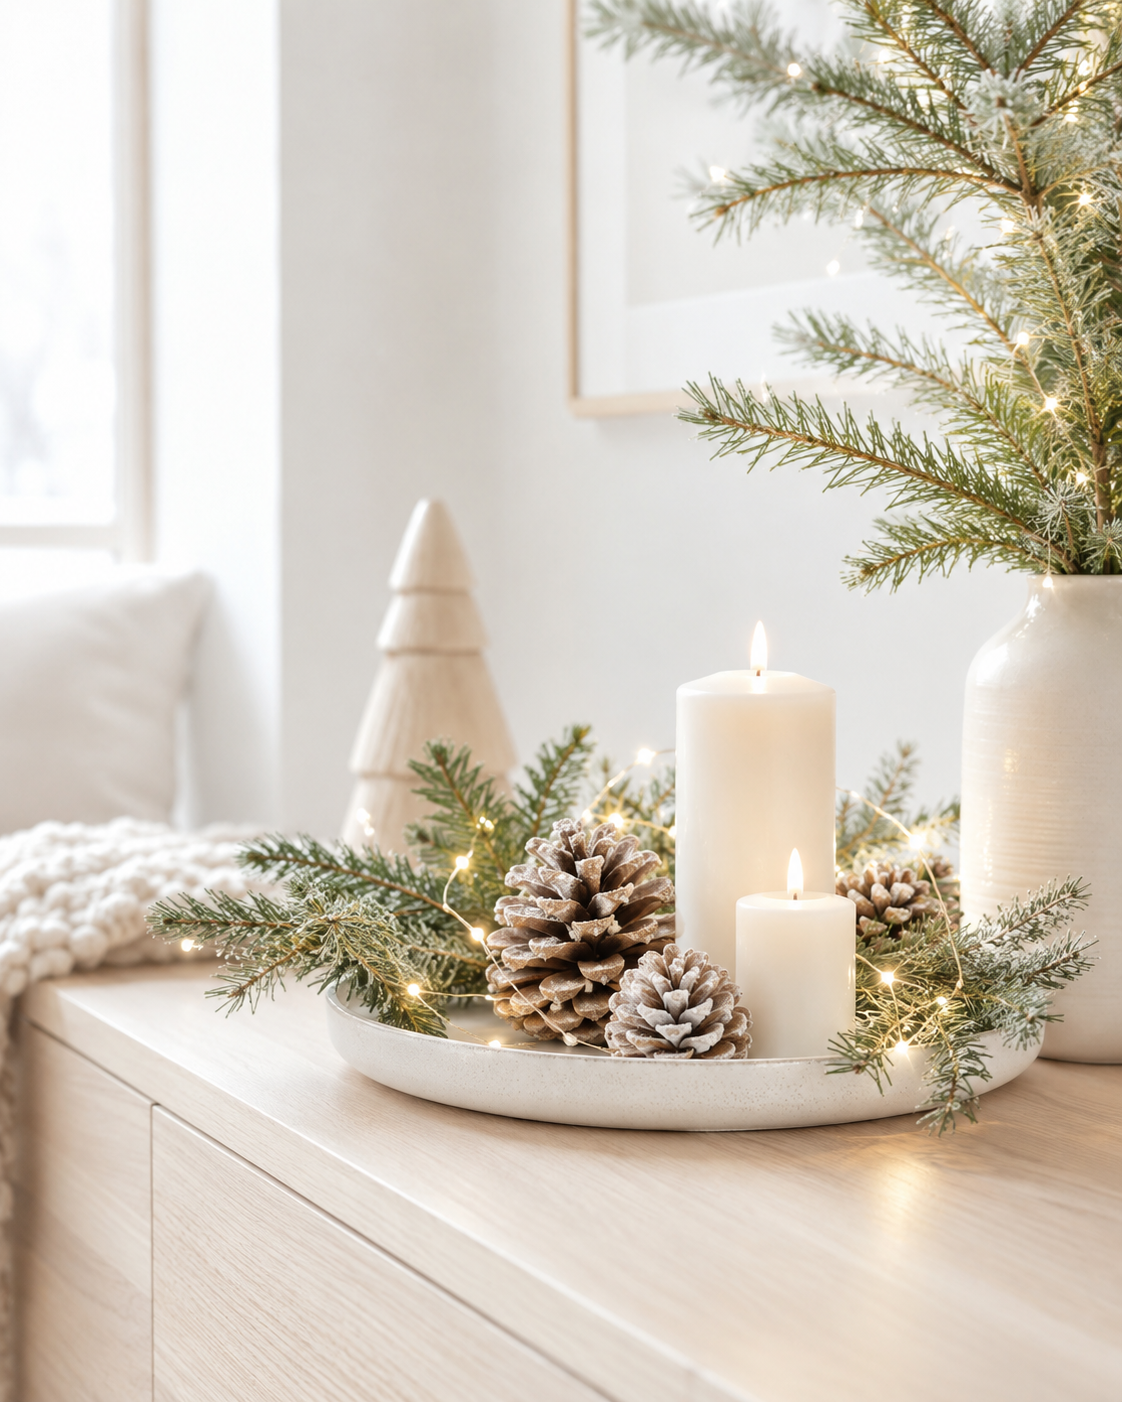
Add candles for warmth and ambiance, but always follow safety guidelines. Use flameless LED candles if placing them directly among pine cones. If using real candles, position them in sturdy holders with plenty of clearance from flammable materials.
Incorporate fresh or preserved seasonal elements for color and fragrance. Cranberries scattered throughout add pops of red, while orange slices bring citrus brightness. Fresh evergreen sprigs introduce wonderful scent and rich green color.
Create height variation to make your centerpiece more dynamic. Stack pine cones, use small pedestal dishes, or place taller candles at different points. This prevents the arrangement from looking flat and uninteresting.
Crafting Pine Cone Wreaths and Garlands
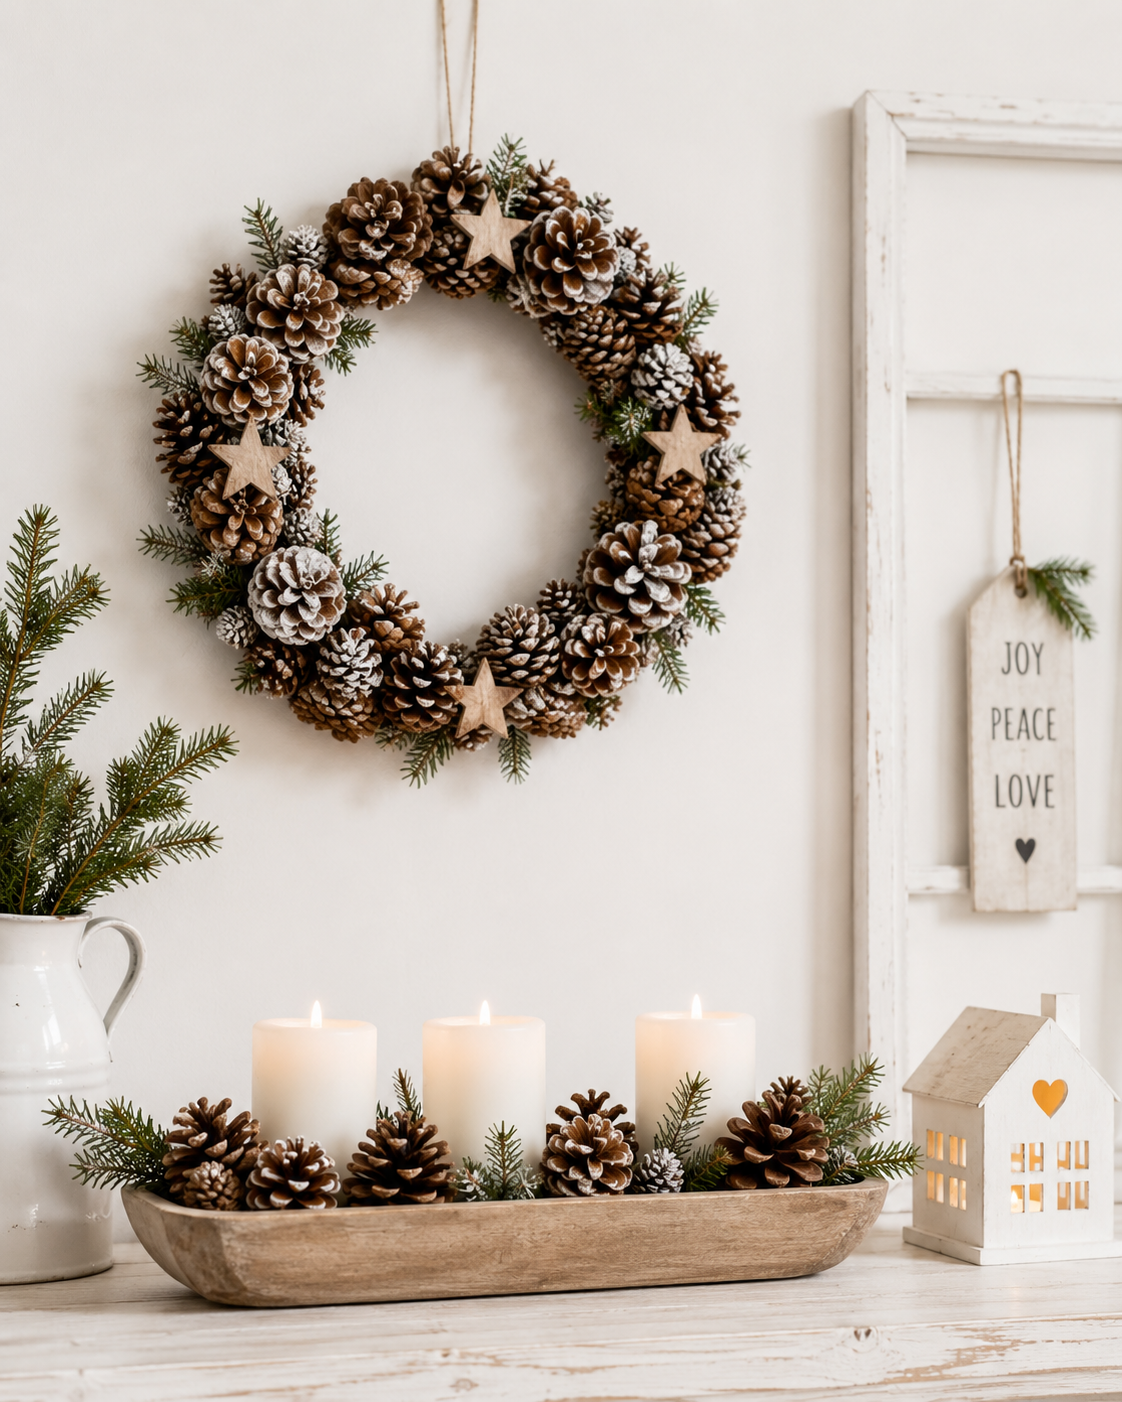
A pine cone wreath makes a stunning statement on your front door or above your mantel. Choose a base that suits your vision—wire wreath frames work for full coverage, while grapevine wreaths show through for a more open design.
Attach pine cones using hot glue or floral wire wrapped around the base of each cone. Start with larger pine cones to establish your foundation, then fill spaces with smaller ones. Work in one direction around the wreath for a cohesive flow.
Full coverage wreaths look lush and abundant, perfect for making a bold impression. Overlap pine cones slightly and vary their angles to create dimension. This technique requires more materials but delivers impressive results.
Asymmetrical designs offer a modern twist on traditional wreaths. Cluster pine cones heavily on one side or bottom quarter, leaving other areas more sparse. Add ribbons, berries, or eucalyptus to the concentrated area for emphasis.
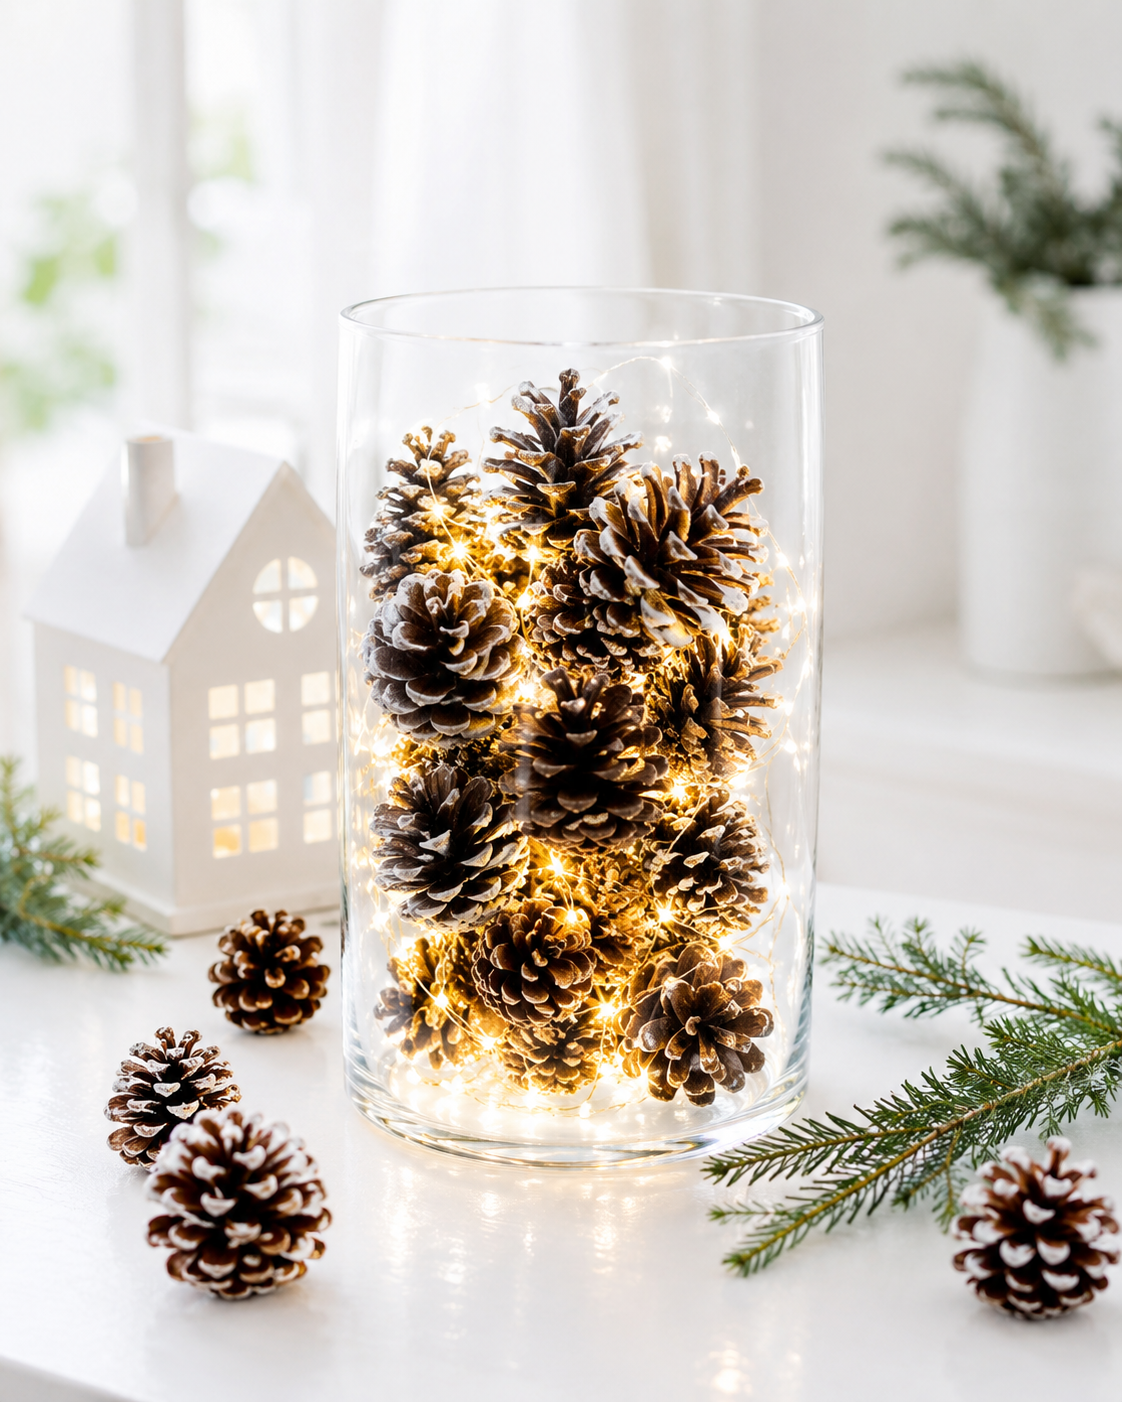
Extend your creativity to garlands for mantels, staircases, or doorways. String pine cones on sturdy wire or cord, spacing them evenly or clustering them in groups. Weave in evergreen branches, berry stems, or fairy lights between the cones.
Garlands bring continuous beauty to long spaces where wreaths won't work. Drape them over doorways, wind them around stair railings, or layer them across mantels. The natural texture softens architectural elements while adding festive spirit.
Decorating Mantels and Shelves with Natural Touches
Your mantel becomes a focal point when decorated with pine cones and complementary elements. Start by establishing a base layer with a garland or runner. This creates cohesion and prevents decorations from looking scattered.
Place pine cones in odd-numbered groupings for the most pleasing visual effect. Three medium cones here, five small ones there—this arrangement feels more natural than even numbers. Vary the heights by standing some upright and laying others on their sides.
Mix textures and materials to create interest without clutter. Combine smooth pillar candles with rough pine cones, shiny ornament balls with matte evergreen branches. This contrast makes each element stand out while working together harmoniously.
Frame your stockings with pine cone arrangements on either side. This draws the eye to your hanging stockings while creating balance. Add candles, small lanterns, or family photos to personalize the display.
Shelves throughout your home benefit from similar treatment on a smaller scale. Tuck a few pine cones among books, place them in apothecary jars, or arrange them around framed photos. These small touches extend your holiday theme beyond main decorating areas.
Layer different heights to prevent flat, boring arrangements. Use candlesticks, small boxes, or stacked books to elevate some elements. This creates visual movement that guides the eye across your entire display.
The beauty of decorating with natural materials lies in their flexibility and timeless appeal. Pine cones adapt to any decorating style while bringing the outdoors inside. Their neutral tones complement any color scheme you choose for your holiday decor.
Conclusion
Pine cone decorations add a rustic charm to your home for the holidays. They bring the beauty of winter forests into your living space. You can turn simple pine cones into beautiful ornaments, elegant centerpieces, and thoughtful gifts.
Decorating with pine cones is fun for everyone. Kids love painting and glittering them for tree ornaments. Adults enjoy making sophisticated wreaths and table displays. Each project is more than a decoration; it's a memory maker.
Your pine cone creations can become a part of your family traditions. Keep them safe after the holidays, and they'll bring joy for years to come. Every time you display them, you'll remember the fun you had making them.
Start your pine cone decorating journey this season. Take a walk around your neighborhood to find materials. Try a simple project first, like making place card holders or gift toppers. As you get better, you can make bigger pieces like wreaths and centerpieces.
Your home will be filled with natural elegance and festive spirit. Pick up some pine cones today and let your creativity shine this Christmas season.