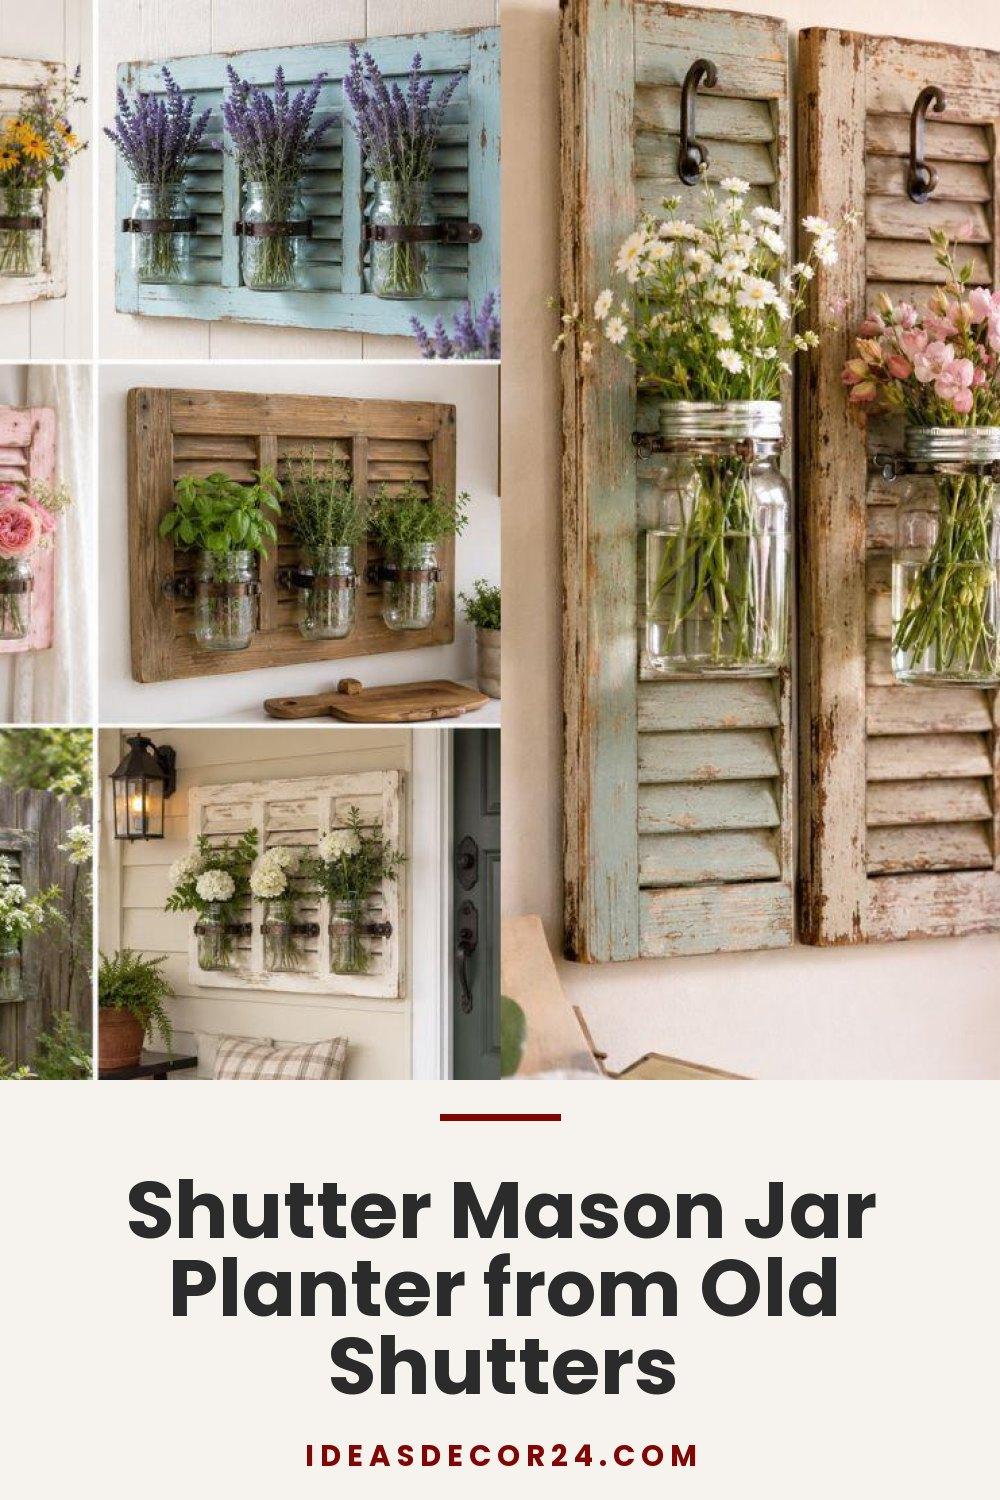
Shutter Mason Jar Planter from Old Shutters

Have you seen those old wooden shutters in your garage or at a flea market? They're just waiting for a new life. This project turns old windows into beautiful farmhouse flower displays that warm up any room.
You don't need fancy tools or to be a pro at woodworking. This DIY is all about being affordable and sustainable. It gives old materials a new purpose. The result is a lovely piece that shows off fresh flowers, herbs, or greenery in a way store-bought items can't.

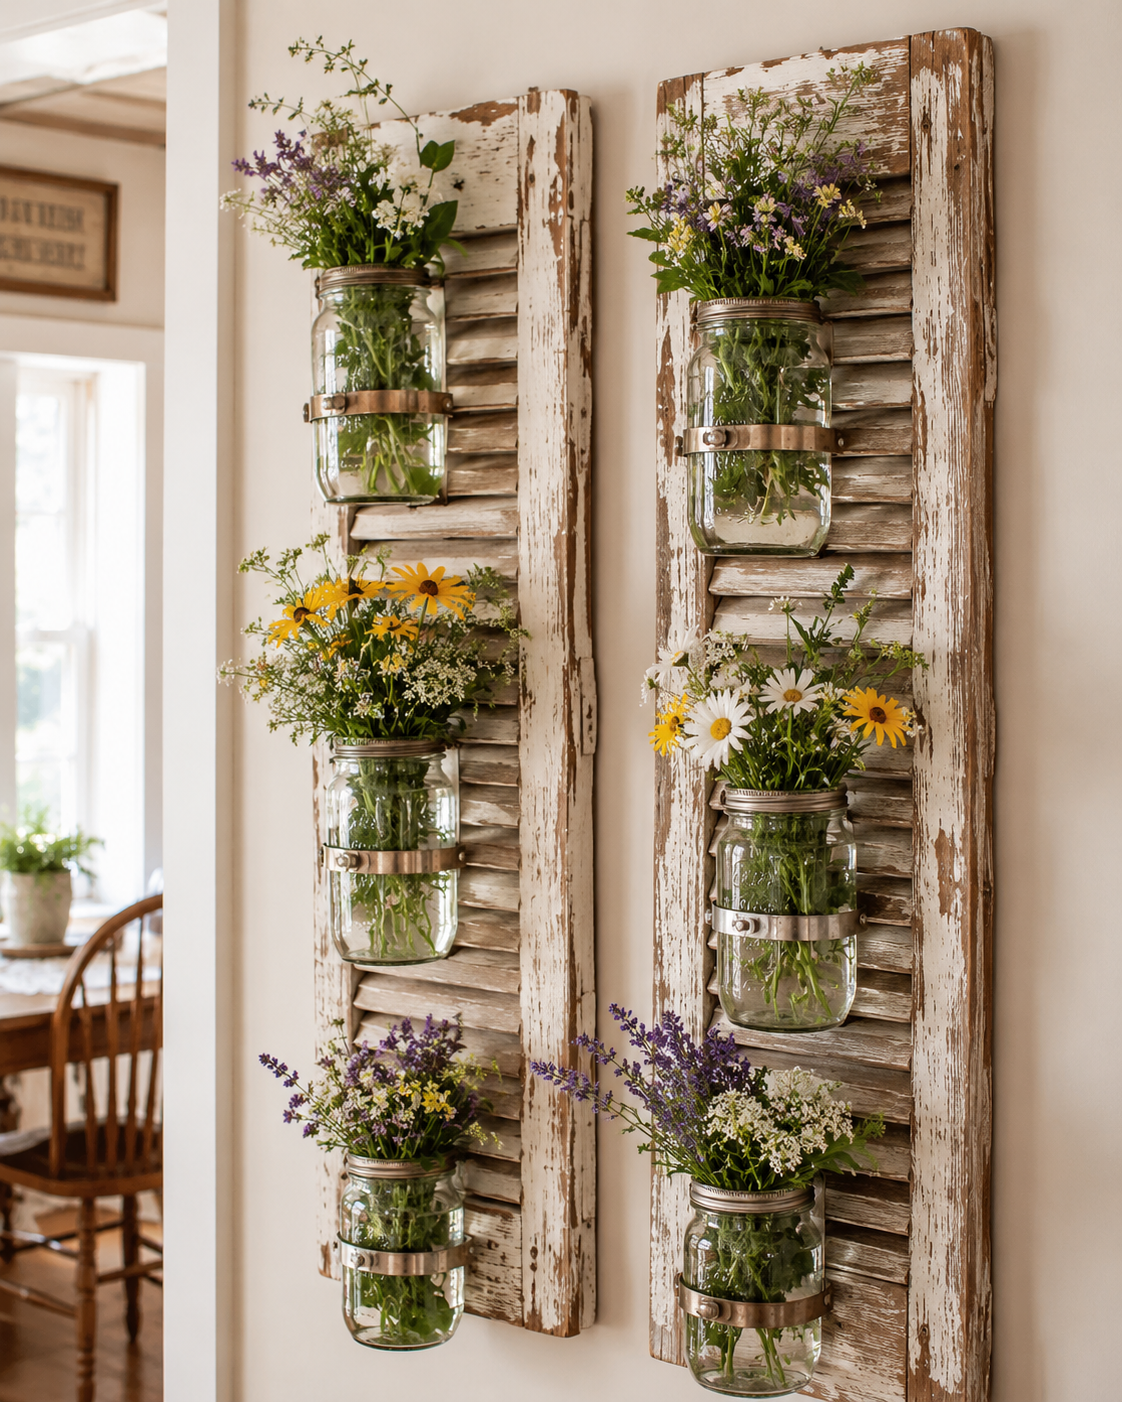
Imagine weathered wood and glass jars together, making a stunning centerpiece in your kitchen, entryway, or porch. These rustic home decor ideas bring vintage charm and add beauty to your space.
Whether you're a seasoned crafter or just starting, this project is for everyone. You'll make something special—a piece that tells a story of creativity and smart use of resources.
Materials and Tools You'll Need
Before you start, make sure you have everything you need. This guide will help you repurpose vintage shutters into beautiful flower holders. Gathering quality materials early saves you from last-minute trips to the store.
Finding the Perfect Vintage Shutters
Choosing the right vintage shutters is key for your window shutter crafts project. Look for shutters with character but also strong enough to hold mason jars.
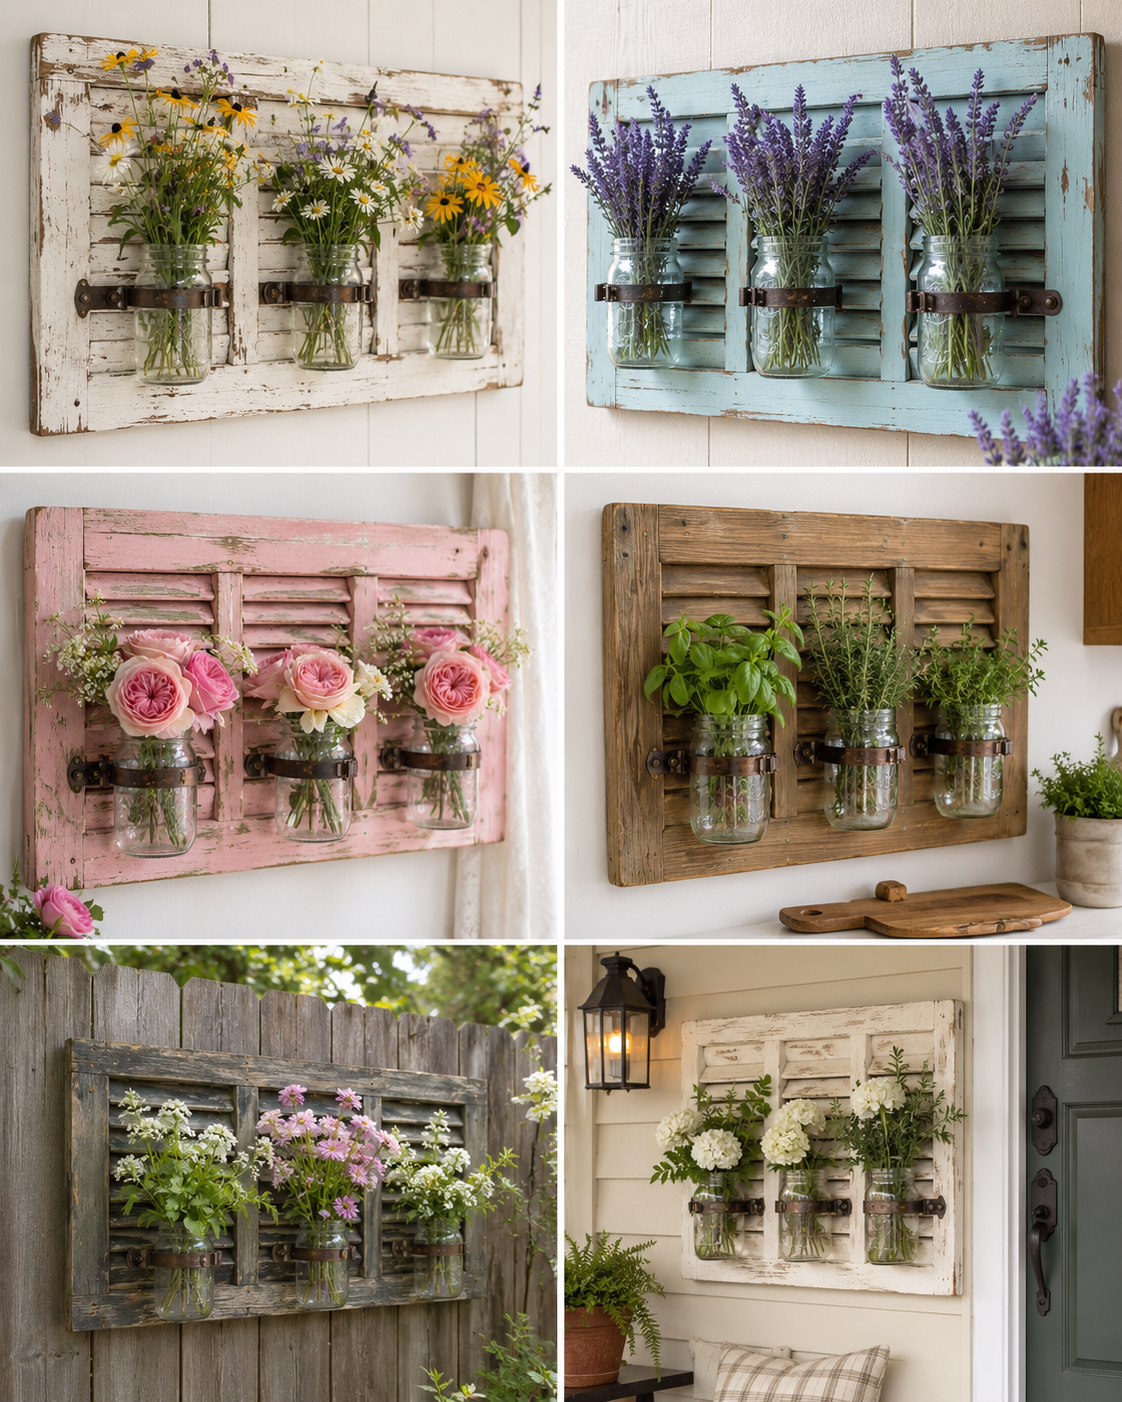
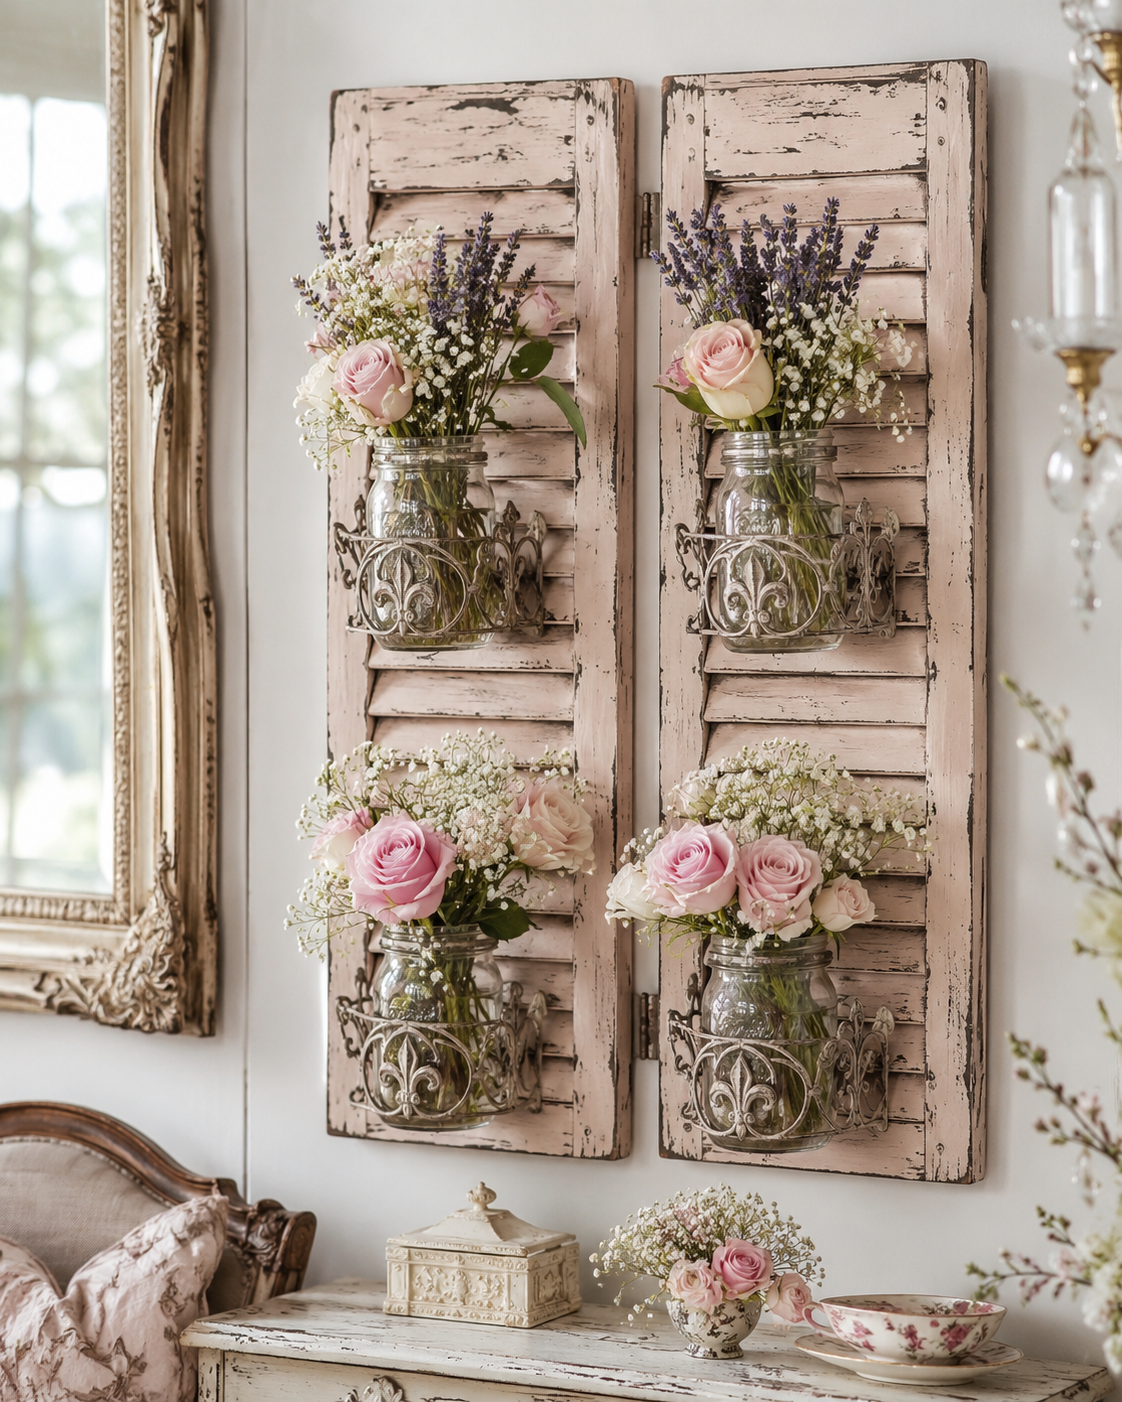
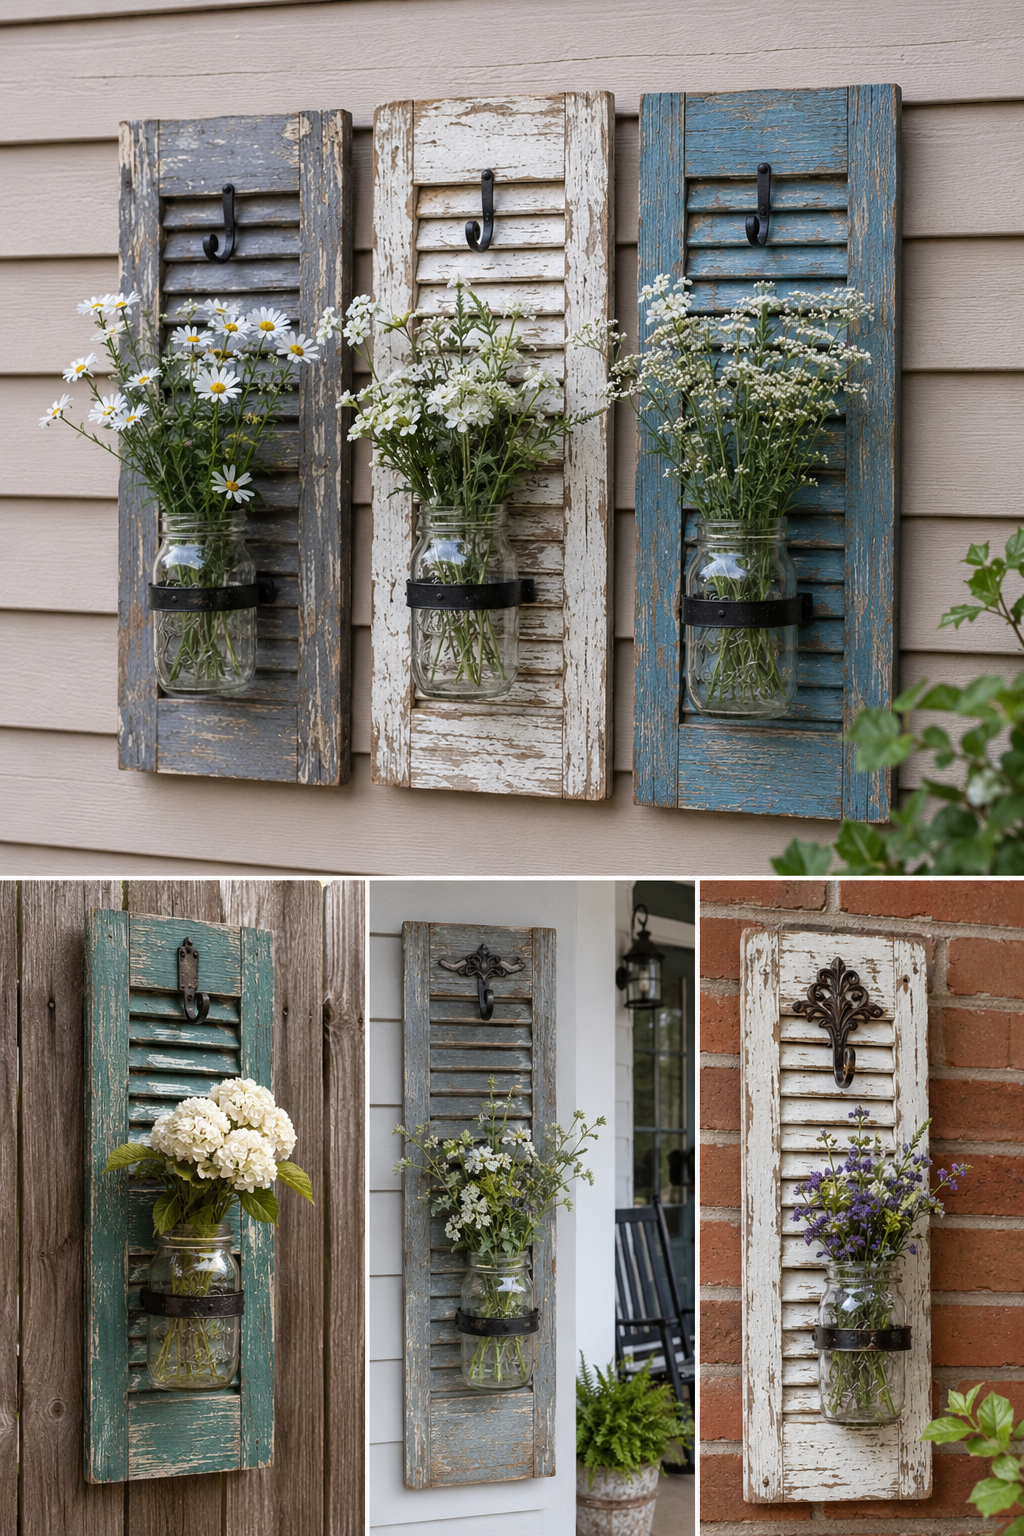
Where to Source Old Shutters
Flea markets and antique shops are great places to find old shutters. Estate sales often have architectural salvage at good prices.
Online marketplaces like Facebook Marketplace, Craigslist, and OfferUp are also good sources. Many people give away old shutters for free or a low cost.
Don't forget to check your attic, garage, or barn for shutters. They might be hiding there waiting for you.
Shutters that are 24 to 36 inches tall fit most walls well. Narrow shutters (8-12 inches) create vertical displays, while wider ones make bold statements.
Louvered shutters have a classic farmhouse look. Paneled shutters are cleaner and work well with modern rustic interiors.
Some wear and tear can add charm. But avoid shutters that are rotting, broken, or severely warped.
Gathering Your Supplies
After finding your vintage shutters, gather the rest of your materials. Each item plays a key role in your mason jar wall decor.
Mason Jars and Mounting Hardware
Regular mouth pint-sized mason jars are the best for this project. Ball and Kerr brands are known for their quality and vintage look.
Quart-sized jars make bigger floral displays but are heavier. Think about your wall and shutter strength when choosing jar sizes.
Metal hose clamps (2.5 to 3-inch diameter) hold jars securely. Stainless steel ones resist rust better, especially in humid places.
Metal pipe straps offer an industrial look for mounting. Choose straps that fit your jar with about half an inch of overlap for tightening.
Use wood screws (3/4 inch to 1 inch) for attaching hardware to shutters. For wall mounting, pick heavy-duty picture hanging hardware that can hold 10-15 pounds.
Finishing Products and Decorative Elements
Start sanding with 80-grit sandpaper to remove old finishes. Then, use 120-grit for smoothing and 220-grit for fine details.
Choose paint or stain based on your style. Chalk paint gives a shabby chic look and needs little prep. Latex paint in whites, creams, or grays suits farmhouse styles.
Wood stains in walnut, weathered gray, or driftwood tones highlight the wood grain. Apply polyurethane or paste wax for a protective finish.
Optional decorative elements can make your project unique. Jute twine around jar necks adds rustic charm. Adhesive stencils let you add patterns or words to shutters.
How to Transform Old Shutters into Rustic Mason Jar Flower Holders
Ready to give old shutters a new life? This makeover is easy and fun for all crafters. The best part? The imperfections add to the charm of your DIY shutter planter.
Each step builds on the last to create stunning decor. You'll learn how to work with any vintage shutter. Let's go through the whole process together.
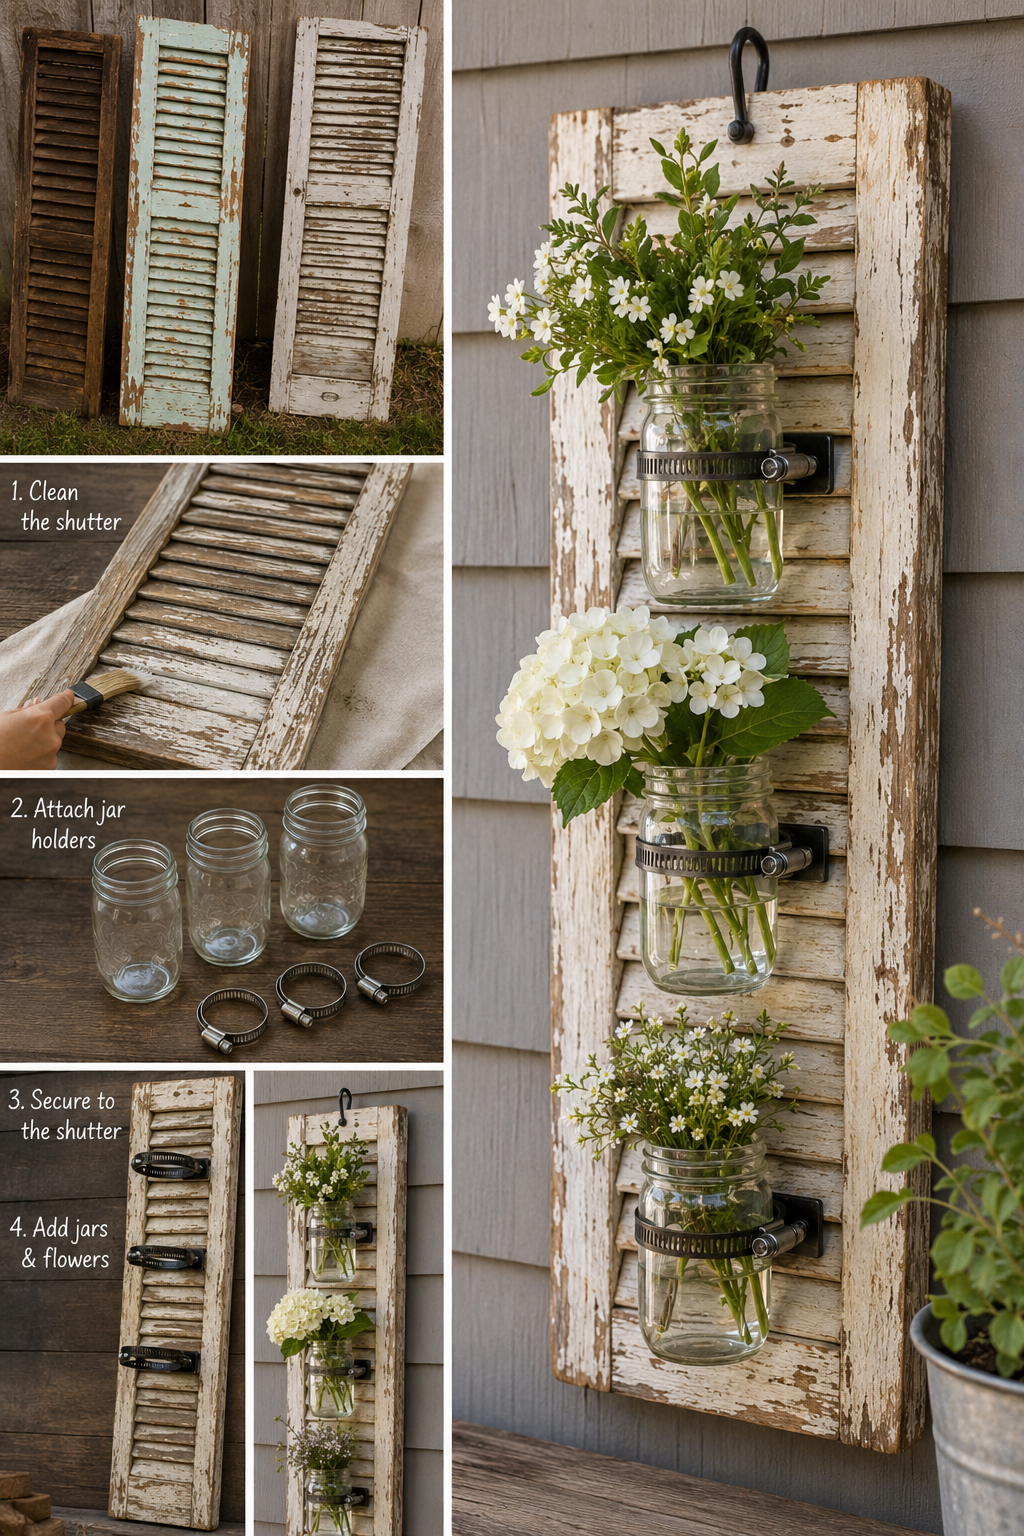
Clean and Prep Your Shutters
Starting with a clean slate is key. Your shutters have dirt, grime, and old paint. Cleaning them well ensures your finish will last and look great.
Start by taking your shutters outside or to a well-ventilated area. Use a stiff-bristled brush to remove loose dirt and paint. This step gets rid of surface debris without making a mess.
Next, mix warm water with dish soap in a bucket. Dip a scrub brush into the solution and clean the entire shutter. Focus on the slats and corners where dirt hides.
Removing Dirt and Old Paint
For tough grime, you might need to scrub harder. A plastic putty knife is great for scraping away dirt without damaging the wood. Always work in the wood grain direction to avoid scratches.
If your shutter has thick, peeling paint, consider using a paint scraper or wire brush. But remember, leaving some old paint adds authentic character to your upcycled project. You don't need a perfectly clean surface.
Rinse the shutter with clean water and let it dry completely before moving on. This drying process usually takes 24 hours in a warm, dry place. Moisture trapped under new paint or stain can cause problems later.
Paint or Stain Your Shutter
Now comes the fun part—adding color to your project! The finish you choose greatly impacts the final look of your vintage shutter creation. Both paint and stain offer beautiful results for farmhouse-style decor.
If you prefer painted shutters, use chalk paint or latex paint designed for furniture. Apply a thin, even coat with a brush or foam roller. Thin coats dry faster and look smoother than thick applications.
For a natural wood look, wood stain penetrates the grain and enhances the vintage character. Apply stain with a brush or cloth, working in the wood grain direction. Wipe away excess stain after a few minutes for even color.
Popular Farmhouse Color Options
Classic white is the most popular choice for creating a fresh, clean farmhouse aesthetic. It brightens any space and makes colorful flowers pop. Soft white or antique white shades work especially well for a vintage feel.
Weathered gray offers a sophisticated, neutral option that complements modern farmhouse decor. This versatile color works in virtually any room and pairs beautifully with both bright and muted floral arrangements.
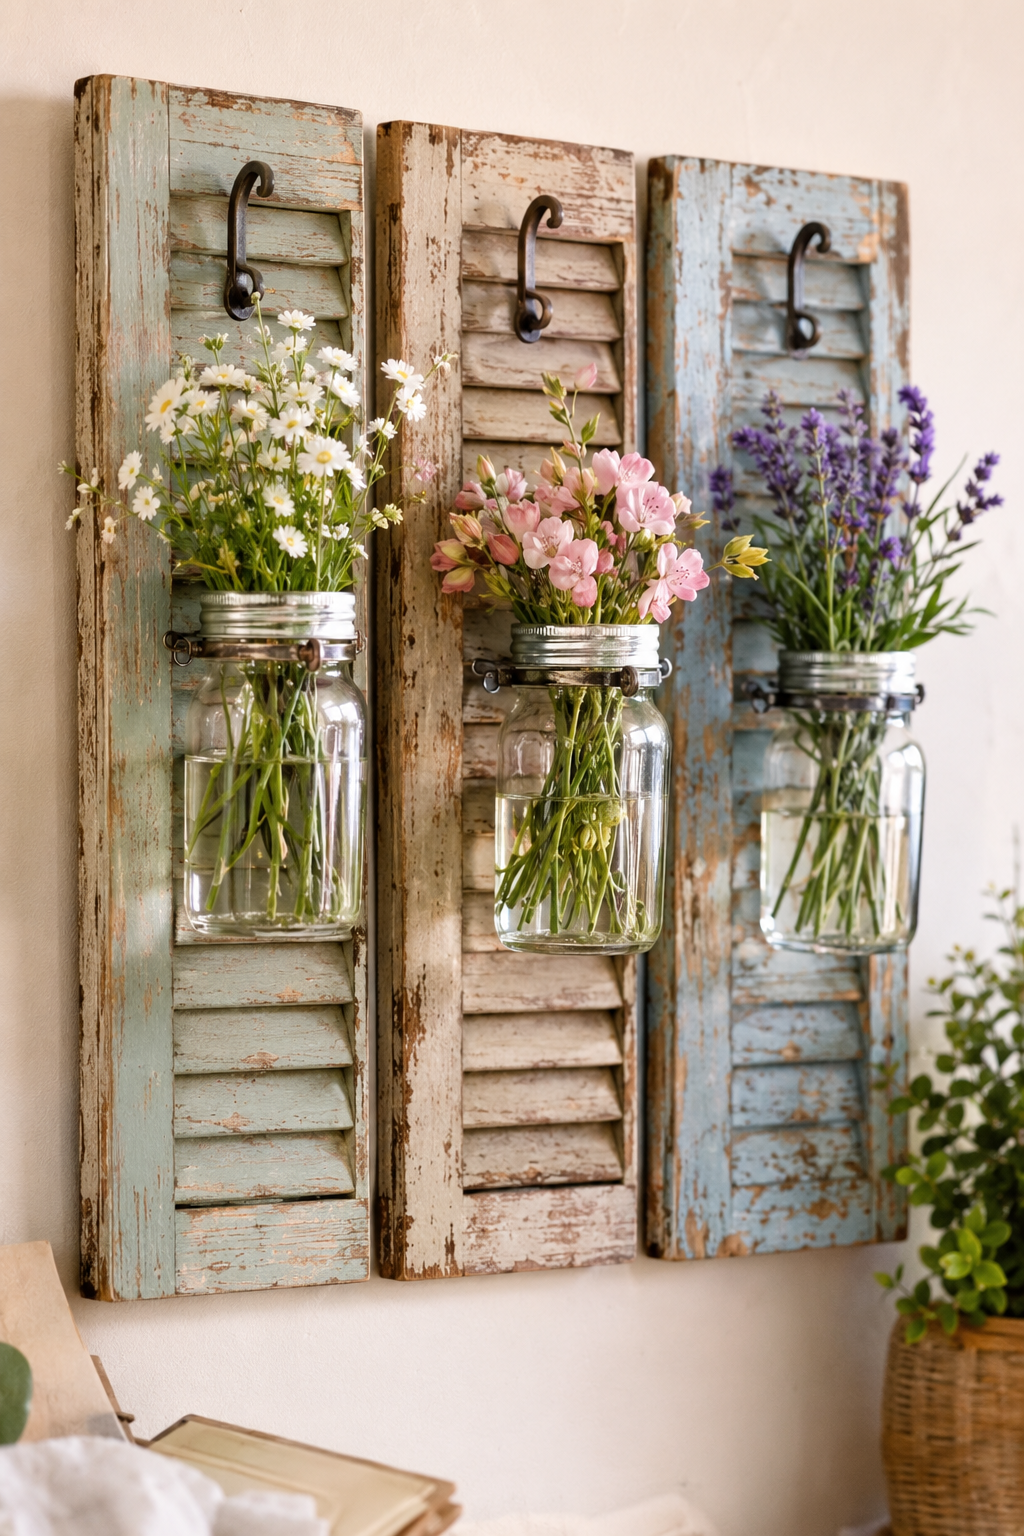
For a pop of color, consider soft turquoise, sage green, or dusty blue. These gentle hues add personality while maintaining that shabby chic planter aesthetic. You can also leave some areas unpainted for an authentically weathered appearance.
Let your paint or stain dry completely according to the manufacturer's instructions. This usually takes 2-4 hours for paint and 8-12 hours for stain. Don't rush this step or you'll end up with smudges.
Install Hose Clamps or Metal Pipe Straps
The hardware you attach now will hold your mason jars securely in place. Metal hose clamps or pipe straps create an industrial-rustic look that's both functional and stylish. This step requires some basic measuring and drilling skills.
Decide how many mason jars you want on your shutter—typically three to five jars work well depending on shutter height. Lay your jars on the shutter to visualize the spacing before drilling any holes.
Use a pencil to mark where each clamp will sit on the shutter slats. Make sure each jar will have adequate clearance from the jars above and below it. Double-check that your marks are centered on sturdy slats that won't split.
Measuring and Spacing Your Holders
For the most pleasing visual balance, space your mason jar holders 6-8 inches apart vertically. Measure from the center of one clamp position to the center of the next. Consistent spacing creates a professional appearance.
Mark the screw holes for each clamp using the hardware itself as a template. Place the clamp on your mark and use a pencil to mark through the screw holes. This ensures accurate drilling positions.
Pre-drill pilot holes using a drill bit slightly smaller than your screws. This prevents the wood from splitting when you drive the screws in. Pilot holes are especially important for older, dried-out wood.
Attach Mason Jars Securely
With your clamps or pipe straps screwed firmly into the shutter, it's time to add the mason jars. This straightforward step brings your upcycled shutter projects to life. You'll instantly see your vision coming together.
Slide a mason jar into each clamp opening. Position the jar so it sits straight rather than tilted to one side. The jar should nestle snugly within the metal band.
Tighten each clamp using a screwdriver or the built-in tightening mechanism. The goal is to hold the jar firmly without over-tightening, which could crack the glass. Test by gently tugging on the jar—it shouldn't slide out easily.
If a jar feels loose, tighten the clamp a bit more. If it feels too tight or you hear stress sounds from the glass, loosen slightly. Finding the right tension takes just a moment of adjustment.
Add Wall Mounting Hardware
Your DIY shutter planter needs secure mounting hardware before it can grace your wall. The right hanging method depends on your shutter's weight and your wall type. Safety is the top priority here.
For lighter shutters, D-ring hangers attached to the back provide simple hanging options. Screw one D-ring on each side of the shutter, about one-third down from the top. This creates balanced hanging points.
Heavy shutters with multiple mason jars need more robust mounting. Consider screwing directly through the shutter frame into wall studs using long wood screws. This method offers the most security for larger upcycled shutter projects.
If you can't hit wall studs, use heavy-duty drywall anchors rated for the combined weight of your shutter, jars, flowers, and water. Always overestimate the weight to ensure safe mounting. Better safe than sorry when hanging décor over living spaces.
Picture hanging wire strung between two D-rings offers another option. Thread wire through both rings and secure it tightly. This method allows easy leveling adjustments when you hang the shutter.
Style with Flowers and Greenery
The final step transforms your project from craft to décor masterpiece. How you style your mason jars determines the overall mood and appeal. This is where your personal creativity truly shines.
Fresh flowers from your garden or local market create vibrant, living arrangements. Cut stems at an angle and place them in water-filled jars. Change the water every few days to keep flowers fresh and prevent odors.
For easier maintenance, consider silk flowers or dried botanicals. These require no water and look beautiful year-round. Dried lavender, eucalyptus, and wheat stalks create stunning farmhouse displays in your shabby chic planter.
Potted herbs offer a functional twist on traditional flower arrangements. Small herb plants fit perfectly in mason jars and add fresh scents to your kitchen or dining area. Basil, thyme, and rosemary thrive in sunny window locations.
Mix textures and heights for visual interest. Combine tall, dramatic stems with shorter, fuller blooms and trailing greenery. This layered approach creates depth and movement in your arrangements.
Don't forget that you can easily remove mason jars from their clamps for filling and cleaning. This makes maintenance simple and protects your walls from water damage. Tighten the jars back into place after arranging your flowers.
Embrace the imperfections throughout this entire process. Chipped paint, uneven distressing, and slightly wonky spacing all contribute to authentic rustic charm. Your finished DIY shutter planter will be a unique conversation piece that reflects your personal style.
Conclusion
Your project shows how simple materials can make amazing home décor. Turning old shutters into flower holders is a smart choice. It's good for the planet and saves money, adding charm to your home.
This farmhouse flower display is very flexible. You can paint the jars to match your home's style. Change the flower arrangement for holidays or seasons to keep it fresh.
Think about making smaller versions as gifts. You can also hang shutters to make bigger displays. Add things like vintage keys or small signs for extra flair.
Old windows, doors, and crates can be turned into something new. Look at them with a creative eye. Imagine how you can use them in your home.
Creating rustic décor on a budget is easy. All you need is some basic supplies and your imagination. These handmade pieces tell stories and add warmth to your home.
Don't be shy to show off your work. Share photos on social media to inspire others. Your project might inspire someone to start their own DIY adventure.