Christmas Tree with Ribbon: 12 Ways to Wrap, Drape, Tie and Top It

A Christmas tree with ribbon can feel full and festive before the last ornament goes up. Ribbon goes on four ways: wrapped around the tree, draped down the tree, tied into bows, and arranged on the topper and the base. Here are three ideas for each approach, including how to put ribbon on a Christmas tree in waterfall streams, step by step, so you can choose the shape that suits your room.
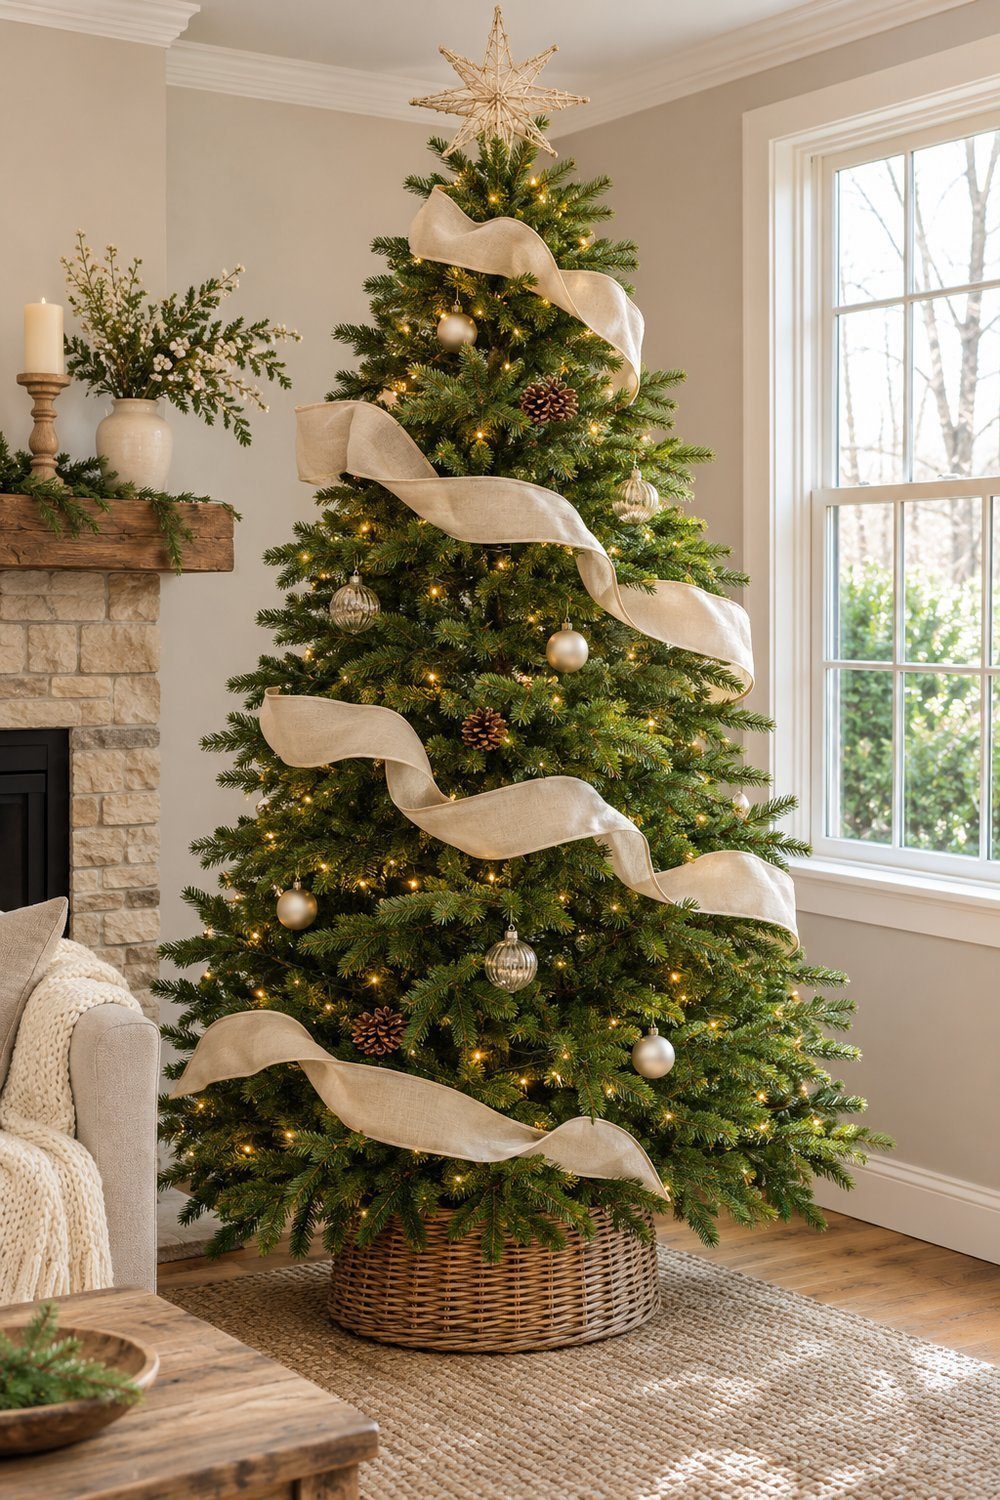
Wrapped around the tree
A loose, continuous spiral. Use wired ribbon to draw a soft path around the tree, starting near the top with the end tucked into the back. Michael Wurm Jr. favors 2 1/2-inch ribbon. Work downward and around, pushing the ribbon into the foliage and letting it billow between tucks. Vary those intervals so the Christmas ribbon garland feels relaxed, with greenery breaking up its route. Keep the ribbon loose. Michael Wurm Jr., Inspired By Charm
Separate swags between neighboring branches. Create the look of ribbon weaving around the tree using individual pieces. Cottonwood Limited's tutorial cuts wired ribbon into 2-foot sections, tucks one end into a branch, then nestles the other into a neighboring branch section. Let the middle ripple gently, or shape it for a more consistent curve. The tutorial leaves ribbon width open; its useful detail is the branch-to-branch span, so each swag sits independently among the ornaments. Cottonwood Limited Team, Cottonwood Limited
Layered diagonal ribbon panels. Pair wire-edged ribbons at least 3 inches wide, cutting approximately 18-inch sections. Monica Benavidez staples the paired ribbons together at both ends, then tucks one end toward the back of the tree and attaches the other to a branch, leaving enough slack to fluff the ribbon out. Alternate the panels' diagonal directions. Gently separate the layers for a broader patch of color, or leave them overlapping so both patterns read together. This is one option from her tutorial. Monica Benavidez, Monica Wants It
Draped down the tree
Waterfall ribbon, step by step
Waterfall ribbon falls from the crown in separate streams, with sections tucked inward to make waves. This version follows the Vertical Cascade method from Balsam Hill editorial team, Balsam Hill, one of several techniques in its guide. Wired edges help hold the curves; the guide describes wide ribbon around 2 3/8–4 inches [6–10 cm]. Its cascade uses lengths approximately 4–6 feet [120–180 cm]. Let the streams wander gently rather than forcing straight lines. Choose the placement at the crown first, then shape the waves farther down.
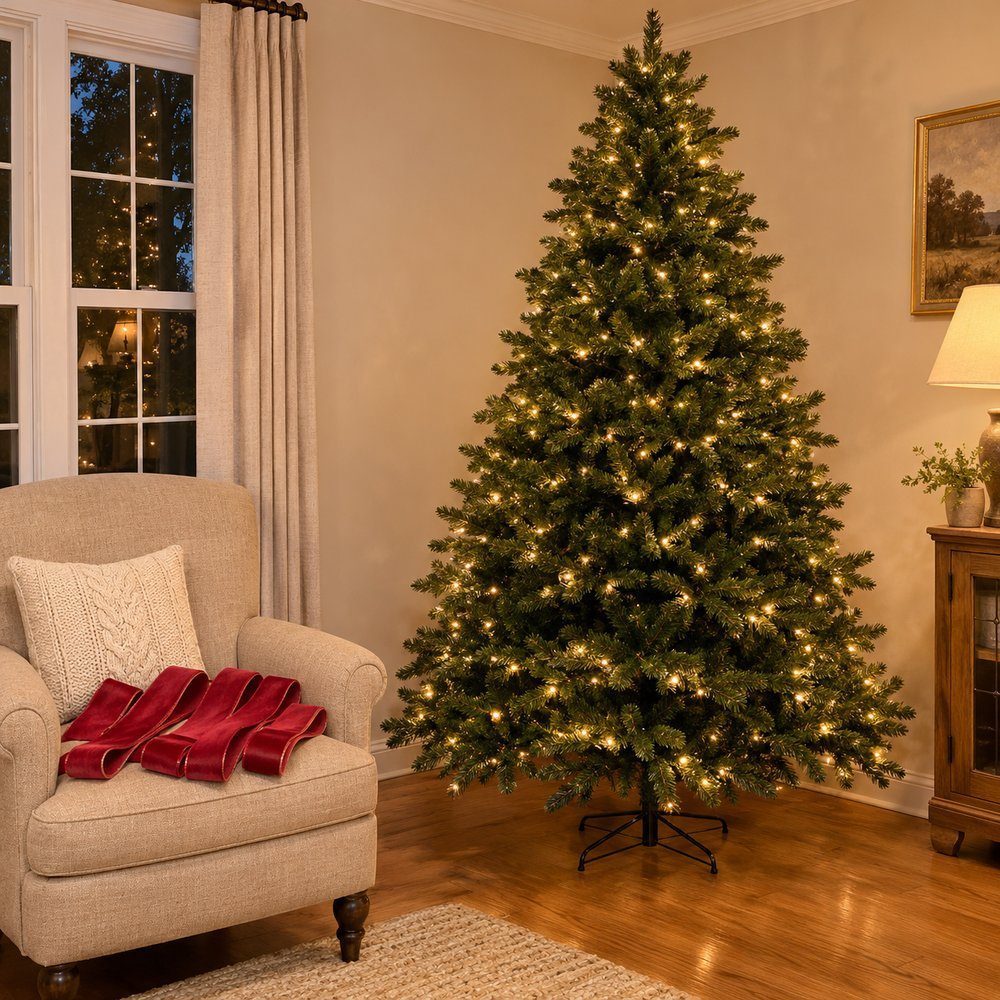
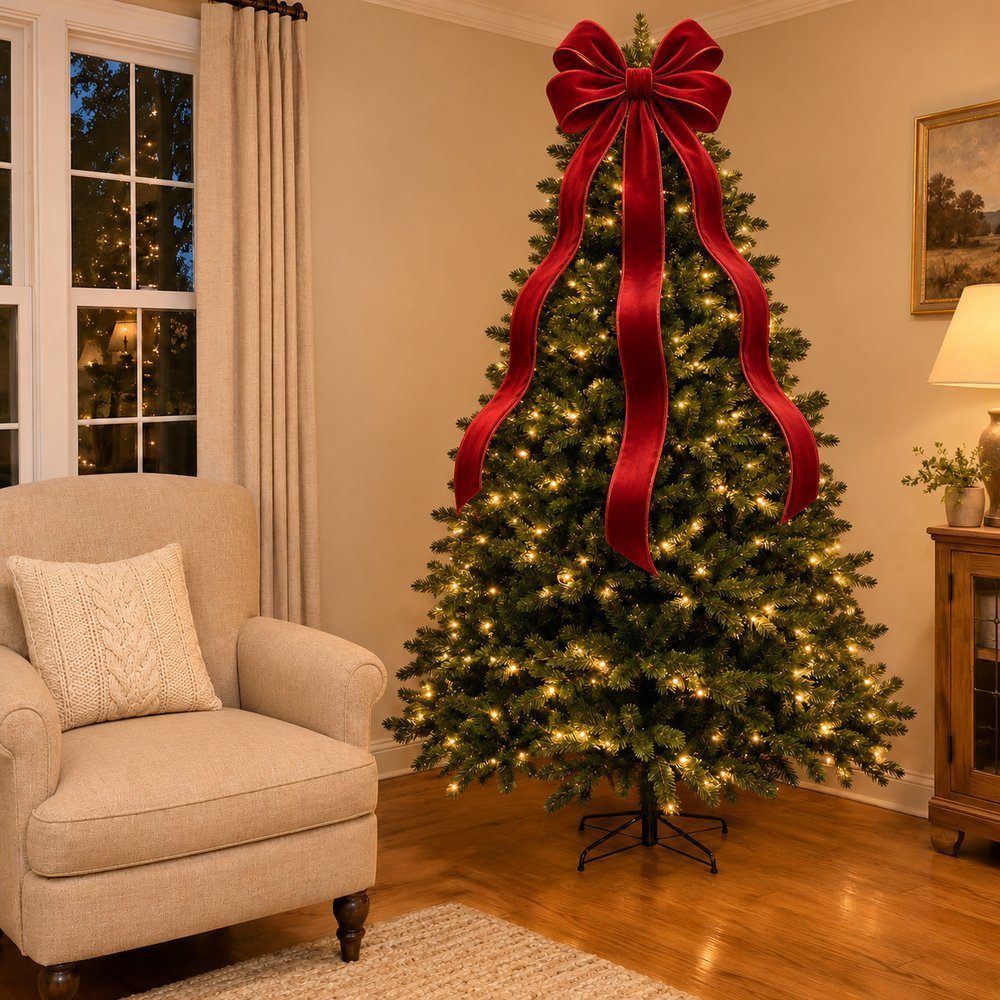
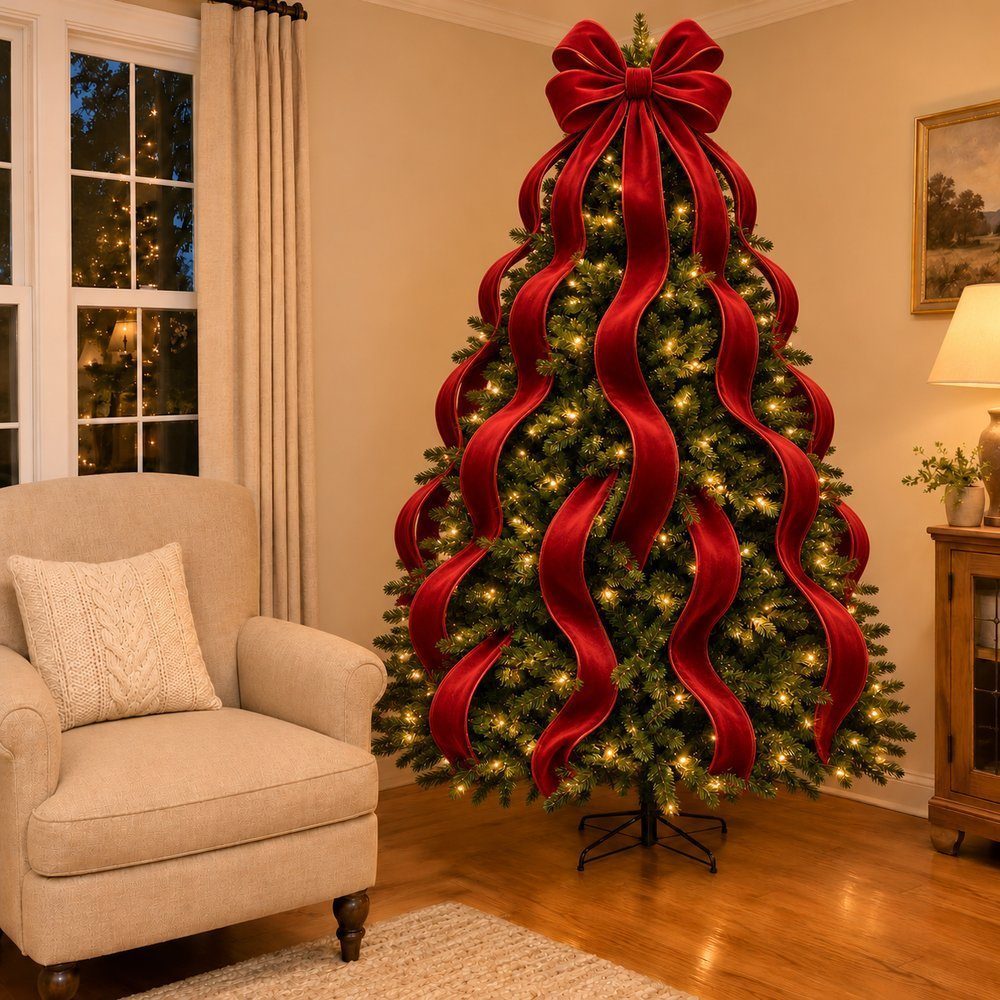
- Cut several ribbon lengths approximately 4–6 feet [120–180 cm] long.
- Secure each upper end at the crown, hiding it beneath the topper if desired.
- Let each stream fall naturally down the tree.
- Tuck sections into branches to create loops and waves.
- Space the streams evenly around the tree.
- Step back and adjust the loops to balance the arrangement.
Watch designer Brad Schmidt place ribbon on a Christmas tree in this Balsam Hill tutorial. He demonstrates anchoring ribbon with branch tips, shaping cascades, layering different widths, and finishing the ends, giving you a clear view of how the ribbon sits among the greenery.

Staggered columns of double loops. Make vertical ribbon on a Christmas tree look lively with Courtenay Hartford's short-piece technique. Use wired ribbon 2 1/2–4 inches wide and pieces about 3 feet long. Tuck the top end in near the trunk and the bottom end into the middle of the tree, then push the center toward the inside to form two loops. Start the next piece a little to either side of the previous one. Those staggered starts give the vertical columns a flowing shape. Courtenay Hartford, The Creek Line House
Unwired bounce-and-curl ribbons. Soft ribbon gets its movement from turning and flipping as you tuck it through the branches. Kristen Whitby's bounce-and-curl method is one unwired option in her broader tutorial, which uses manageable 3–5-foot strips. She has worked with widths from 1 1/2 to 6 inches, without specifying a separate width for this variation. Start at about eye level and work down the tree on a diagonal, letting the turns create a curling line between the tucked points. Kristen Whitby, Ella Claire & Co.
Tied into bows
Soft bows tied directly to branches. For small velvet accents, follow the branch-bow option in Lauren Shaver's tutorial. Her example uses 7/8-inch non-wired velvet ribbon; she cuts lengths about 2 1/2 feet long for medium bows. Tie each piece into a bow on a branch, distributing them evenly across the tree. The soft tails bring a gentle, familiar finish to the greenery. This is the easiest starting point here if tying a shoelace already feels comfortable. Lauren Shaver, Bless'er House
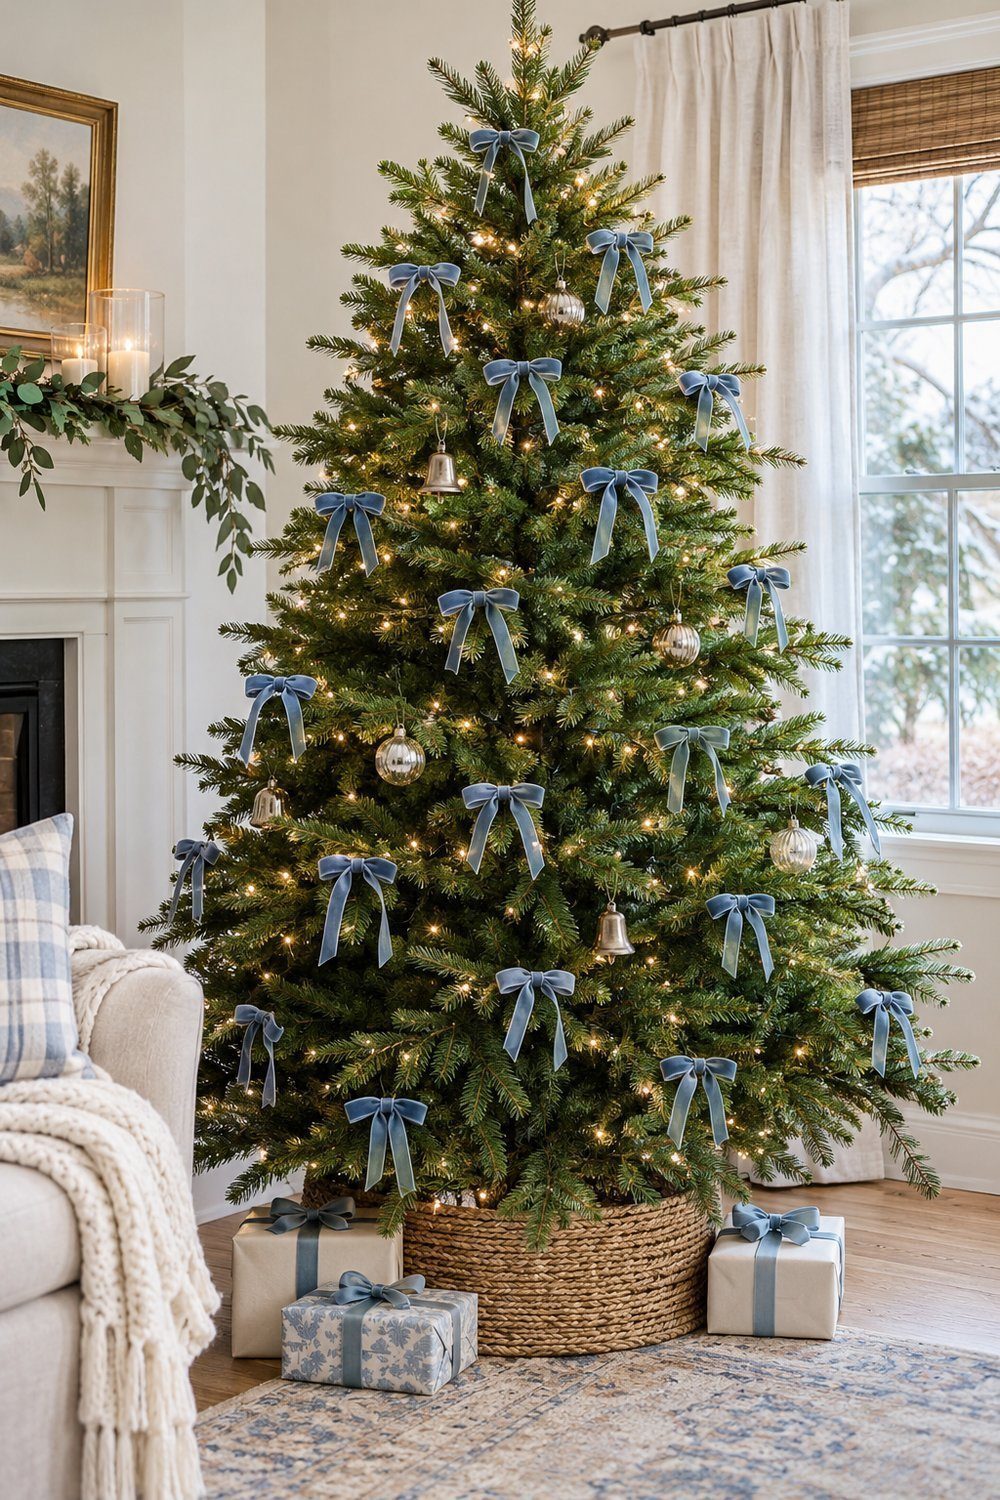
Gathered multi-loop bows on plant ties. Build a fuller ornament with non-wired ribbon, following Marc McCollough's loop-and-twist method. Make similarly sized loops, gathering and twisting the ribbon beyond them as you work. Form a generous lower loop for the tails, fasten it with a plant tie, then cut that loop open. Arrange the bow loops and use plant ties to attach the finished bows to branches. The tutorial specifies the construction and leaves width unspecified. Marc McCollough, Lowe’s
Crossed ribbon bundles with curly ends. Make a bow-like accent by stacking pieces in a cross instead of loops. Chelly cuts two thicker ribbon pieces at 10 inches and adds four pieces of 1-inch-wide red and burlap ribbon. Place the favorite ribbon in front, cross the others behind, and tie through the center with burlap ribbon. Fan the ends outward, curling the narrow wired strands around a finger then tuck the bundle onto a branch. Chelly, We Can Make That
On the topper and the base
An oversized layered bow topper. Crown the tree with a large bow made from layered pieces of wide ribbon. Rebecca Knight recommends supersized ribbon with wired edges so the finished shape holds, without prescribing a numerical width. Choose a color that complements the ornaments, then layer different ribbons for an individual finish. Velvet gives this topper a traditional look, while a sheer, sparkly bow casts a softer glow. The article is a trend report rather than a single project. The bow draws attention above smaller decorations. Rebecca Knight, Ideal Home
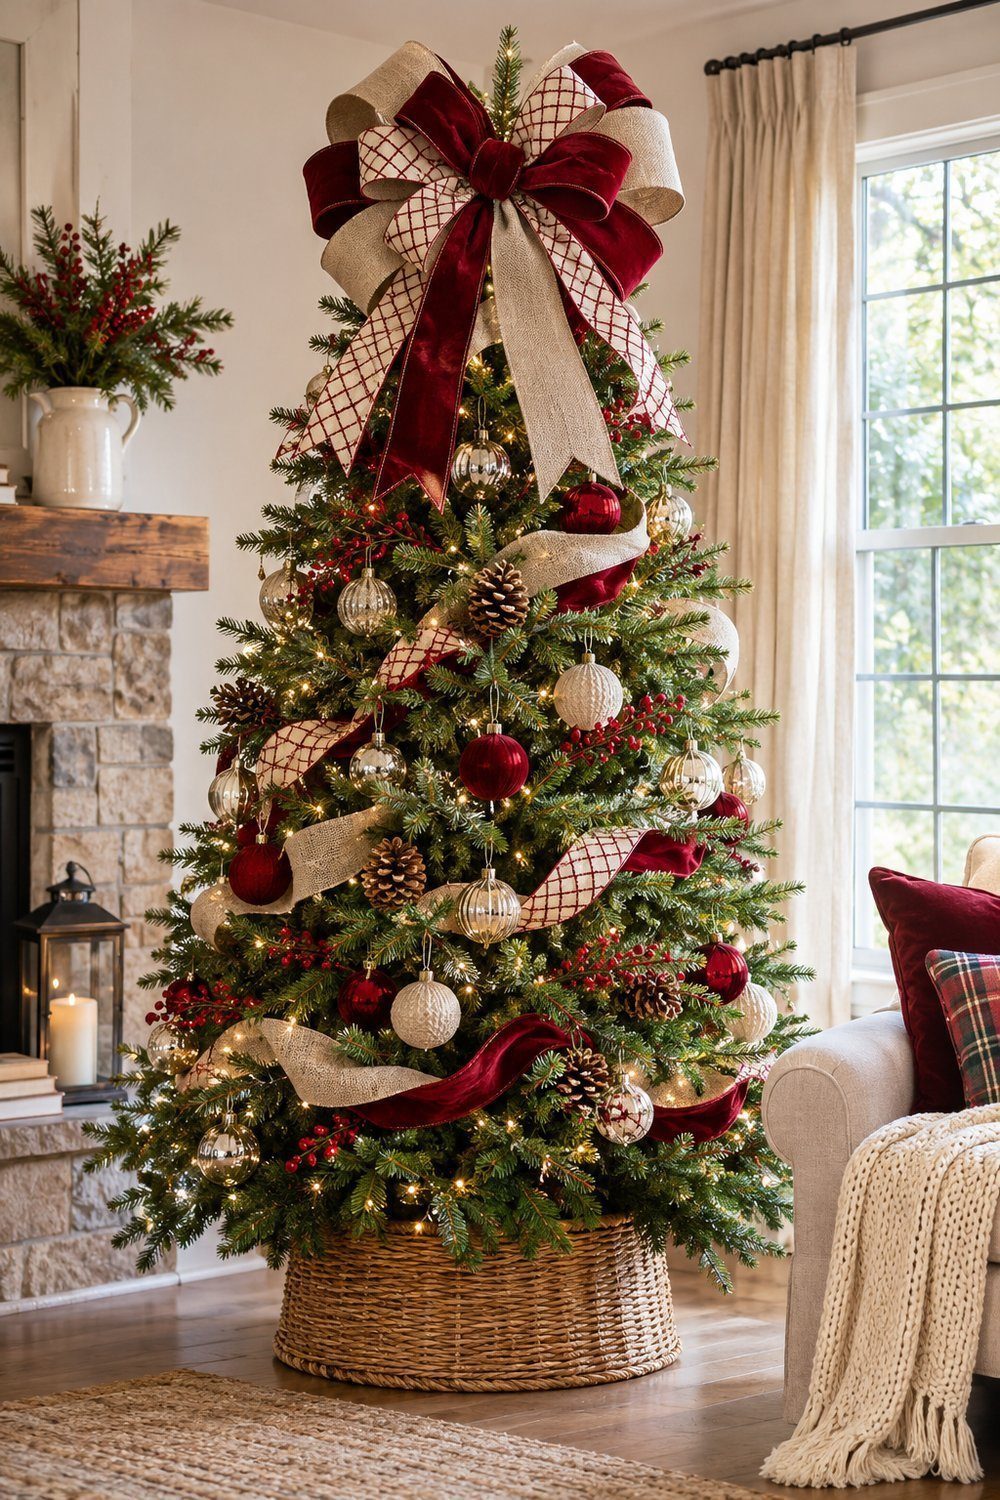
Short streamers tucked beneath the topper. Frame a bow with independent tails that decorate the upper branches. Courtenay Hartford cuts three or four wired ribbon streamers about 2 feet long, trimming their hanging ends on an angle. Wrap the upper few inches around the treetop, then rest the bow above them. Her project includes 4-inch wired ribbon. The separate tails spread the topper into the upper tree, concentrating ribbon near the crown. Courtenay Hartford, The Creek Line House
Metallic ribbon edging on the tree skirt. Carry the ribbon detail down to the base with Zune Harris's felt-skirt finish. Use thin gold metallic ribbon; the tutorial leaves its width unspecified. Glue it along the skirt, reserving 10 inches at each end to tie a closing bow. Let the hot glue cool to warm before placing the thin metallic ribbon, as the tutorial advises, to help prevent wrinkling. The edging defines the skirt. Zune Harris, Zune’s Sewing Therapy
How much ribbon you need
Melvina Young's guide uses 10-yard rolls: allow two or three rolls for a 6–7-foot tree, three or four for a 9-foot tree, and five or six for a 12-foot tree, according to Melvina Young, Hallmark Ideas & Inspiration. For comparison, Michael Wurm Jr. reports 12 yards of 2 1/2-inch ribbon on a narrow 7 1/2-foot tree and 30 yards of 1 1/2-inch ribbon on a full tree of the same height in Michael Wurm Jr., Inspired By Charm.
Build on your ribbon palette with Farmhouse Christmas Tree Ideas for a Cozy Home and Christmas Lights Ideas to Brighten the Holidays.