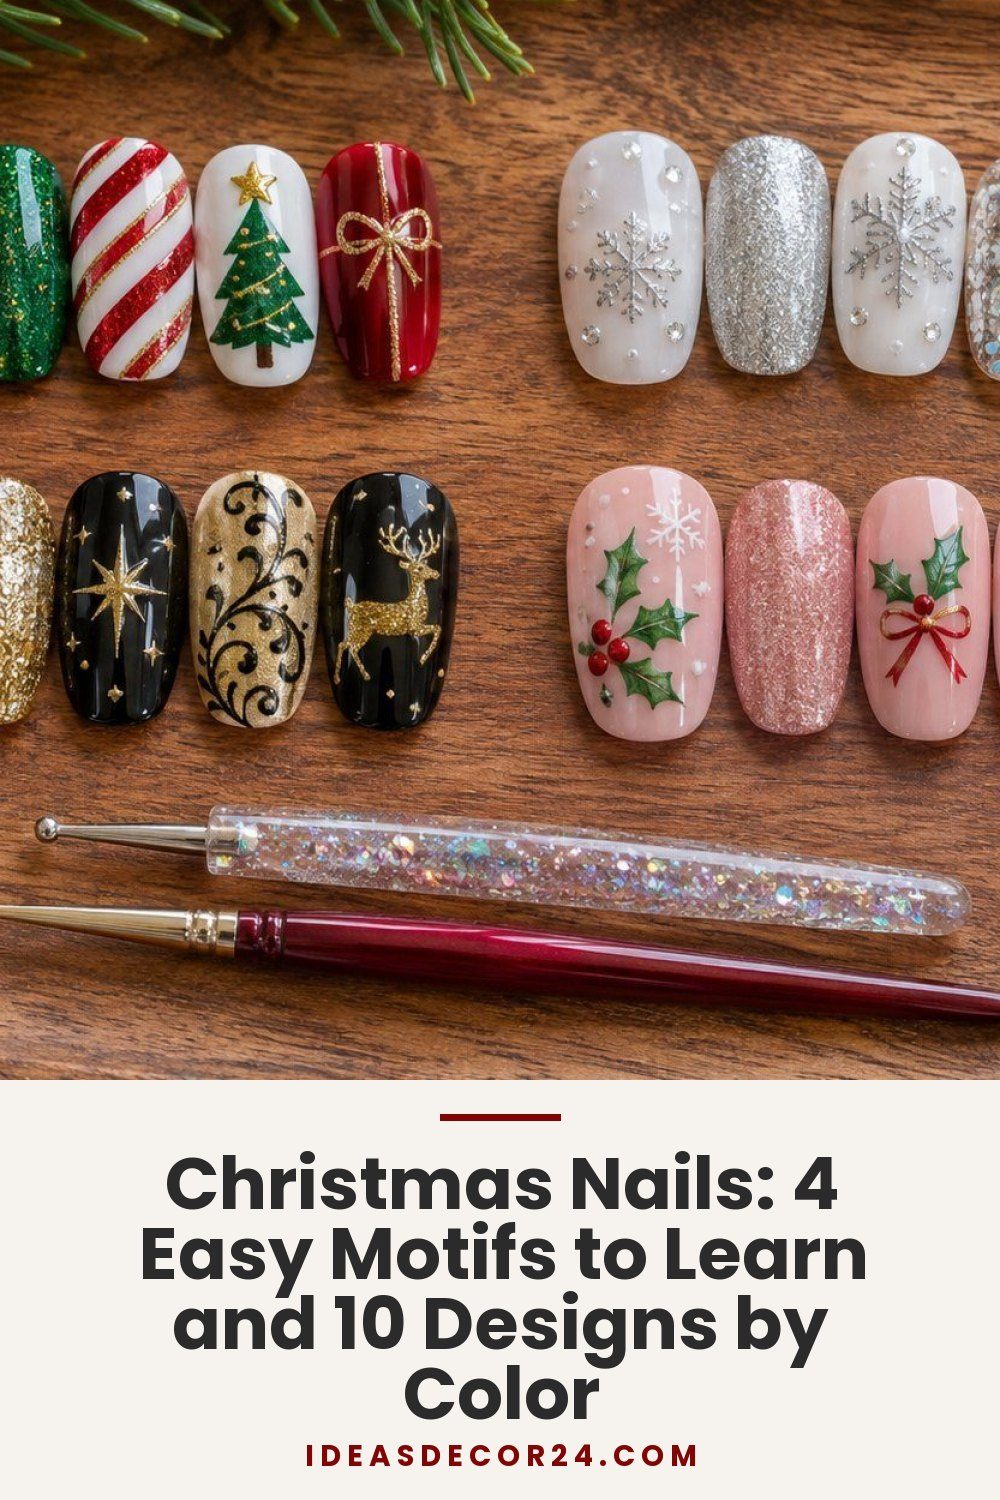
Christmas Nails: 4 Easy Motifs to Learn and 10 Designs by Color

Learn 4 Christmas nail motifs first: a snowflake, candy cane stripes, a dotted Christmas tree, and a reindeer face. Then choose among 10 Christmas nail designs in 4 palettes, from red and green to soft pink and nude. Maria of SoNailicious calls her snowflake possibly the quickest of her designs, at about 20 minutes; the dotted tree needs no striping brush at all, only a toothpick.
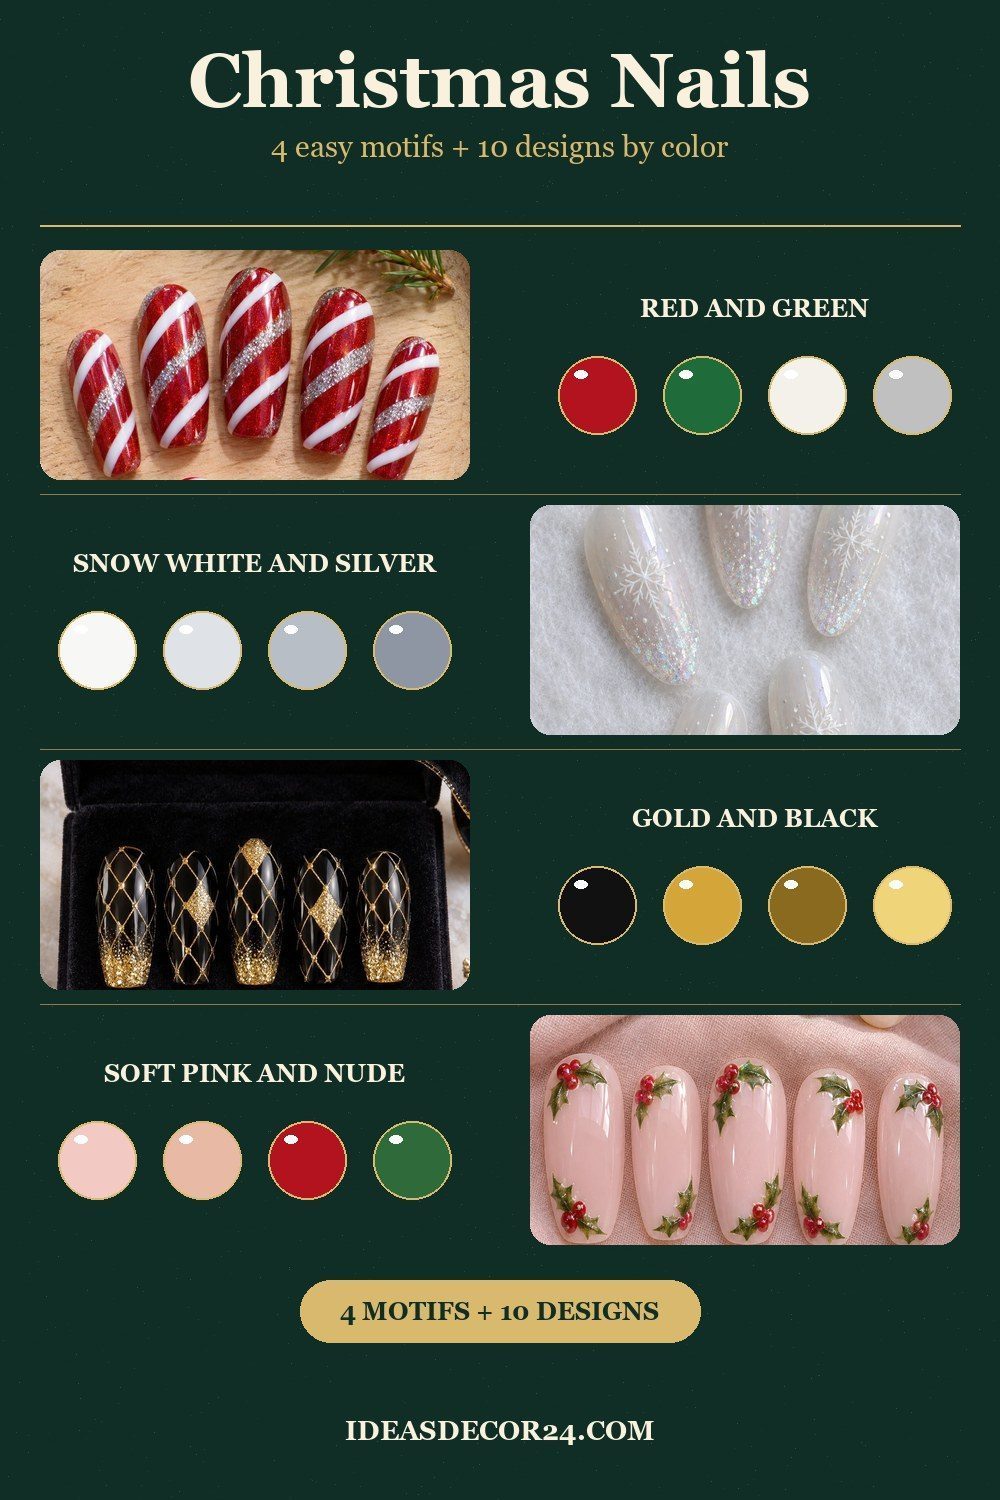
4 Christmas motifs to learn first
Gather a dotting tool, a fine striping brush, and the base and top coats specified by your chosen method; the tree tutorial uses a toothpick for its dots.
Snowflake: build the branches from a small star
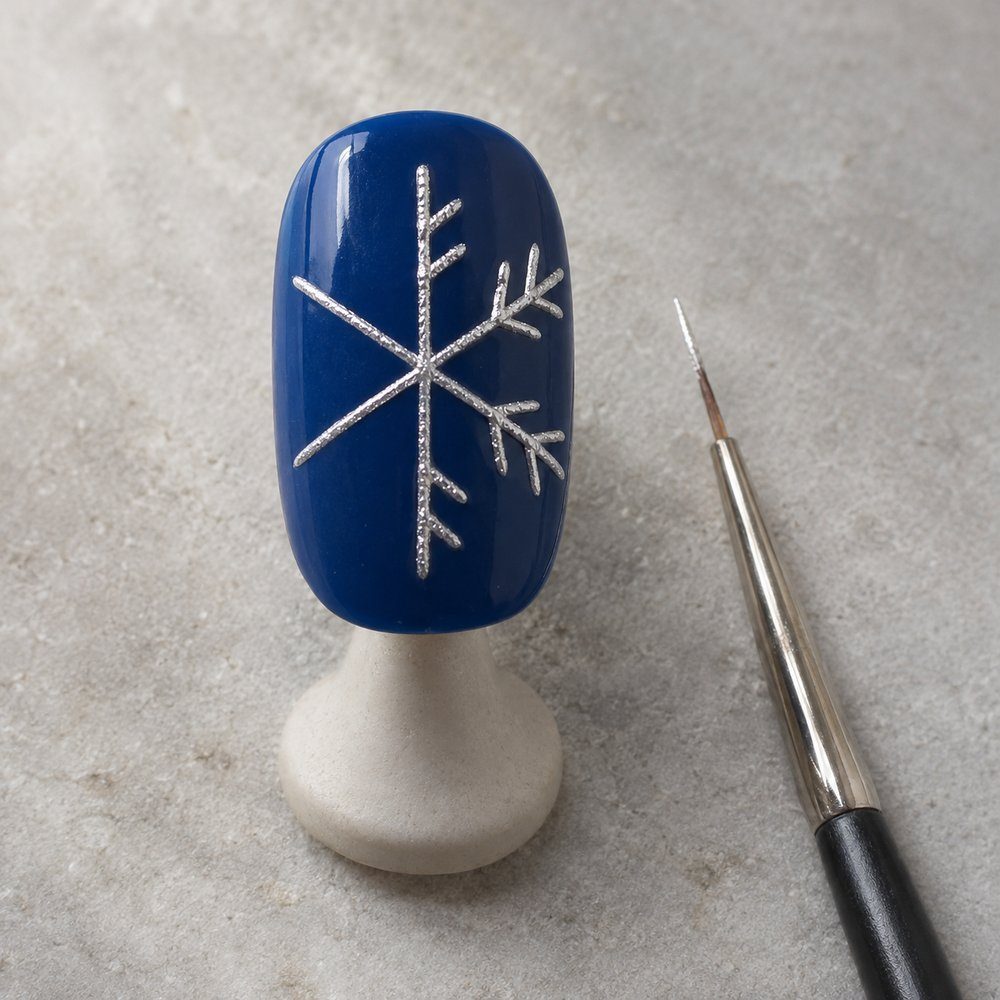
- Paint 2 coats of your base color, then apply a quick-dry top coat, following Maria’s sequence. Her example pairs Dance Legend Icy Time with Isadora 100 Diamond Crush for the silver artwork.
- Use a thin liner brush to draw 3 evenly spaced silver lines through the same center. Together they make a star; keep that intersection clear enough to see as the branches develop.
- Add 2 short branch strokes at the ends of the lines. Repeat the same movement around the star so the tips share a similar shape and the silver reads as a snowflake.
- On alternating arms, add another pair of small branches halfway along. Repeat a smaller version on the ring nail, keeping the most detailed flakes as the main accents.
- Scatter small silver dots around the flakes to suggest distant snow and seal with ORLY Polishield top coat. For a textured silver, Maria suggests OPI It’s Frosty Outside.
Method from Maria, SoNailicious.
Candy cane stripes: alternate white and silver
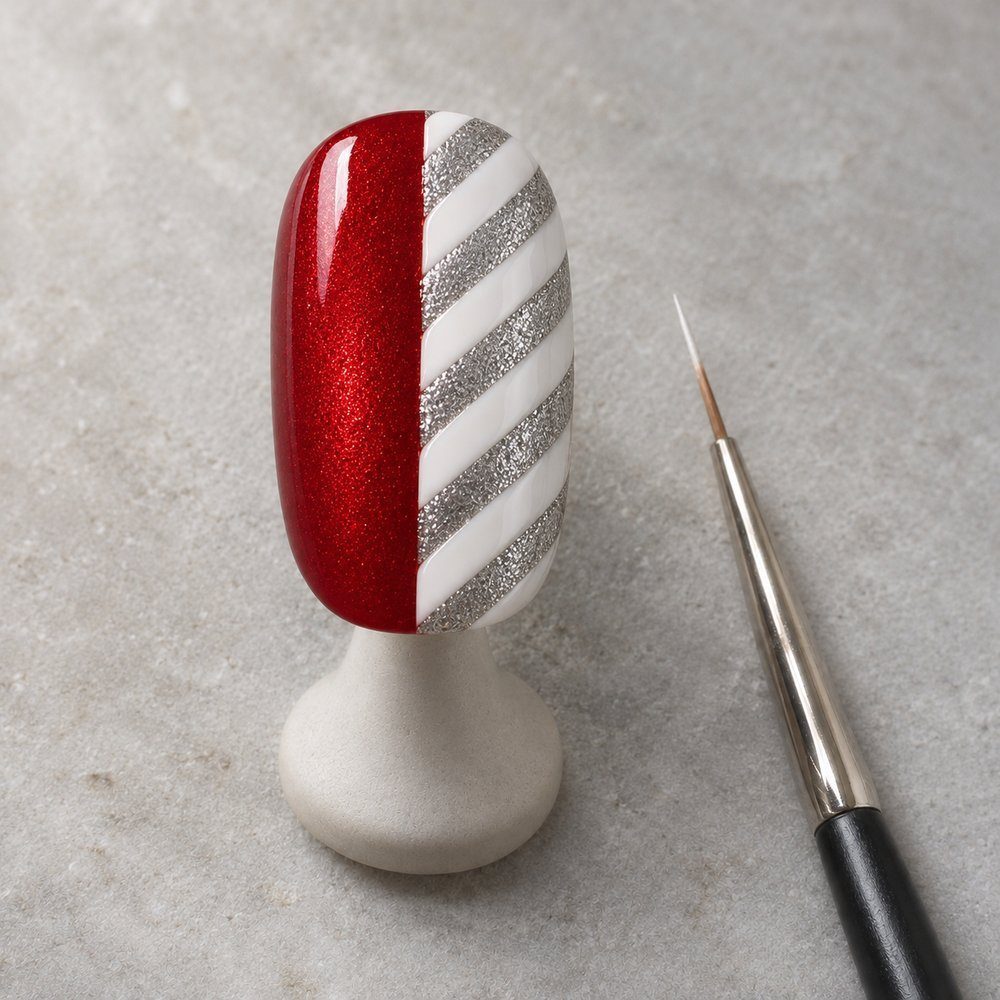
- Begin with a base coat, as in See the World in PINK’s candy cane manicure. The listed product is Essie All-in-one top and base coat, followed by a separate red color layer.
- Apply 2 coats of Holo Taco Favourite Sister to establish the shimmering red background. This red remains visible between the stripes, supplying the candy color and much of the sparkle.
- Alternate stripes of ORLY Instant Artist White and Quo Silver Instant Artist over the red.
- Finish with Essie Gel Couture Top Coat, the finishing product listed for this particular manicure. The result combines a solid white line with a reflective silver line, making a simple stripe pattern feel especially festive.
Method from See the World in PINK.
For a moving demonstration, watch nail artist Suzie of Nail Career Education paint a Christmas tree with a dotting tool and add sparkling ornaments. Her version uses gel polish, so follow the product’s curing instructions when trying the technique with that system.

Dotted Christmas tree: let the dots make the outline
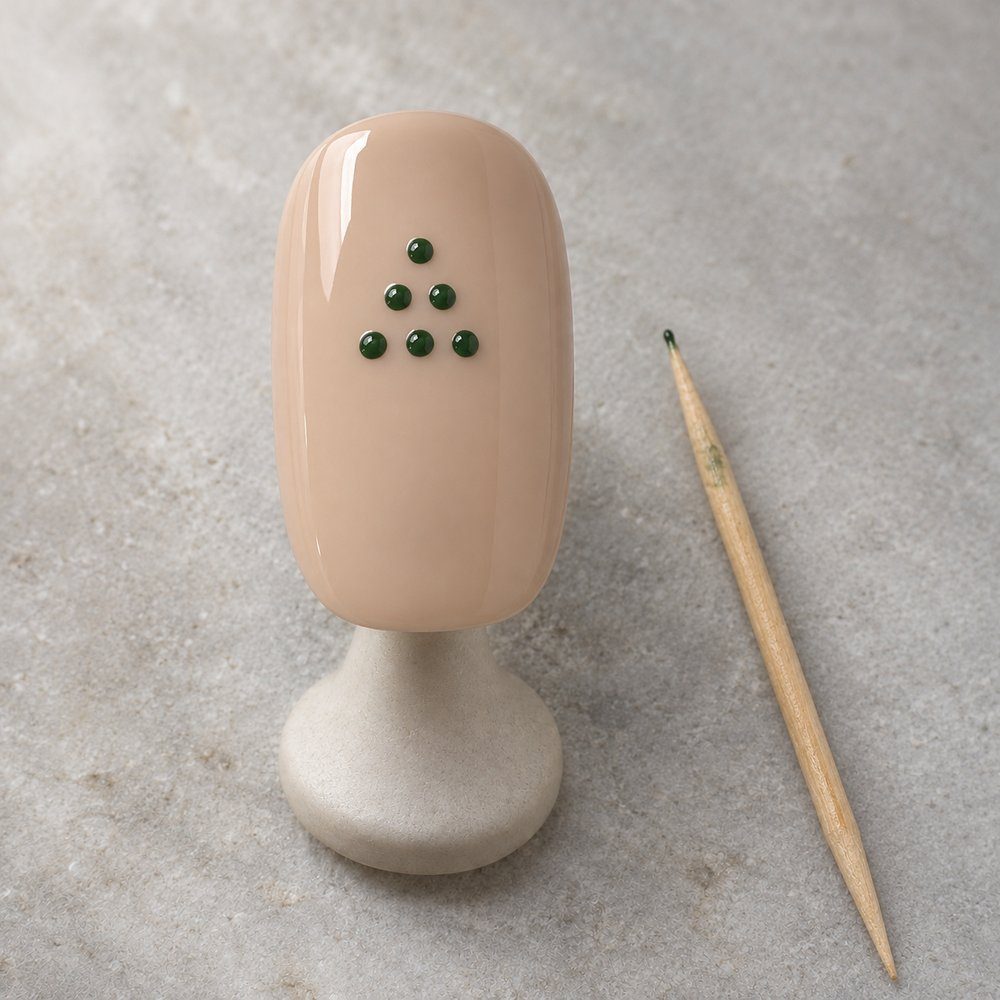
- Apply 2 coats of nude polish and let the base dry. Maria uses OPI Don’t Pretzel My Buttons, a quiet background that gives the little tree and its decorations room to stand out.
- Dip the end of a toothpick into dark green polish and place dots in a Christmas tree shape. Build the triangular silhouette with those separate marks rather than drawing a continuous border around it.
- Wipe the toothpick clean, then pick up metallic gold or shimmery polish. Place gold dots between the green ones to create ornaments while keeping the green tree shape visible around them.
- Repeat the ornament step with deep red polish. Finish the festive accent with top coat and let it dry. The source names the nude base; its green, gold, and red shades are described by color.
Method from Maria, SoNailicious.
Reindeer face: add a bright nose to a side profile
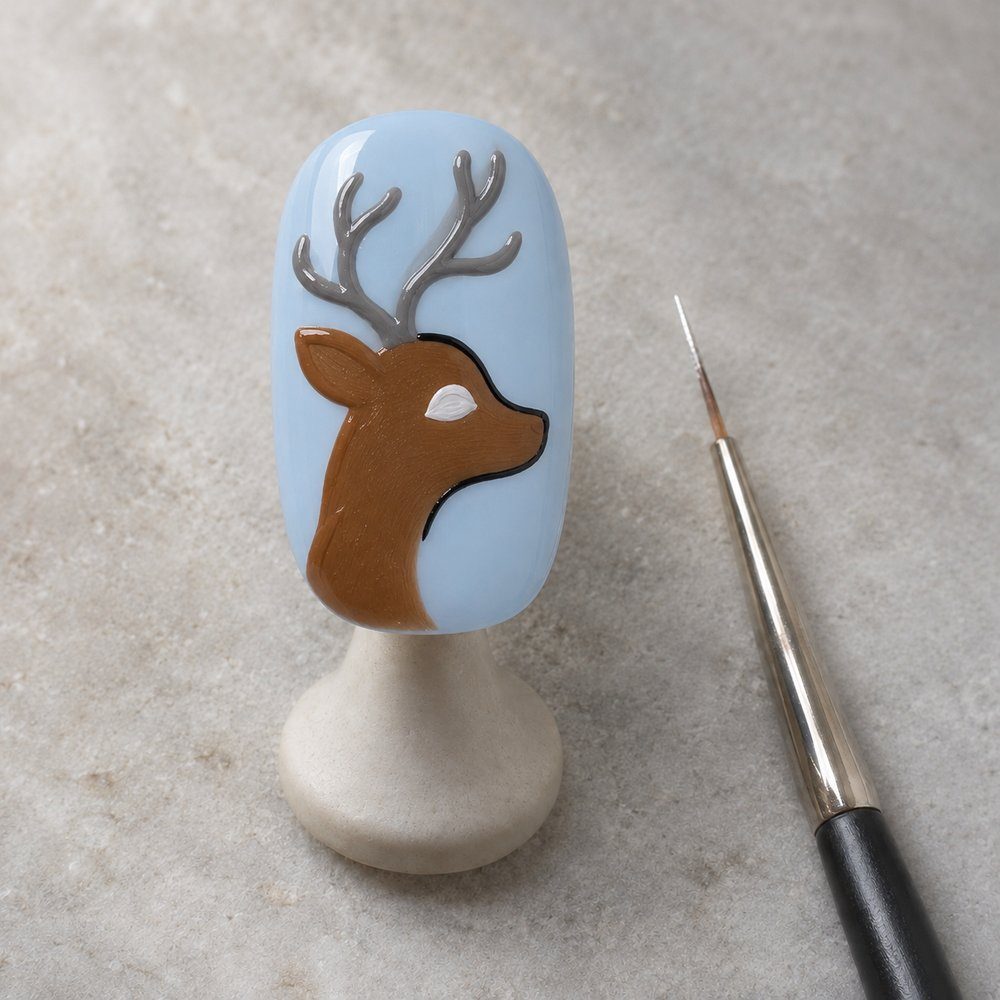
- Apply base coat, followed by 2 layers of pale blue. Fairytale nail art’s product list includes Sinful Colors Cinderella; this light background sets off the brown reindeer painted over it.
- Use a striping brush or dotting tool to paint the brown head in profile. The side-facing shape is the distinguishing feature of this method, giving the nose a clear position at the front.
- Add gray antlers, then paint the eyes and scarf in white, red, and green. Finish with a black outline and small pupils to bring the face into focus.
- Use a dotting tool to scatter red and green dots across the other nails. Those colors repeat the scarf and connect the plain areas to the reindeer accents.
- Place a red rhinestone on each reindeer’s nose for the Rudolph detail, then finish with top coat. The source lists Essence Better Than Gel Nails top coat as its finishing product.
Method from fairy666tale, Fairytale nail art.
10 Christmas nail designs by color
Choose a palette below, then use the linked original to match the complete manicure or recognize the motif you have just practiced.
Red and green
Named shades in these looks include Holo Taco Favourite Sister, ORLY Instant Artist White, Quo Silver Instant Artist, Natural Collection Mulled Wine, Collection French White, and Rimmel Loosey Goosey Dancin; Trysh’s pop art list adds OPI Viva OPI!, Starrily Gaia, and BioSculpture Golden Fall. Choose stripes for a repeating pattern, a tree for a single focal point, or comic-style Christmas icons for a set with more detail.
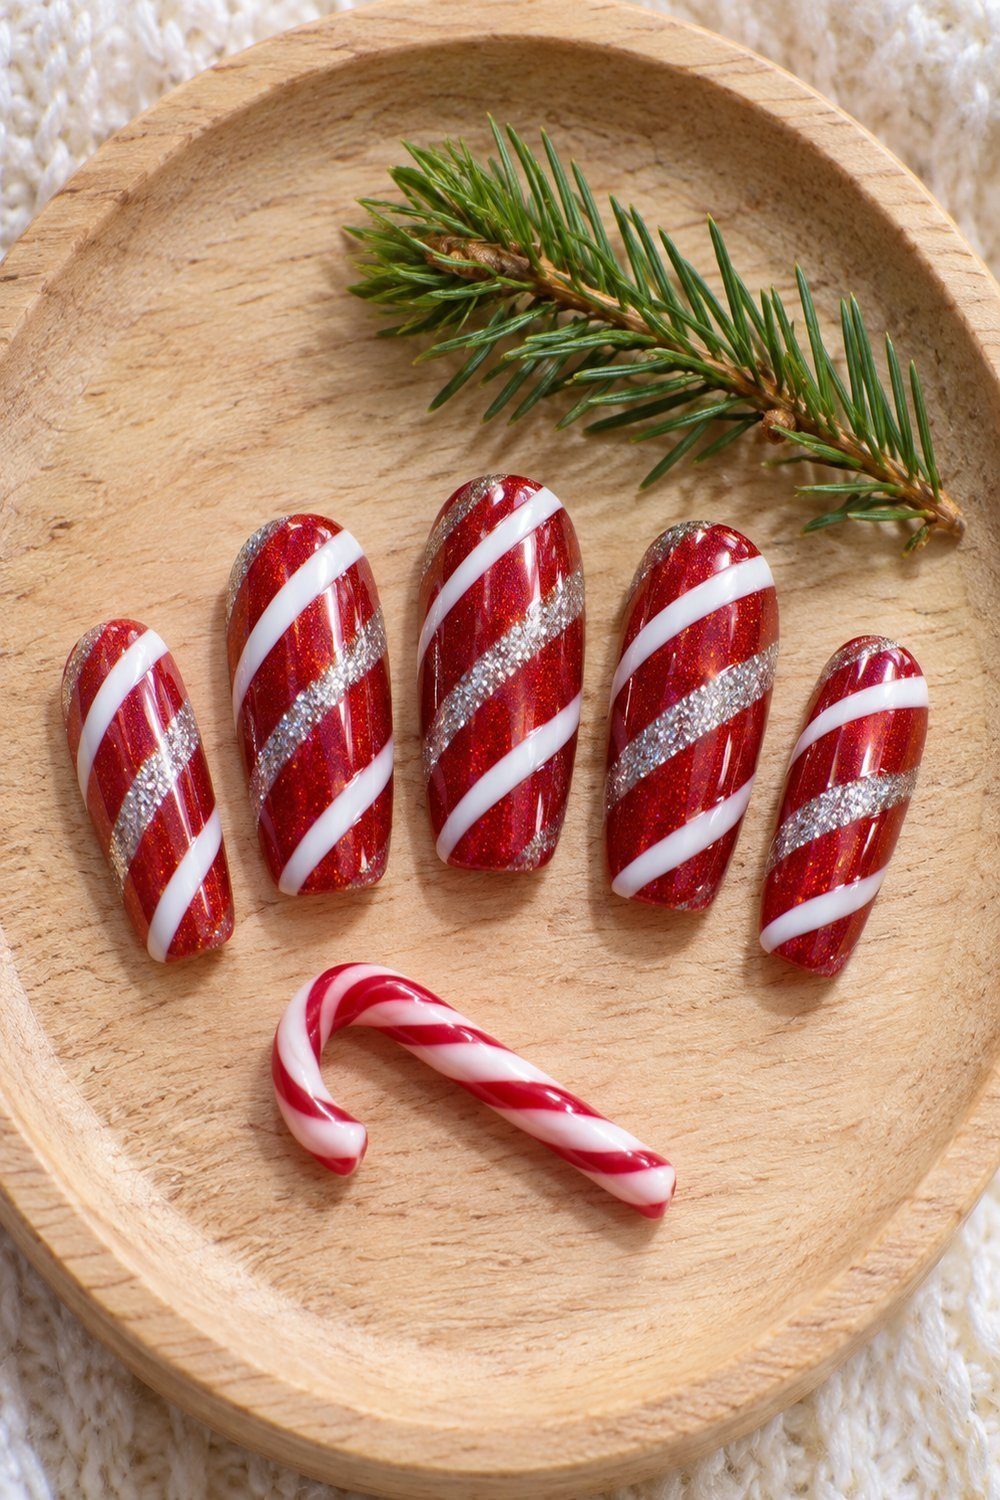
Shimmering candy cane stripes. A sparkling red base carries alternating white and silver stripes across the nails. This is the candy cane motif from the tutorial above, with the silver adding another finish between the white lines. The source uses 2 red coats before adding the artwork. See the World in PINK.
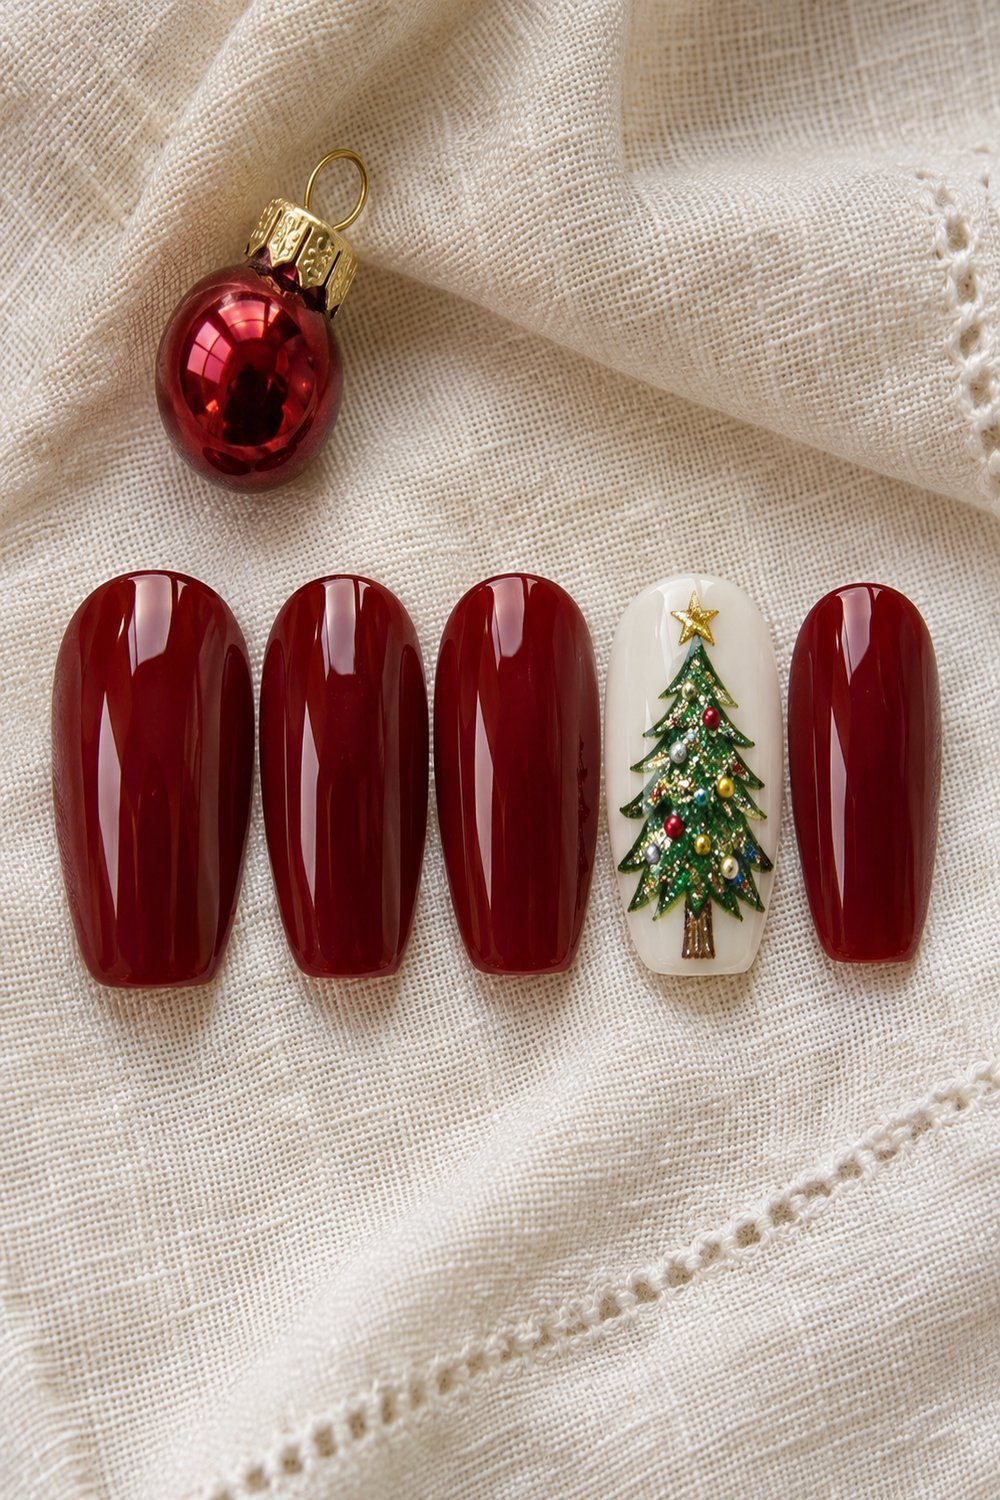
Mulled wine with a tree accent. Mulled Wine red nails surround a French White accent with a tree painted in Loosey Goosey Dancin and outlined in Blackjack. Yellow, orange, blue, and pink ornaments and green glitter finish it: a filled shape, unlike the dotted tree above. Creative Nails.
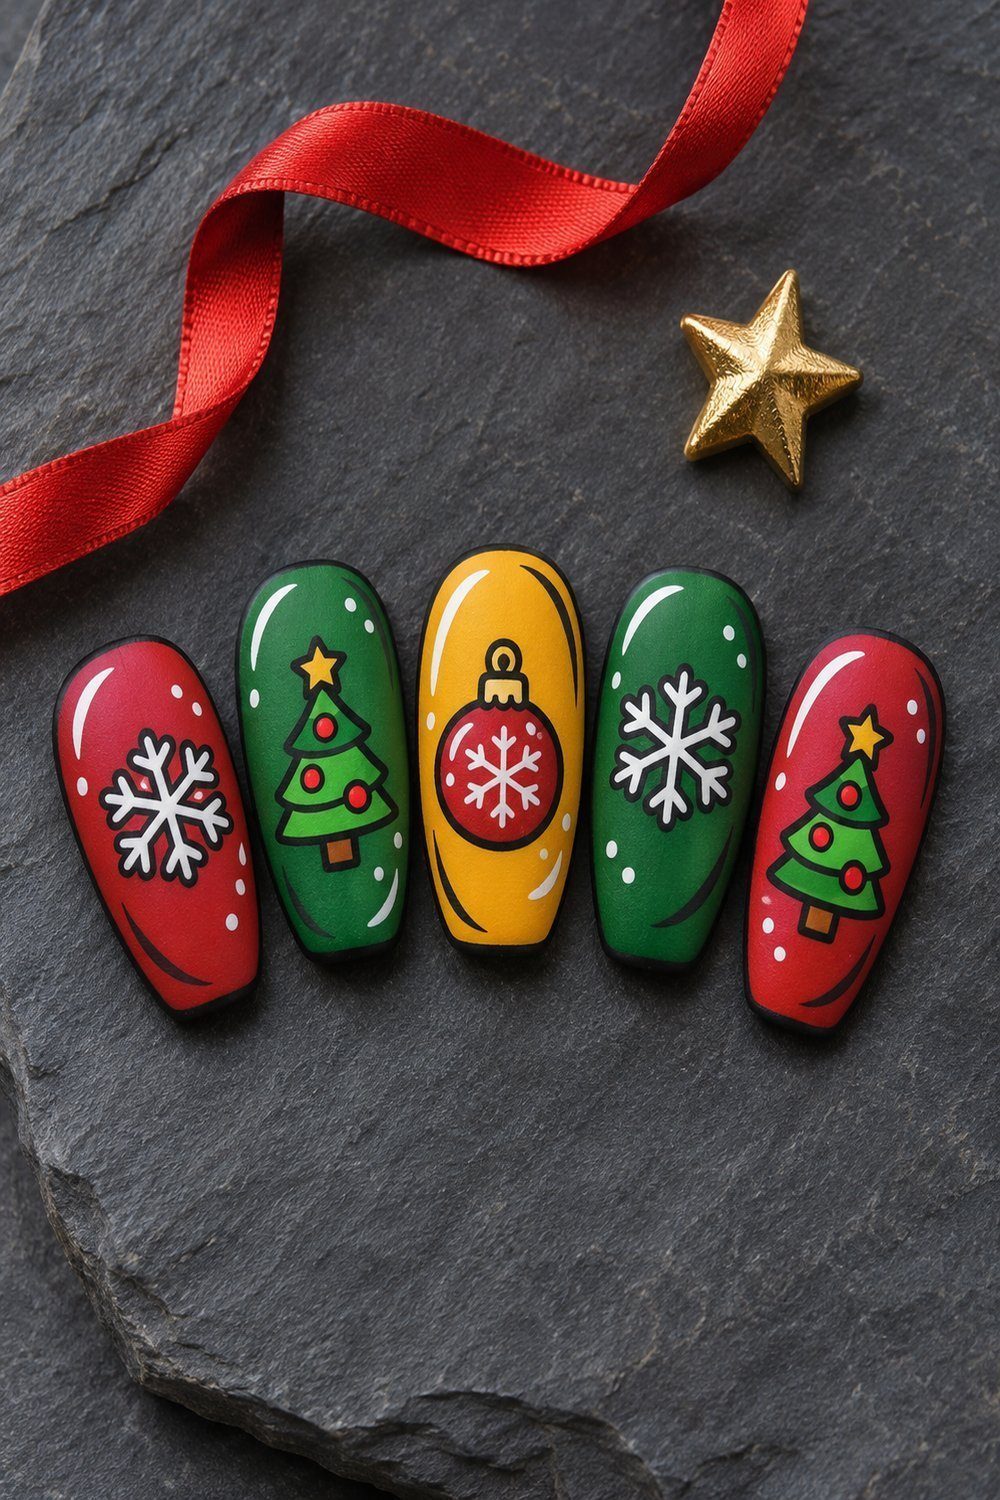
Christmas comic book colors. Red, green, and golden yellow bases gain black borders, white highlights, and stamped holiday icons. Trysh uses 2 red nails and 2 green nails, with gold on the middle nail. This look uses pop art techniques and finishes matte to emphasize the illustrated effect. Trysh, Prairie Beauty.
Snow white and silver
Essie names Arctic Jelly Goss Soft White and Lustrous Luxury for its snowy swirls; Superdrug lists Rimmel White Hot Love and Barry M Diamond Glitter for glitter tips. Melanie Graves describes her snowflake colors as pearlescent white, iridescent glitter, and white gel polish, without trade shade names. These simple Christmas nails keep the contrast gentle: choose a curved swirl, a sparkling tip, or a white-on-white flake according to the detail you enjoy.
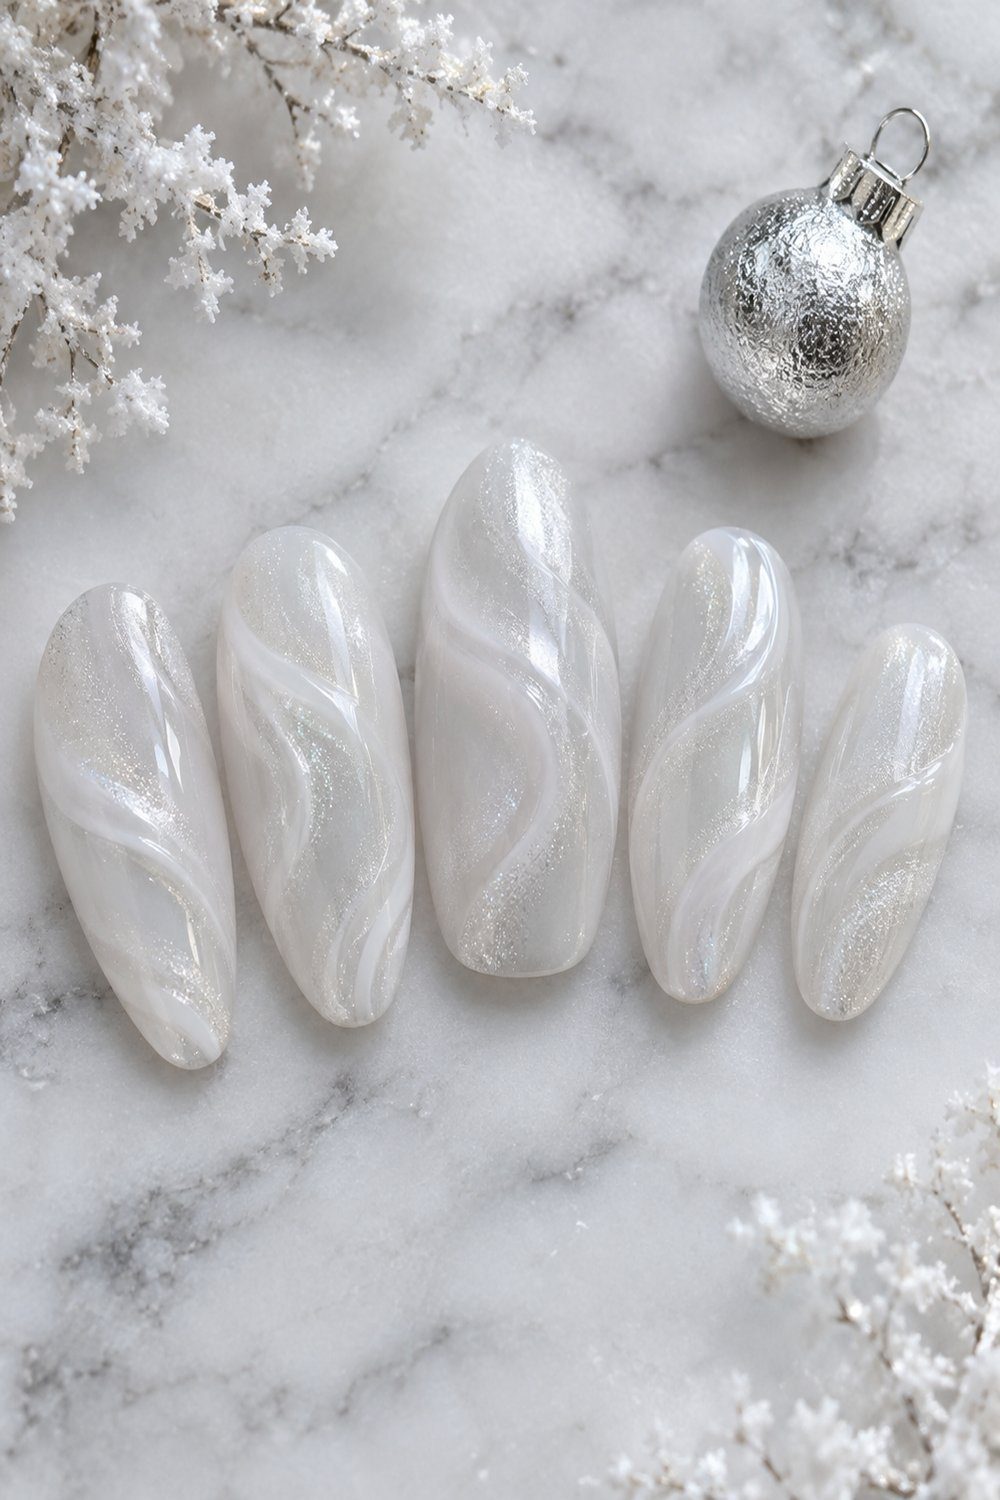
Snowy silver swirls. Soft white and iridescent polish form a wintry swirl look with a silver effect. Essie pairs Arctic Jelly with Lustrous Luxury for this combination. The curved pattern uses a separate approach from the 4 motifs above, making it an option when you prefer flowing shapes to recognizable Christmas pictures. essie.
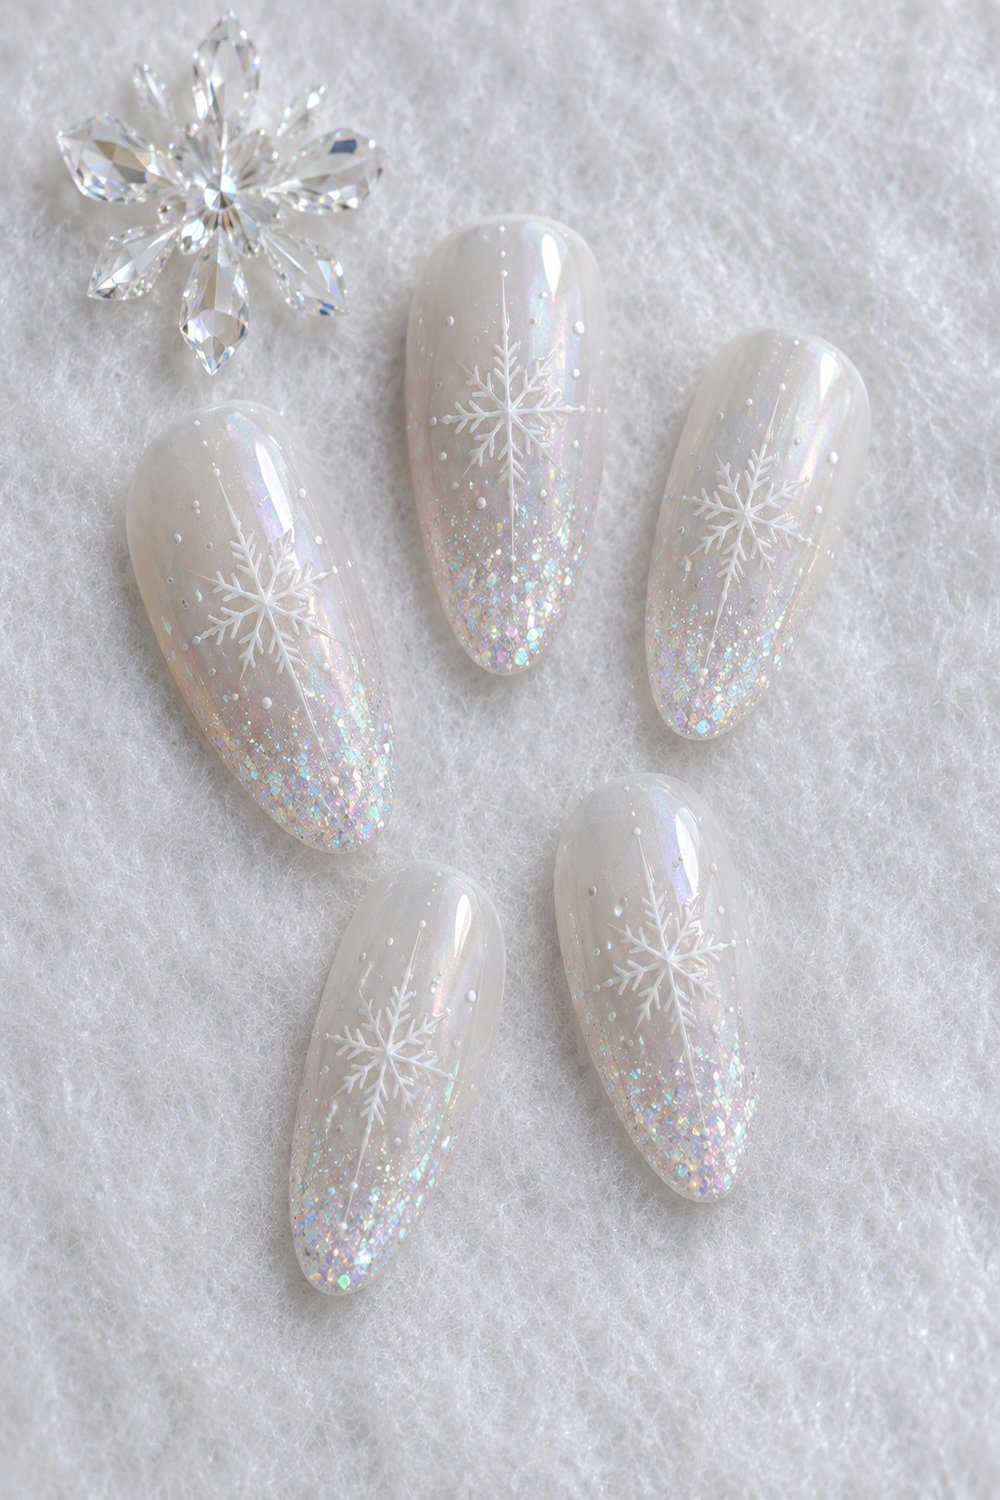
Pearl snowflakes with glitter tips. Pearlescent white nails have iridescent glitter concentrated toward the tips and white snowflakes on top. This reuses the snowflake motif, although Melanie Graves forms hers by dragging a liner through dots to create 8 rays. The pale layers make the finished artwork look soft and frosty. Melanie Graves, Lulus.
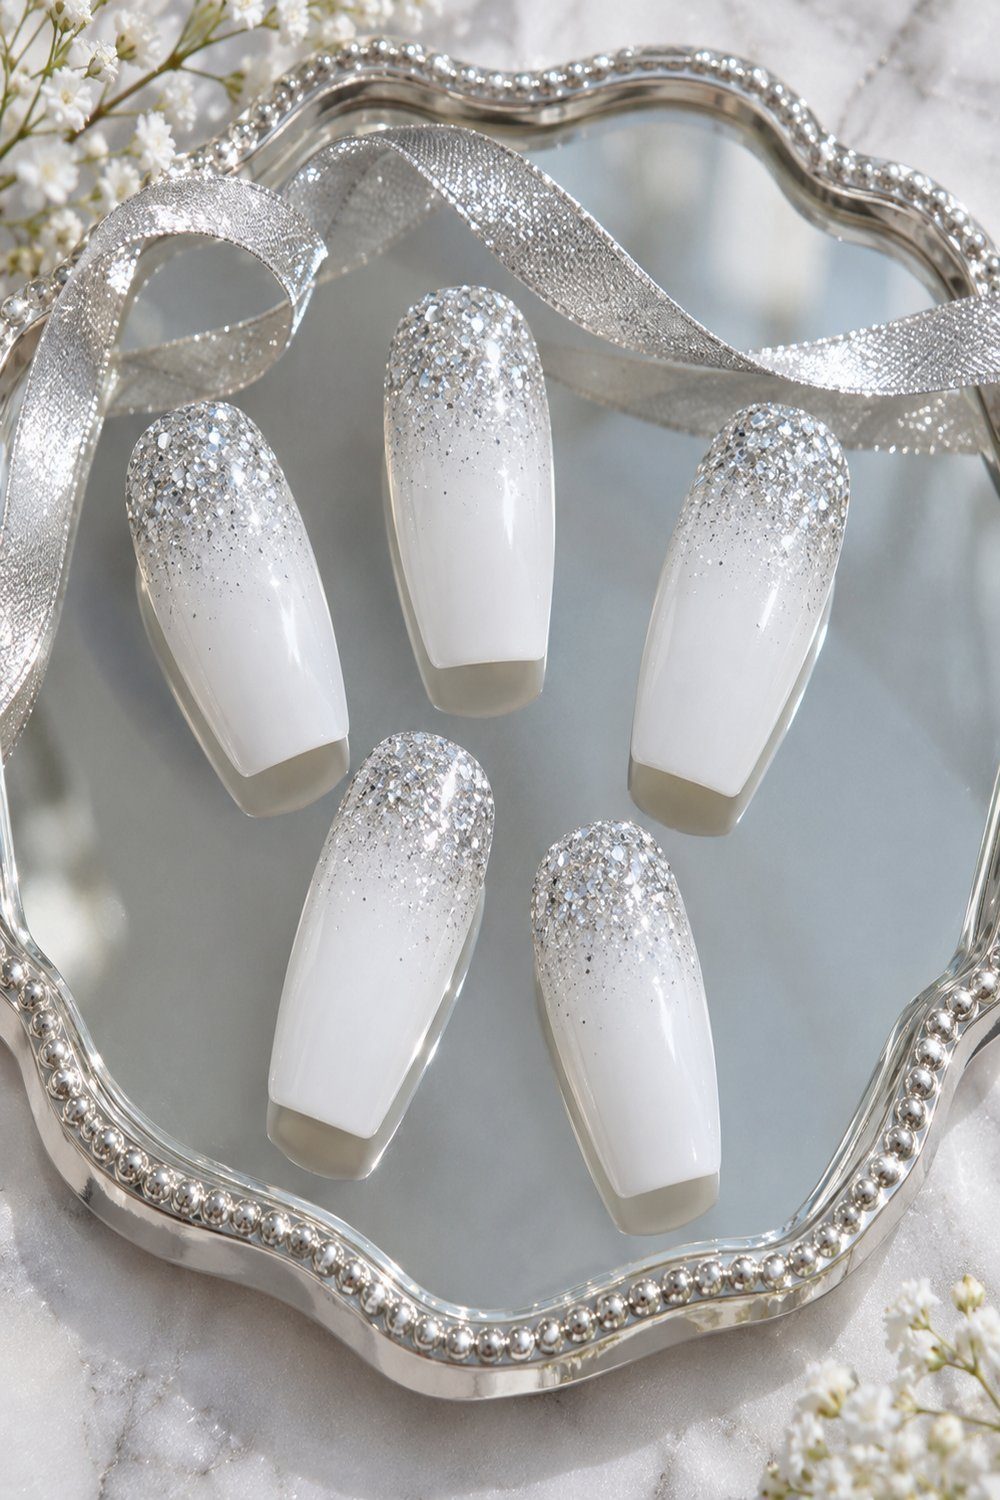
White nails dipped in silver. An even white base fades into silver glitter at the tips. Superdrug starts with 2 white coats, then builds the sparkling edge into an ombre transition. This design uses a glitter gradient rather than a motif from the first section, keeping the surface free of little pictures. Superdrug.
Gold and black for New Year's Eve
Go Polished names OPI Black Onyx, Essie Good As Gold, and OPI All Sparkly and Gold for its fishnet design. Trysh’s lighter abstract manicure uses Essie Sheer Luck and As Gold As It Gets, plus Whats Up Nails Blanc My Mind, Go For Gild, and Neither Noir. These classy Christmas nails take gold and black in different directions: a dark graphic grid or a sheer background with metallic flakes and stamped accents.
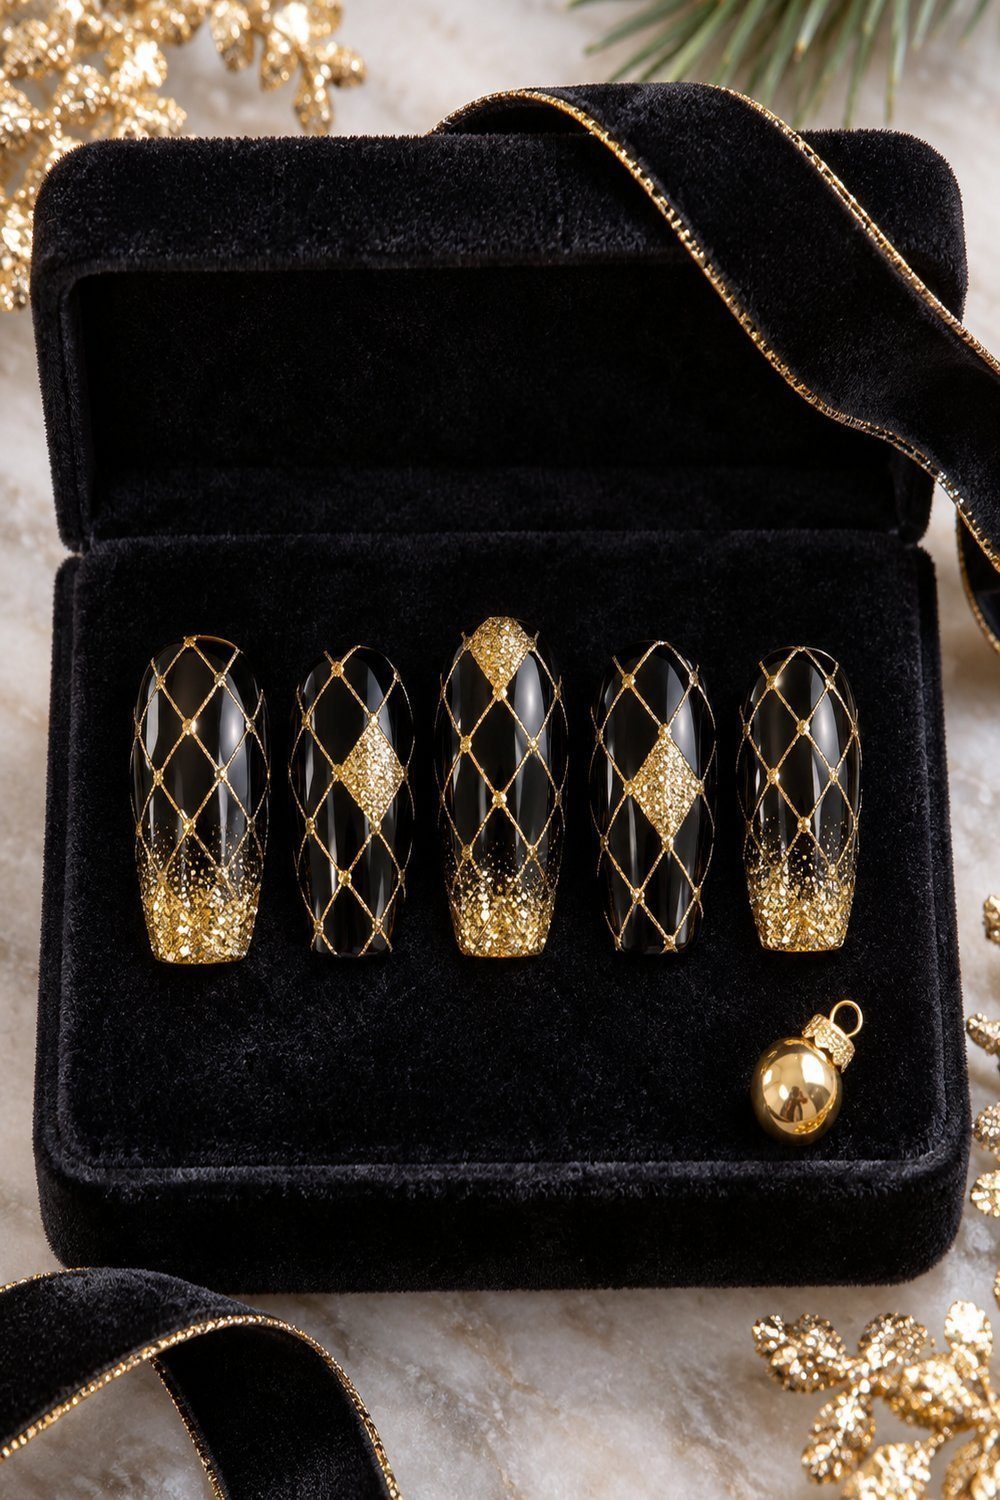
Black and gold fishnet. A black background and crossing gold lines create a festive fishnet pattern, with glitter adding extra light. Go Polished lists skinny straight tape and a brush alternative for the lines. This grid uses a separate geometric technique, so the 4 Christmas motifs above can stay in your practice collection. Go Polished.
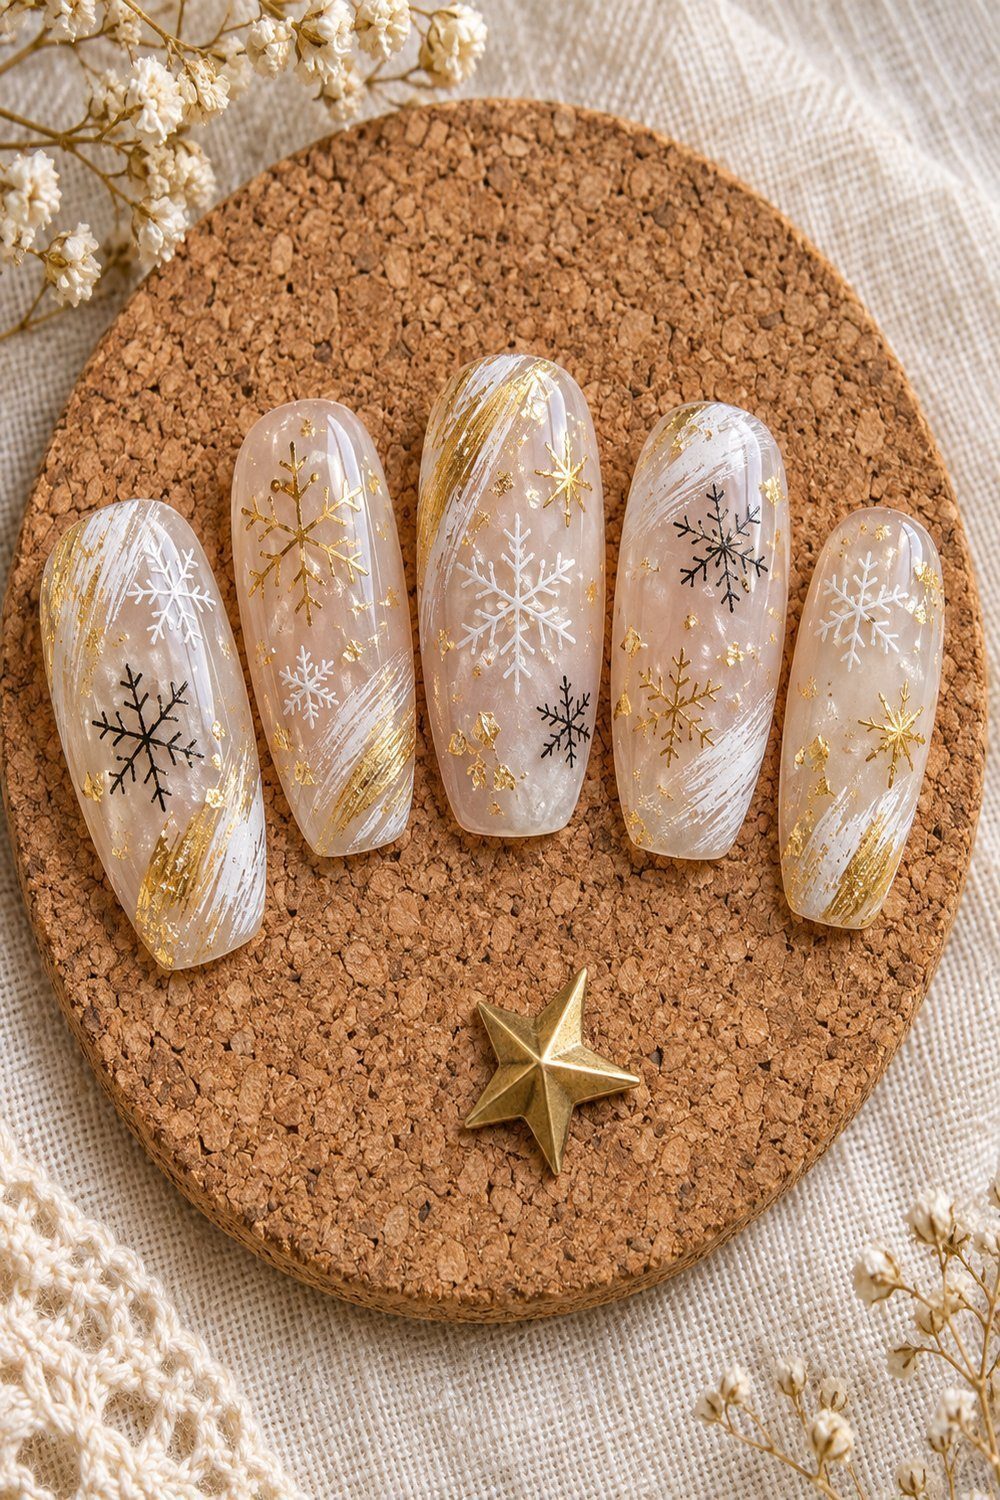
Gold flakes and abstract snowflakes. Sheer white layers surround gold flakes, with black, white, and gold stamping adding graphic detail. The snowflake theme returns in an abstract stamped form, rather than the freehand branches above. Trysh’s original uses the discontinued Essie As Gold As It Gets for the delicate flakes beneath the artwork. Trysh, Prairie Beauty.
Soft pink and nude
OPI Don’t Pretzel My Buttons supplies the nude base for Maria’s tiny tree. For Stephanie Staunton’s holly manicure, Boots names Essie Mademoiselle and Aperitif, Barry M Jalapeño, Boots Polished 016, and OPI Sugarlips on My Tips. Both looks leave a light background visible around the decoration. Choose the tree to practice the dotting method, or the pink holly to carry traditional red and green Christmas nails into a softer palette.
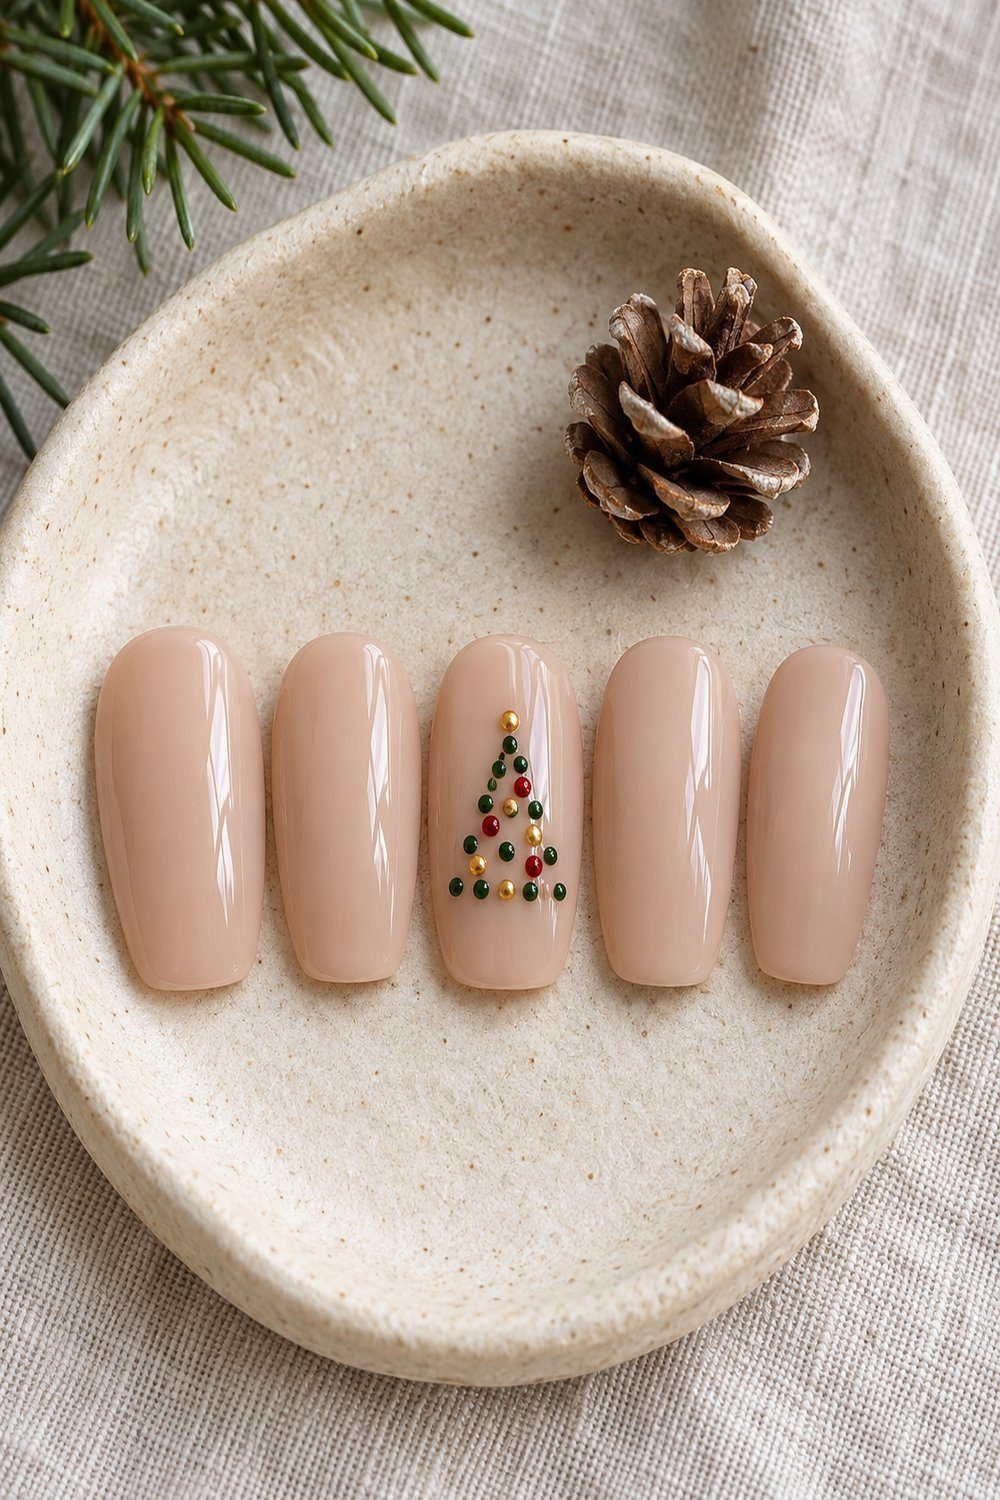
A tiny tree on nude. A nude manicure carries a little dark green tree made of dots, with gold and deep red dots as ornaments. It directly reuses the dotted tree tutorial above. The understated base keeps the focus on that small Christmas accent, with the surrounding polish remaining plain and glossy. Maria, SoNailicious.
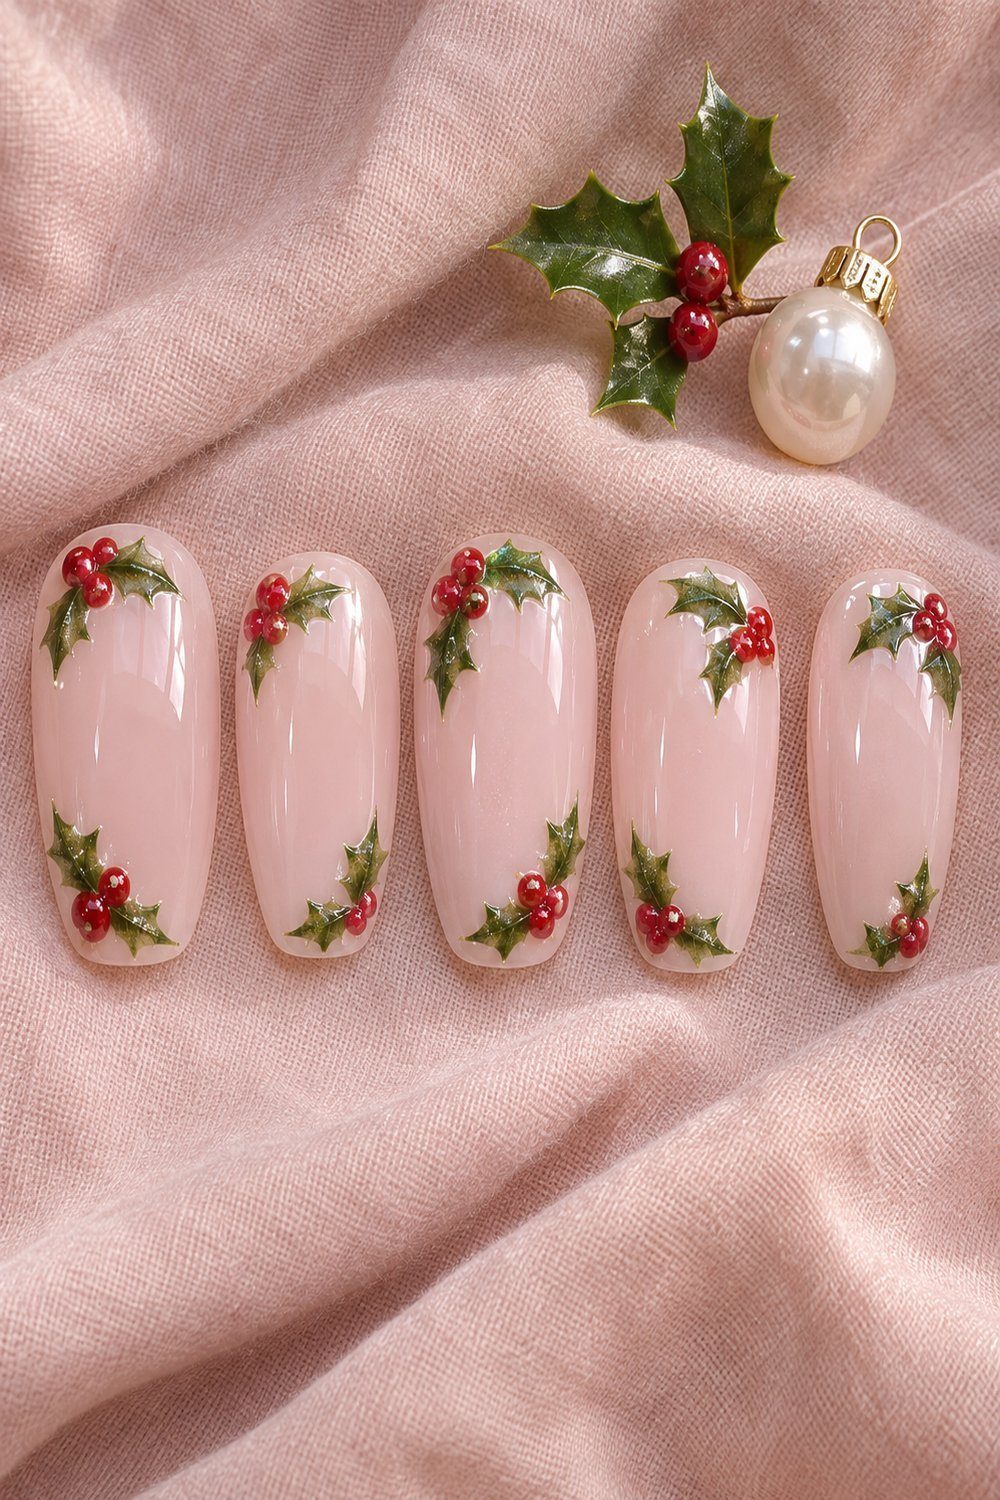
Sheer pink with corner holly. Pale pink nails carry red berries and green leaves near the corners, with white highlights and sparkle. This holly uses its own botanical motif; the berries use the same dotting action practiced for the tree. The corners leave the pink center visible. Stephanie Staunton via Rachael Martin, Boots Inspire Me.
Make it last until New Year's Day
For regular nail lacquer, carry each layer across the free edge: wipe most of the polish from the brush, then tap it along the exposed tip to cap it. Repeat for base, color, and top coat so the finish wraps around the end. Add a fresh layer of top coat every other day, capping the tip again each time. Clean stray polish from the skin with a nail art or makeup brush dipped in remover; an angled eyeliner brush can handle the narrow border. Essie also recommends 30–60 seconds between regular polish coats to help reduce bubbles. Polish feels dry after about 15 minutes but needs 2 to 3 hours to set completely, so paint the last coat well before a party. essie.
More Christmas nail ideas
Explore the original gallery for more combinations of gingerbread art, red bows, French tips, snowflakes, and reindeer, including close-up sequences that show how individual decorations take shape.


For another seasonal palette, explore these autumn nail designs, then bring the same gentle colors into your home with pink Christmas decorations.