Santa's Crochet Picture Holder: A Festive Craft for the Holidays
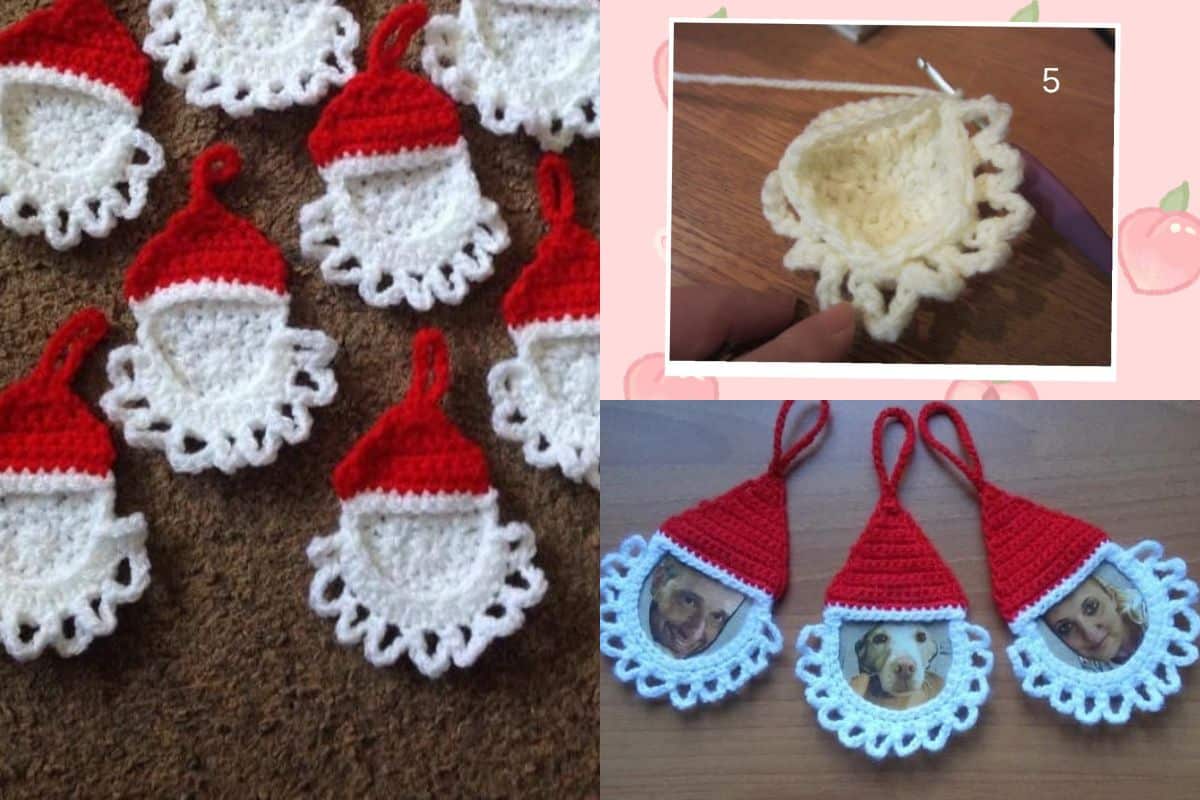
Bring a touch of holiday spirit into your home with Santa's crochet picture holder!
This delightful project is perfect for displaying your favourite festive photos or holiday cards. Not only is it a charming decoration, but it also serves as a personalized gift for family and friends.
In this guide, you'll discover step-by-step instructions, tips, and inspiration to create your very own Santa picture holder that will warm hearts and homes alike.
Crochet Picture Holder?
Crochet picture holders are more than just functional; they are a celebration of craftsmanship and imagination. Here are a few reasons to craft your own:
- Personal Touch: Showcase your photos in a unique and creative way.
- Perfect Gift: A handmade item carries love and thoughtfulness, making it a great gift.
- Festive Decor: Enhance your holiday decorations with a charming, seasonal touch.
- Easy Customization: Personalize your holder with colours and patterns that reflect your style.
Before you start, gather the following materials to create your Santa crochet picture holder:
- Yarn (red, white, black, and yellow cotton or acrylic yarn)
- Crochet hook (size according to yarn weight)
- Tapestry needle (for finishing touches)
- Scissors
- Wire or wooden dowel (for stability)
- Clips or clothespins (to hold photos)
- Stuffing (optional, for a plush effect)
Step-by-Step Guide to Creating Santa's Crochet Picture Holder
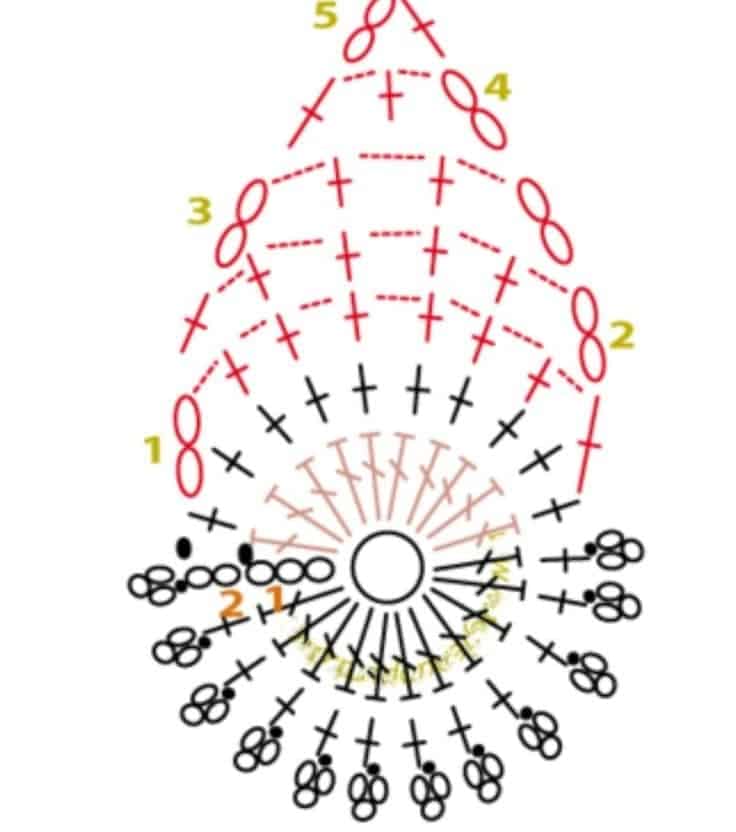
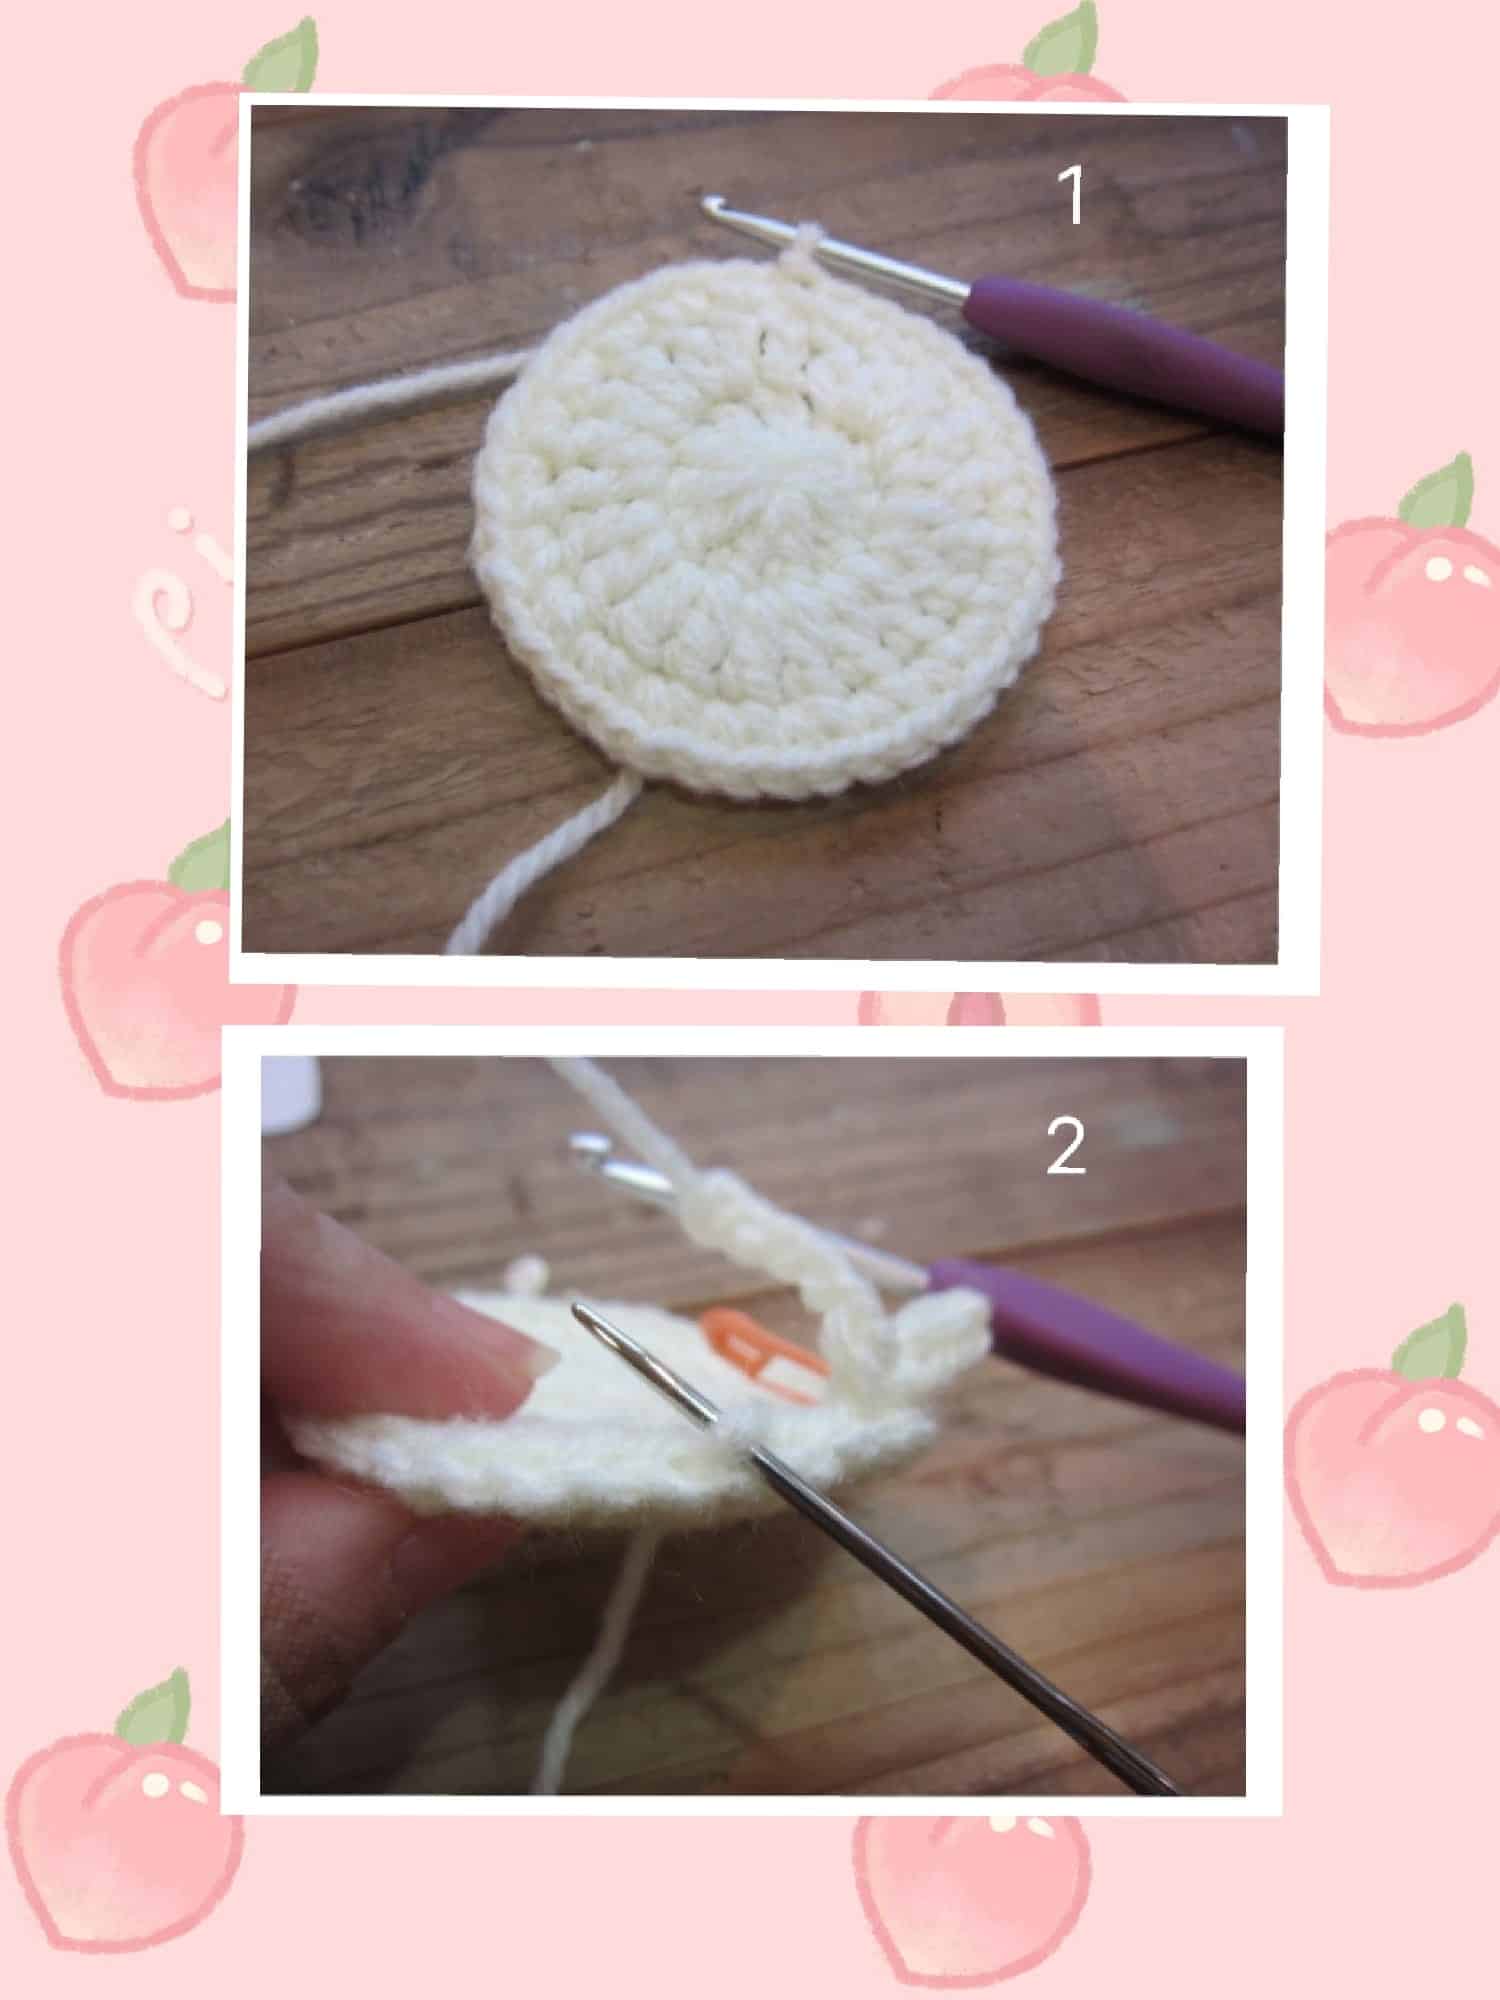
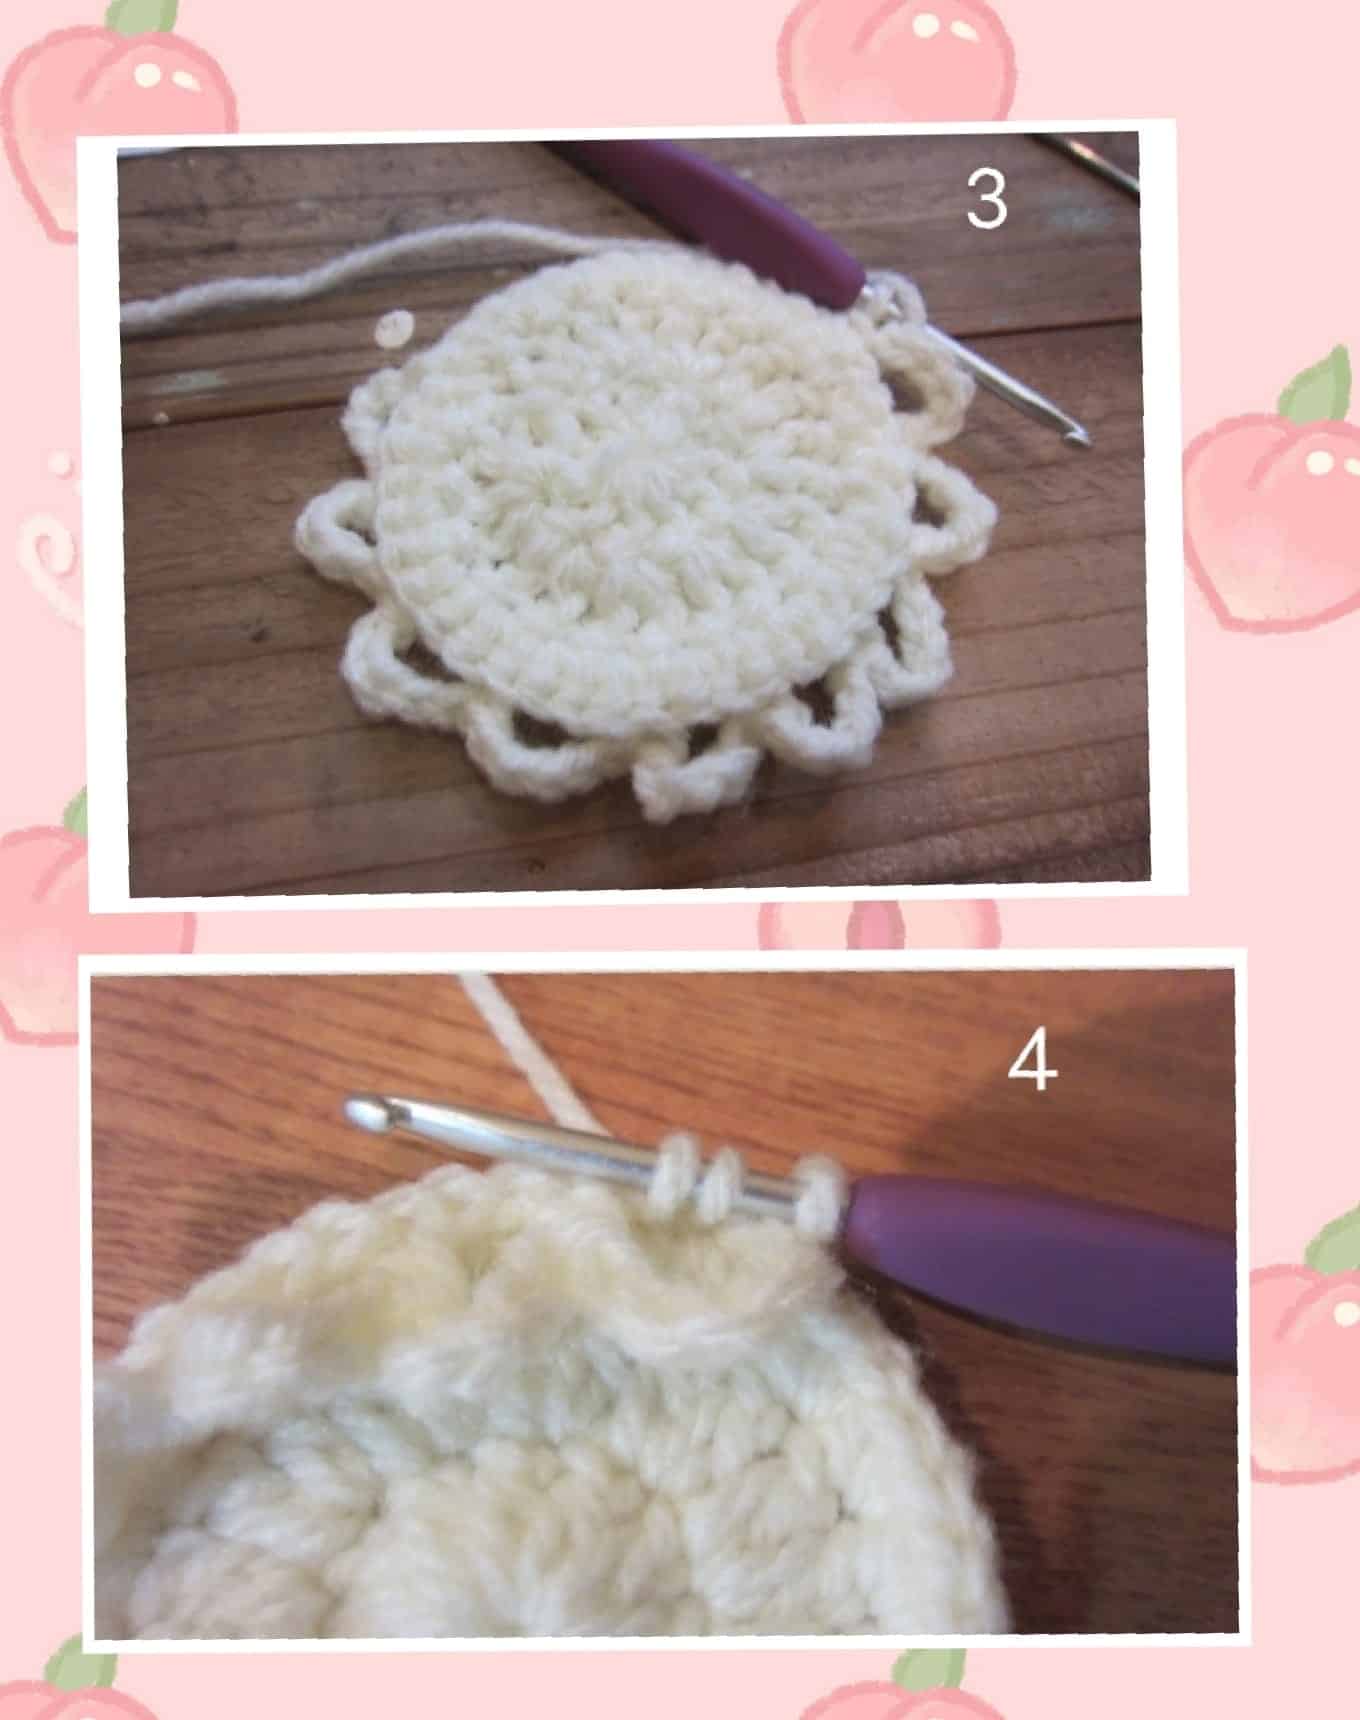
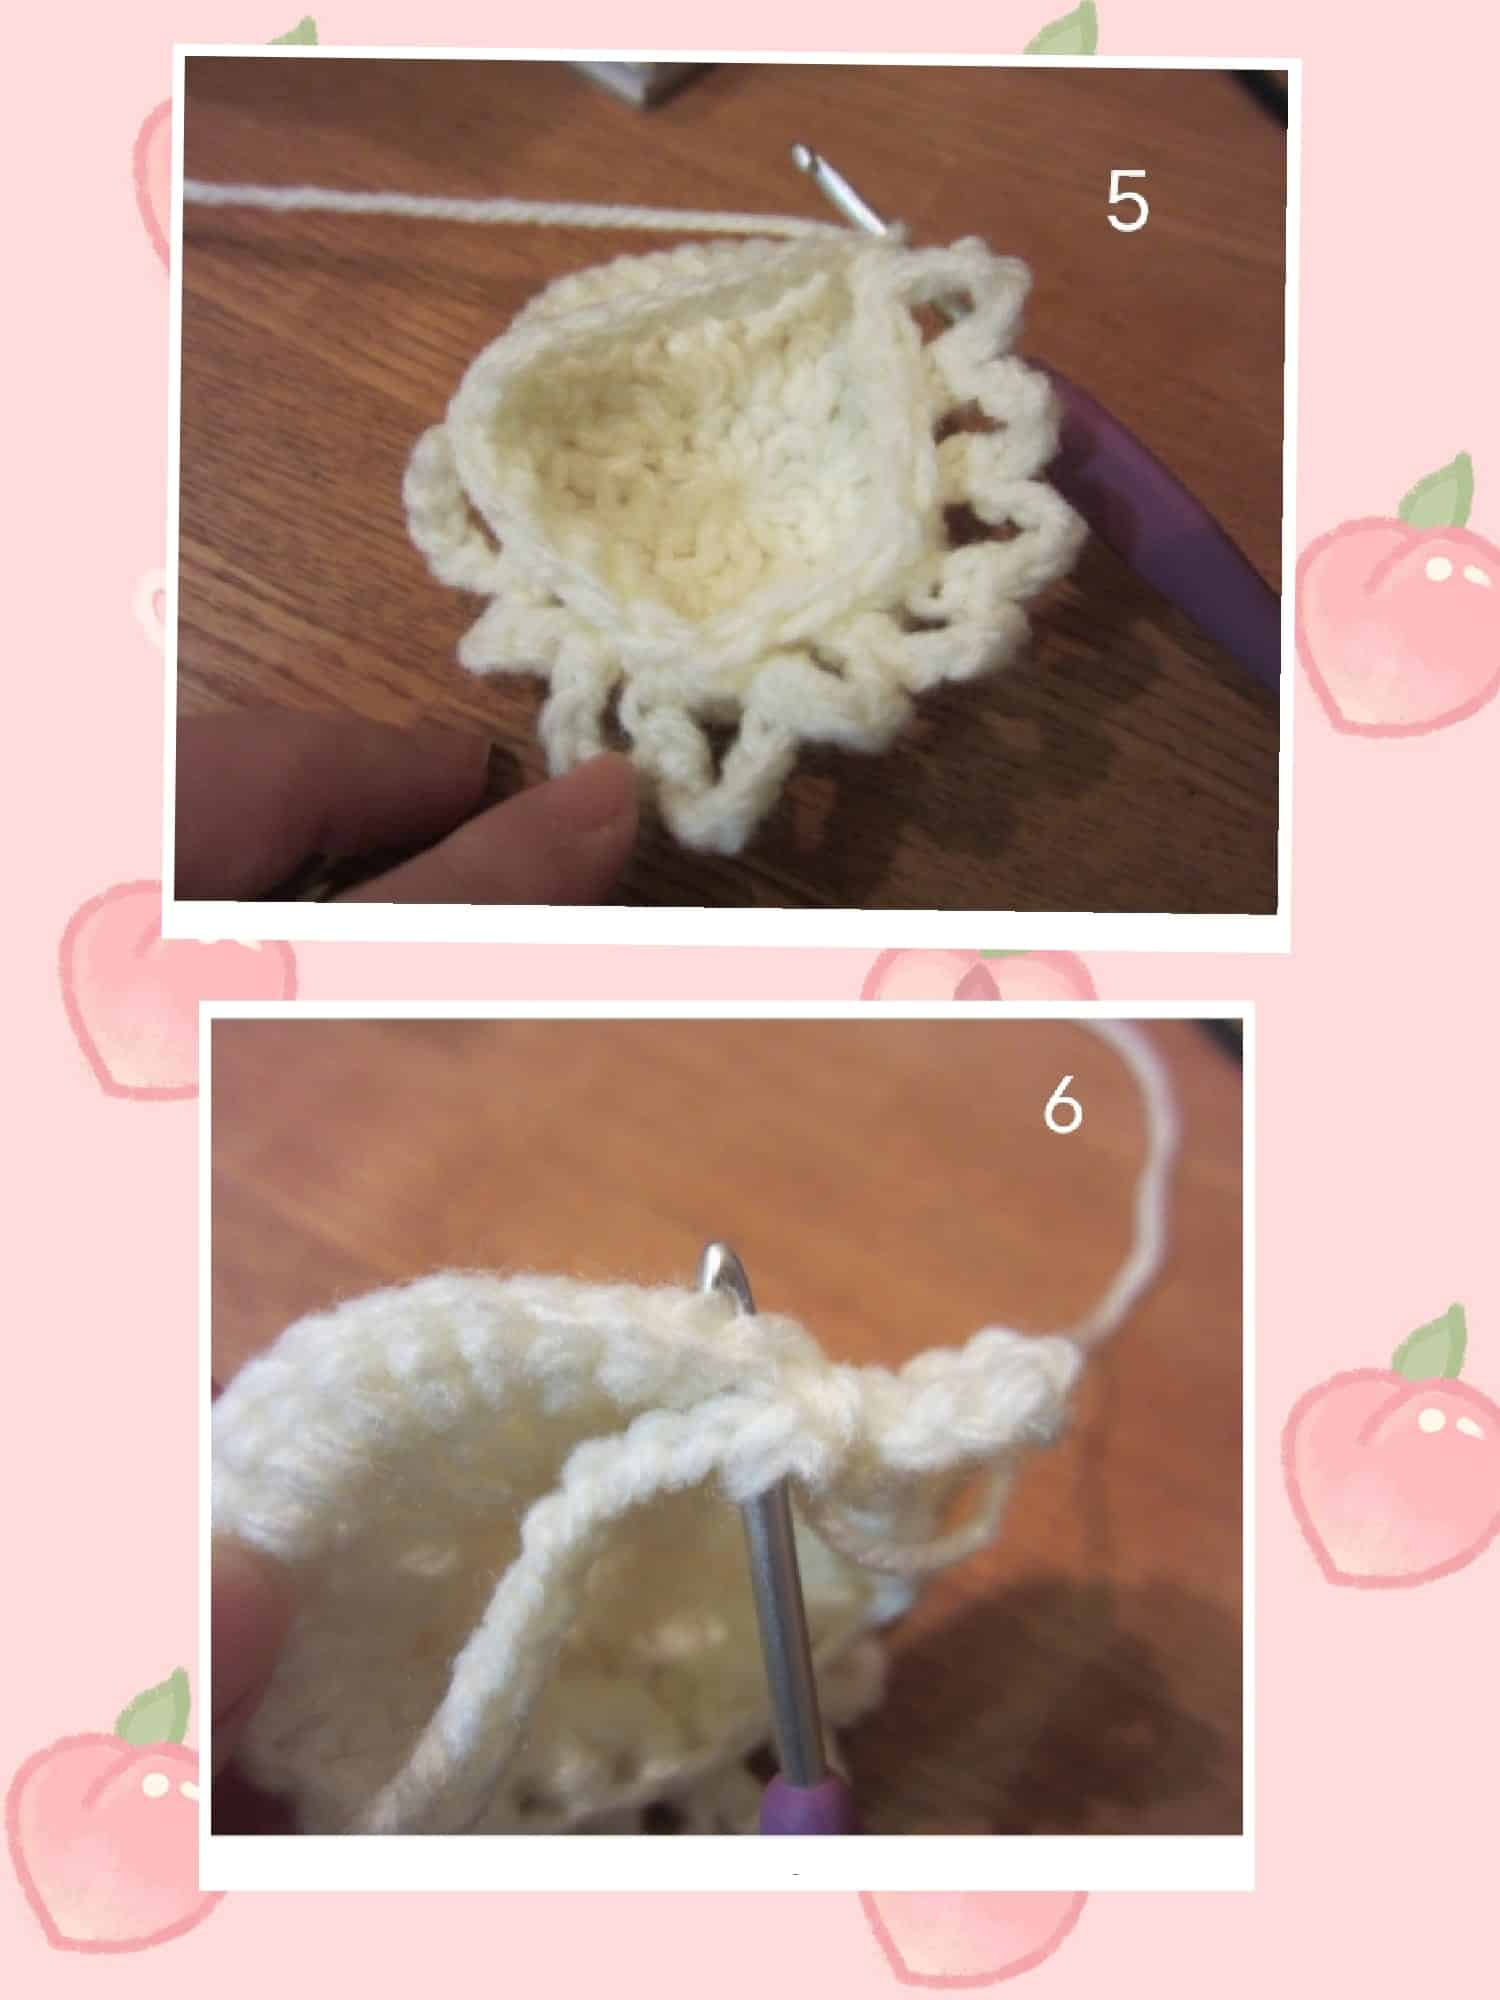
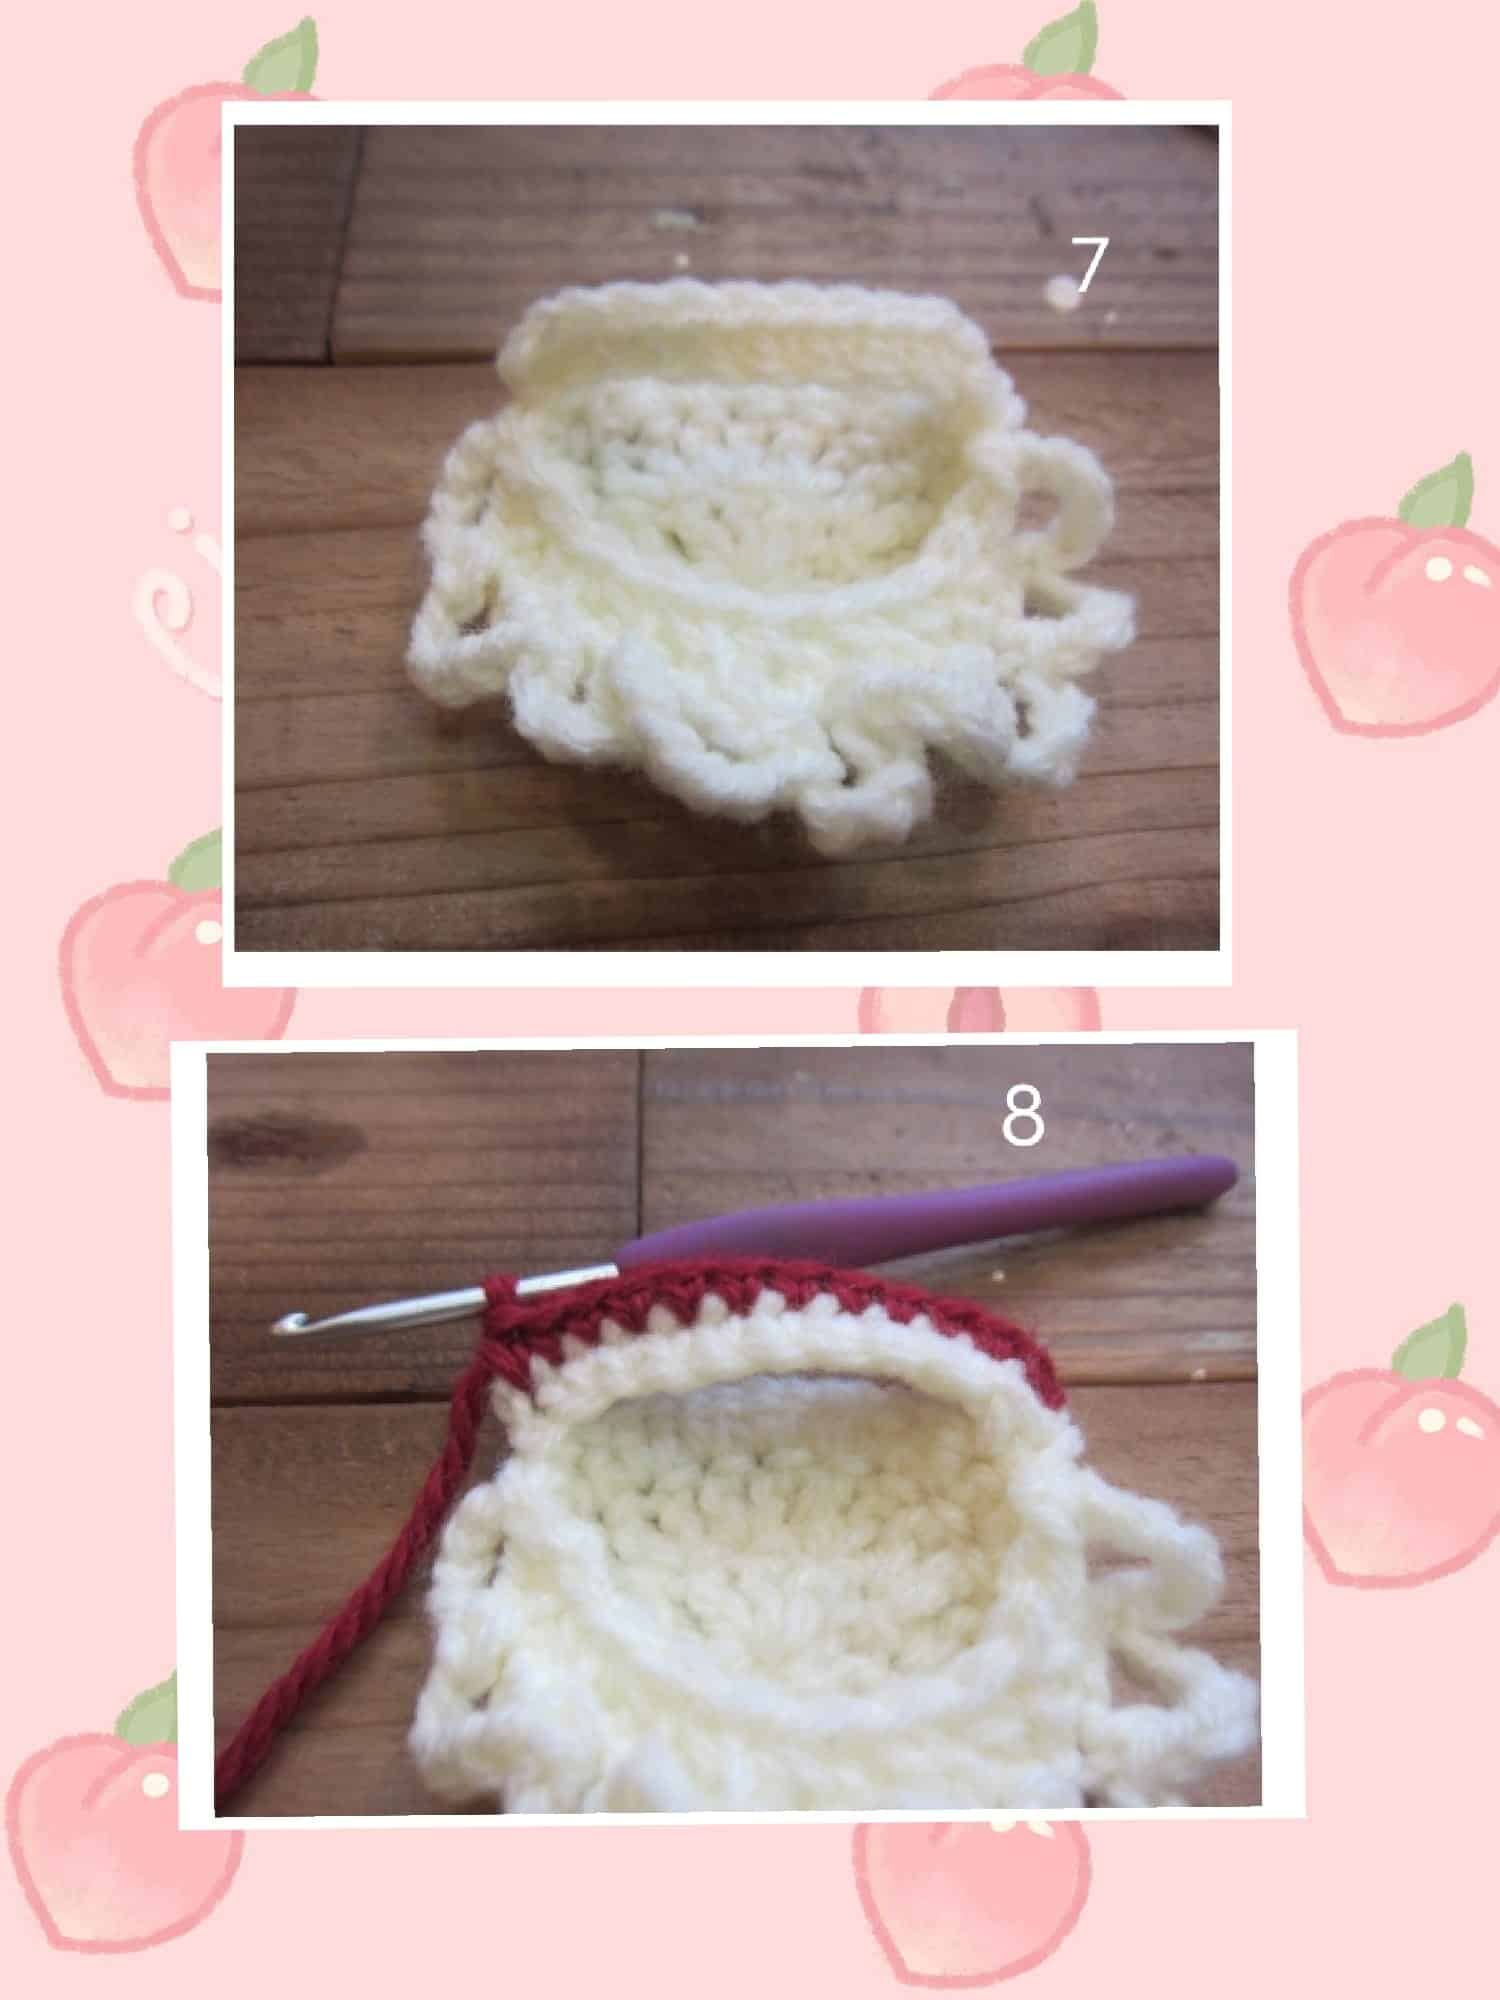
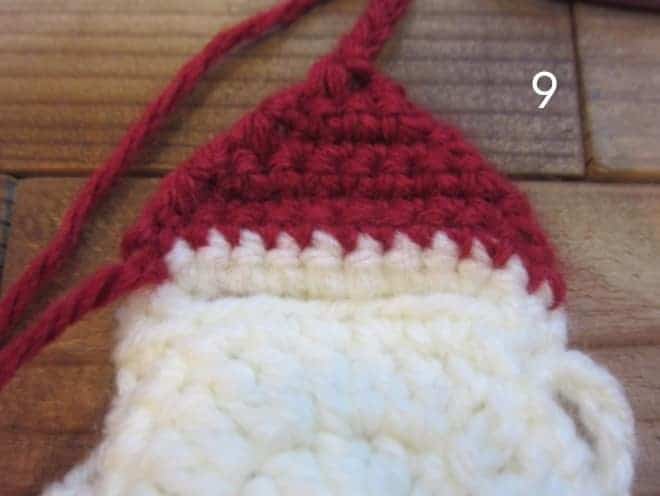
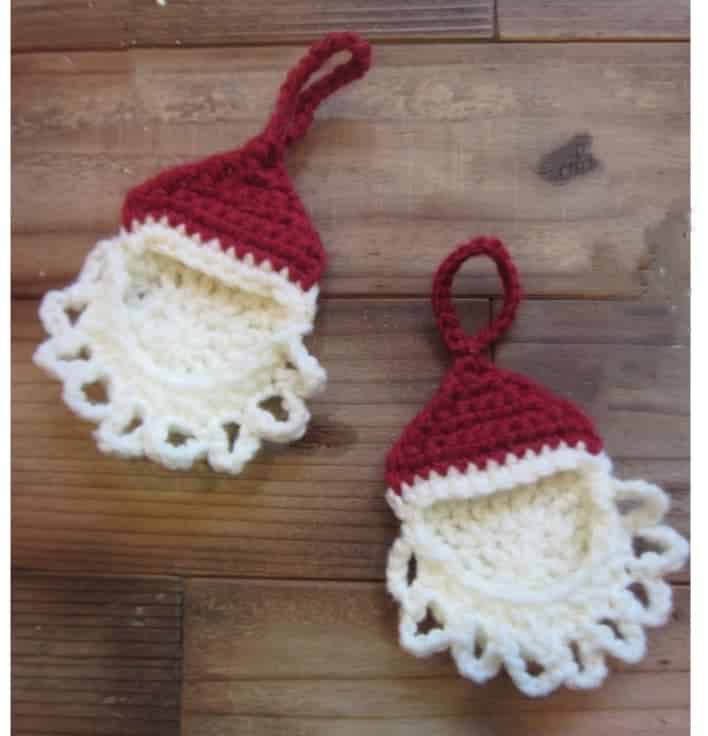
1. Create Santa's Hat
Start by crocheting a classic Santa hat. Follow these steps:
- Start with a magic ring and crochet a series of double crochets to form the base.
- Increase each round until the hat reaches the desired width.
- Switch to white yarn and crochet a fluffy brim.
2. Craft Santa's Face
Next, create Santa's adorable face:
- Use flesh-toned yarn to crochet a circle for his face.
- Add details like eyes (small black beads), a nose (a small piece of pink yarn), and a smiling mouth with embroidery thread.
- Attach his fluffy beard using white yarn by creating loops or using a fun fur yarn.
3. Assemble the Picture Holder
Now it’s time to put everything together:
- Take your wire or wooden dowel and attach Santa’s hat on top.
- Secure the face below the hat using your tapestry needle.
- If using stuffing, fill the hat for a plush effect.
4. Add the Picture Holding Mechanism
To hold your photos:
- Attach clips or clothespins to the front of the holder, ensuring they’re secure enough to hold pictures.
- Decorate the base of the holder with additional crochet elements, such as small snowflakes or holly.
5. Final Touches
Add any additional decorations you desire, such as beads or buttons, to make your Santa picture holder truly unique!
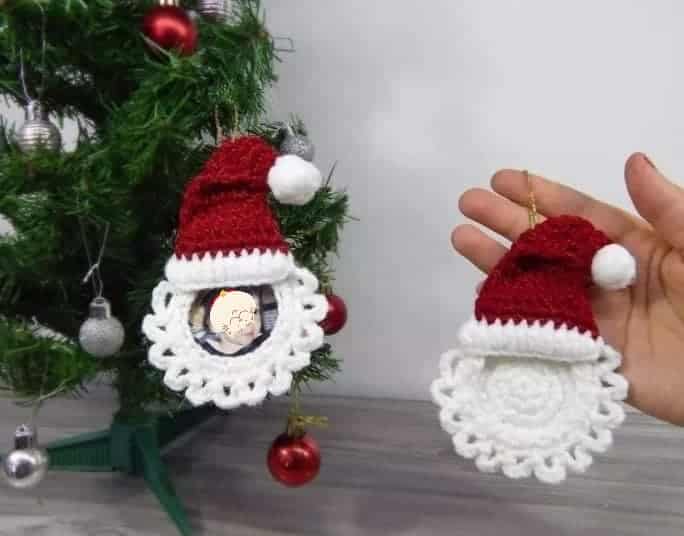
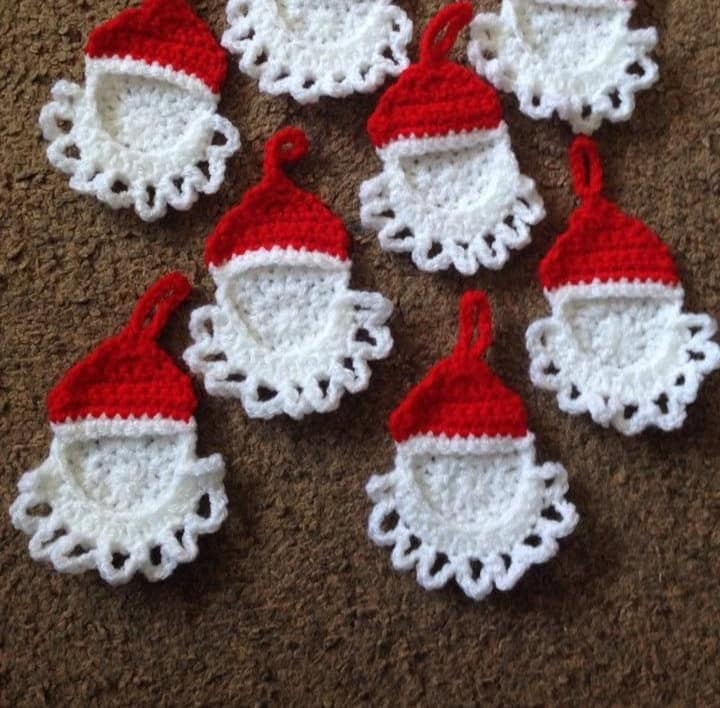
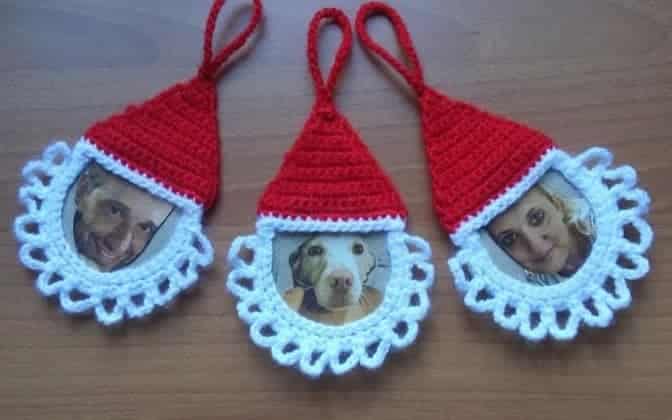
Inspiration: Customization Ideas
Feel free to explore your creativity! Here are some ideas to personalize your crochet picture holder:
- Use different colours for the hat or face to match your home décor.
- Create miniature characters alongside Santa, like snowmen or reindeer.
- Crochet a matching base with festive designs for an extra flair.
“A little creativity can transform simple materials into a cherished holiday decoration.”
Create your own Santa crochet picture holder with our easy step-by-step guide! Perfect for showcasing holiday photos and adding festive charm to your home.
Crafting Santa's crochet picture holder is a joyful way to celebrate the holiday season. With just a few materials and a dash of creativity, you can create a beautiful decoration that brings warmth and cheer to your home. Happy crocheting!